The next step in my 3d printing journey
In the second of a small series of posts, I go through my progress and show off some of my first prints
Continue ReadingRuneBrush's Painting & Miniature Blog
In the second of a small series of posts, I go through my progress and show off some of my first prints
Continue Reading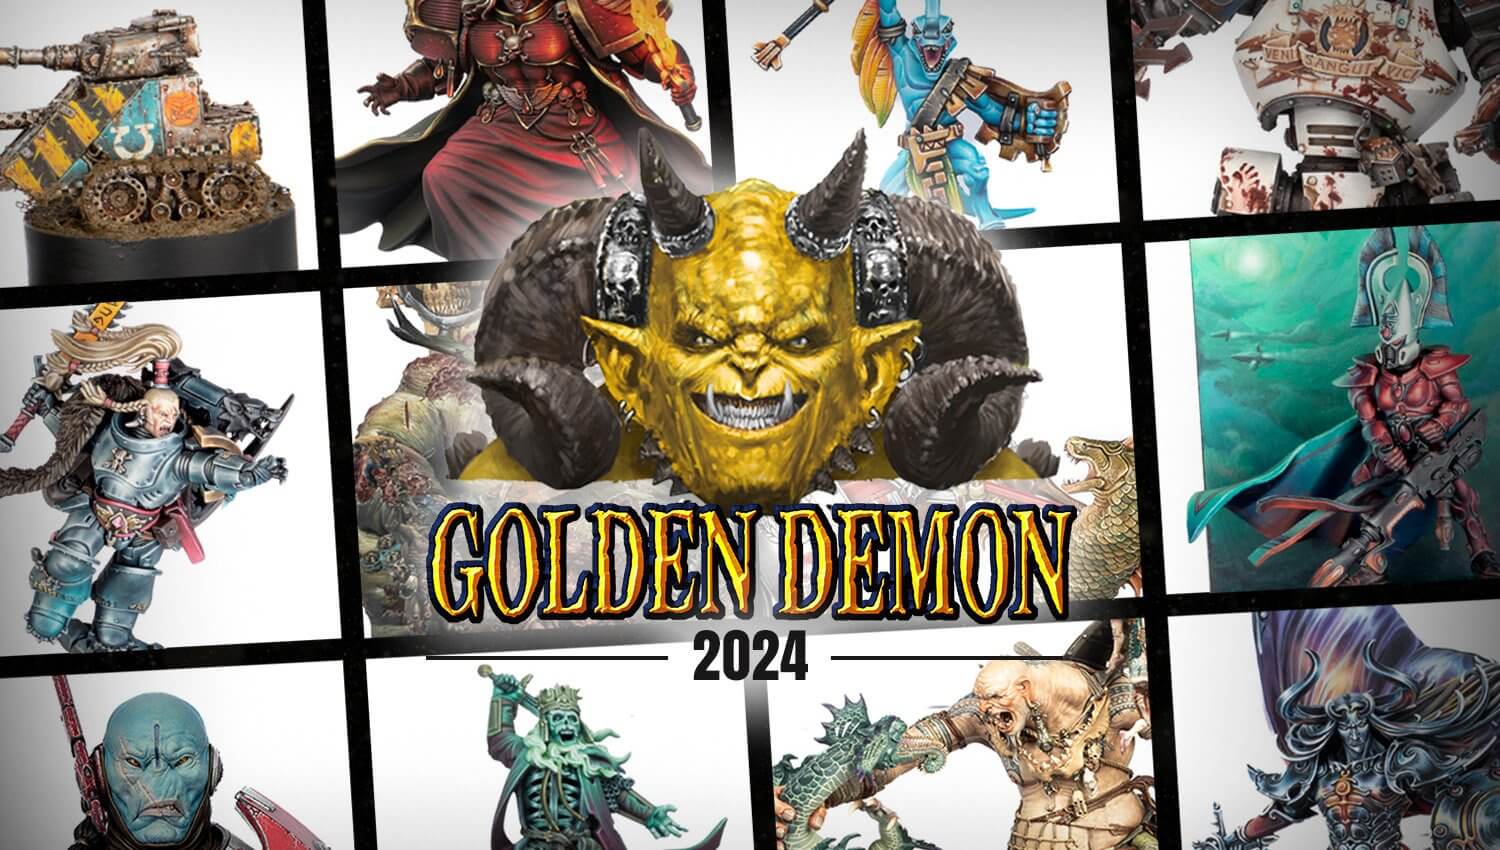
Though expected, it’s always nice when you get official confirmation of Golden Demon. Once again the 2024 season will be kicked off at Adepticon.
Continue Reading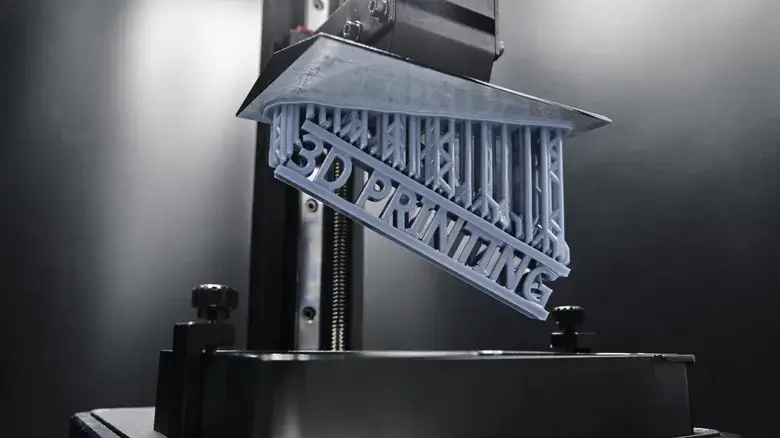
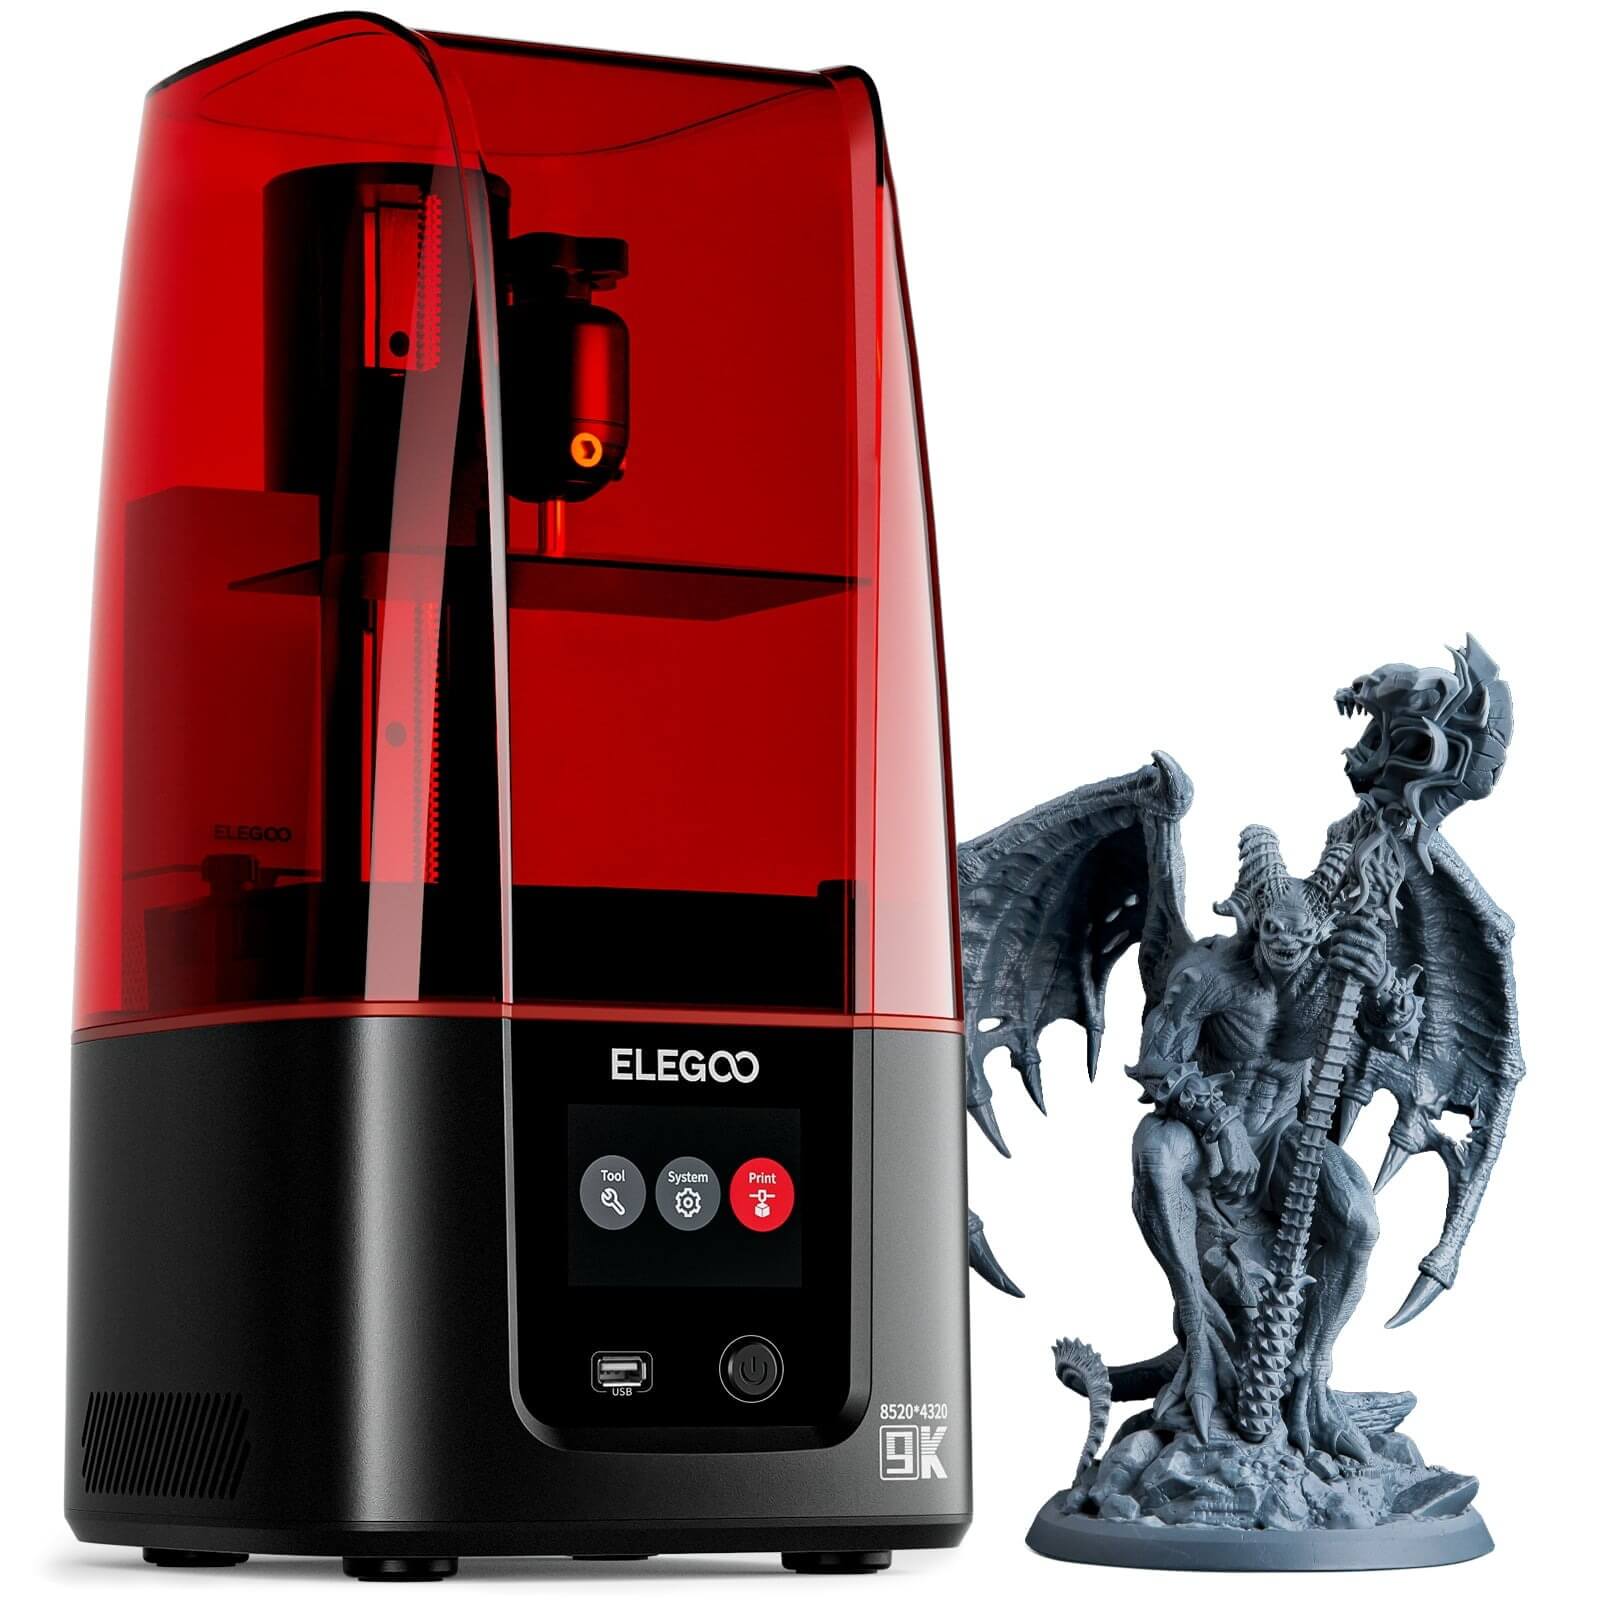
After many years of stalwartly avoiding it, I’ve recently just taken the plunge and purchased a 3d printer, and thought it might be interesting to do a few articles on my experiences with it, dispel some myths and perhaps create the odd tutorial.
Continue Reading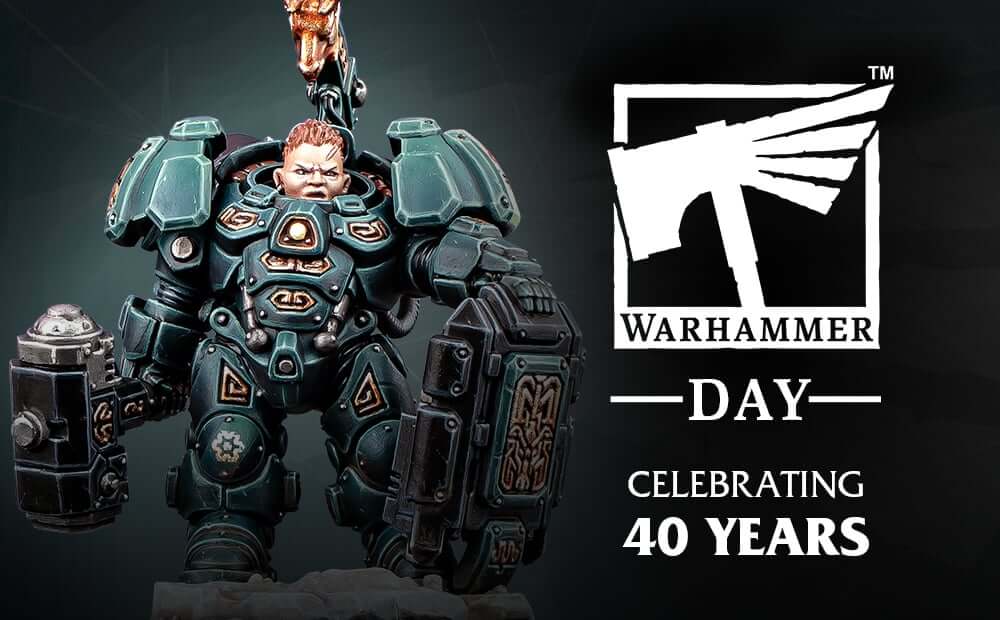
Yesterday Games Workshop announced that this years Warhammer Day would be on the 14th October. You are completely forgiven to respond “what’s a Warhammer Day?”, in this post I explain what it is and what I think it might contain.
Continue Reading
Probably a more controversial Musing in this post, I talk about my feelings on Patreon and if it’s a great platform or simply a way of gatekeeping the hobby.
Continue Reading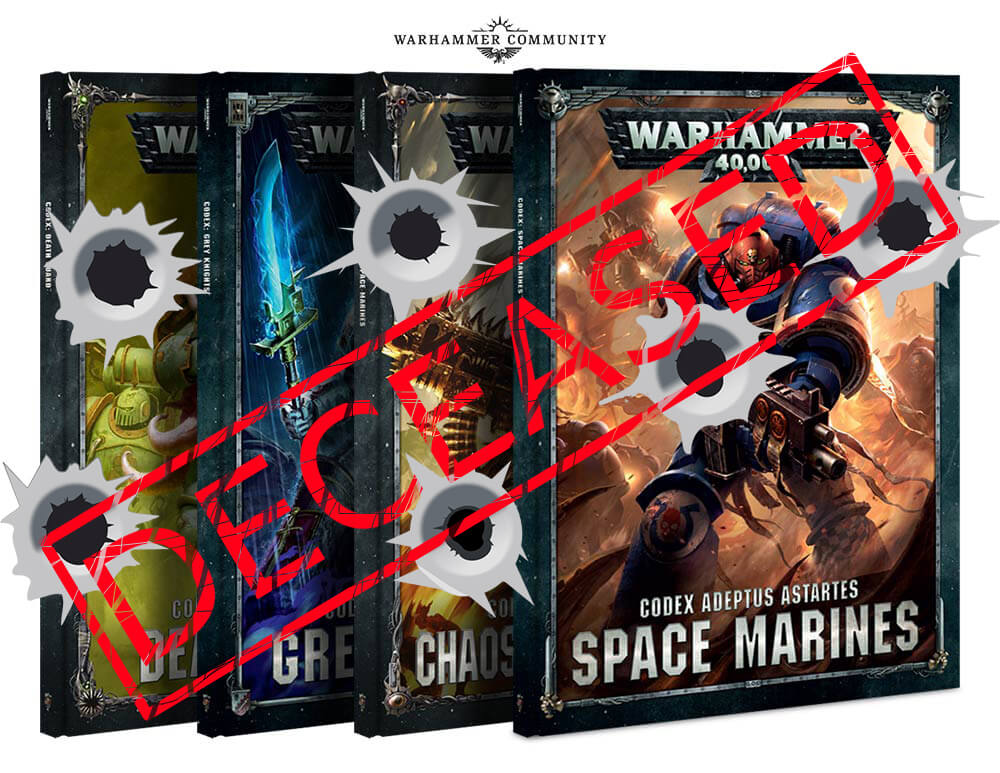
It’s Friday, I’ve a provocative click-bait title, must be a new musing! This time on if physical Codexes* and Battletomes have had their day in the sun and need to be retired.
Continue Reading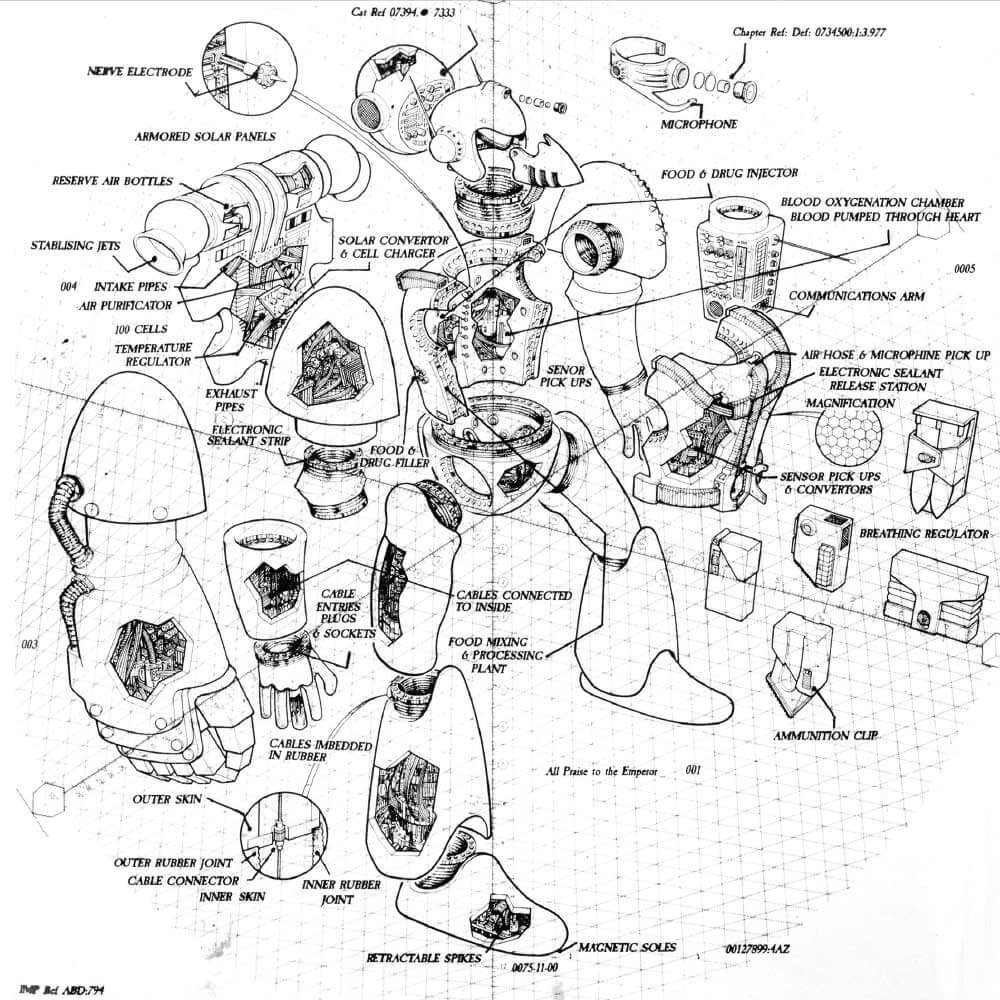
Our hobby seems to love a bit of controversy and following the NOVA Open previews, we’ve got one with the rework of the Mk. III Iron Armour! In this musing I talk a bit about what this is all about.
Continue Reading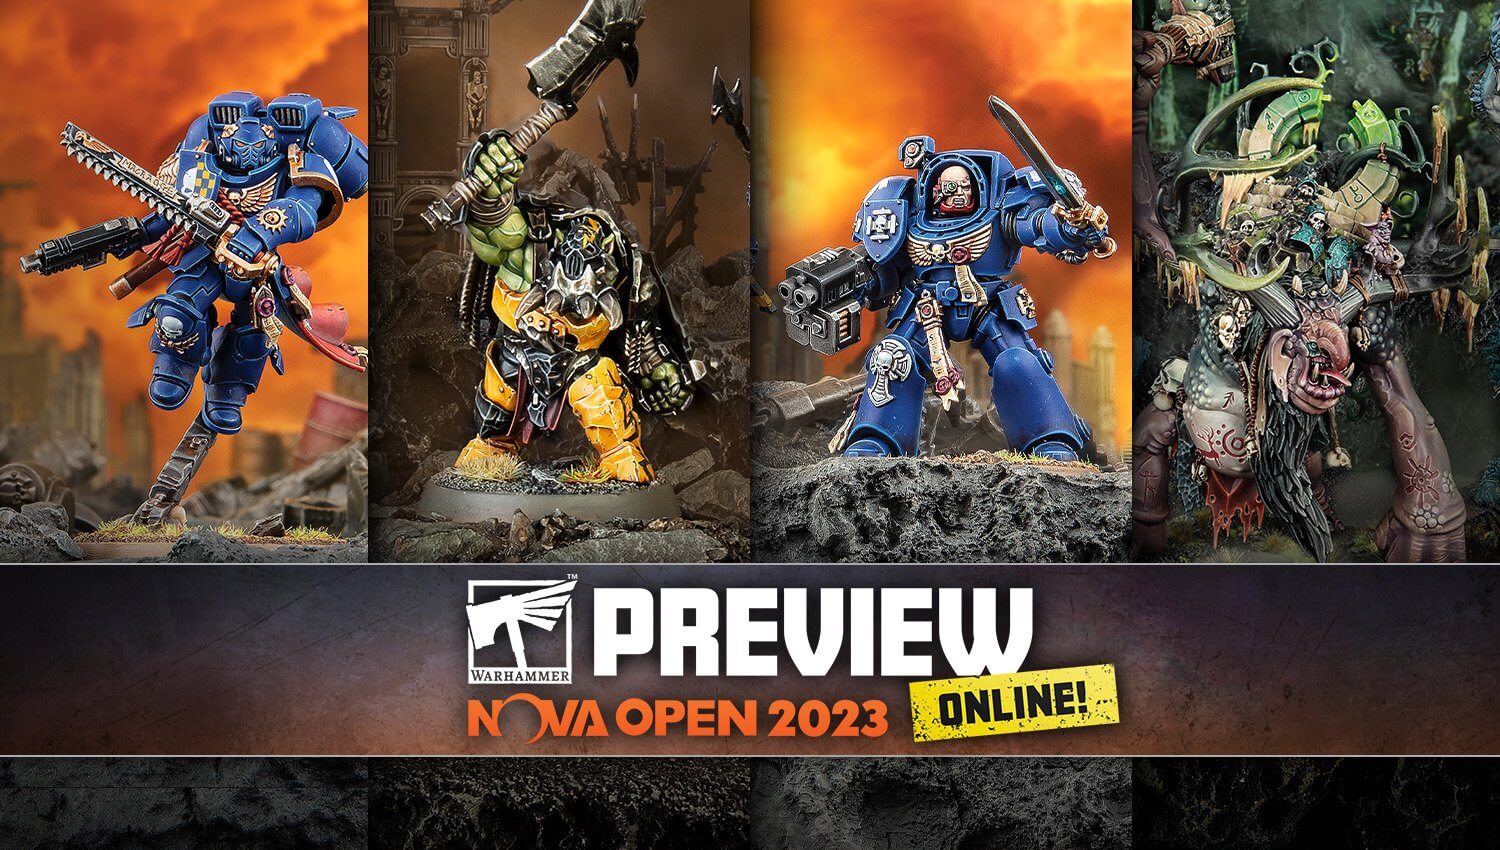
Those of us in the UK woke up to a venerable mountain of reveals from Games Workshop at the NOVA Open last night! In an effort to keep producing blog content, here’s my top picks of the reveals!
Continue Reading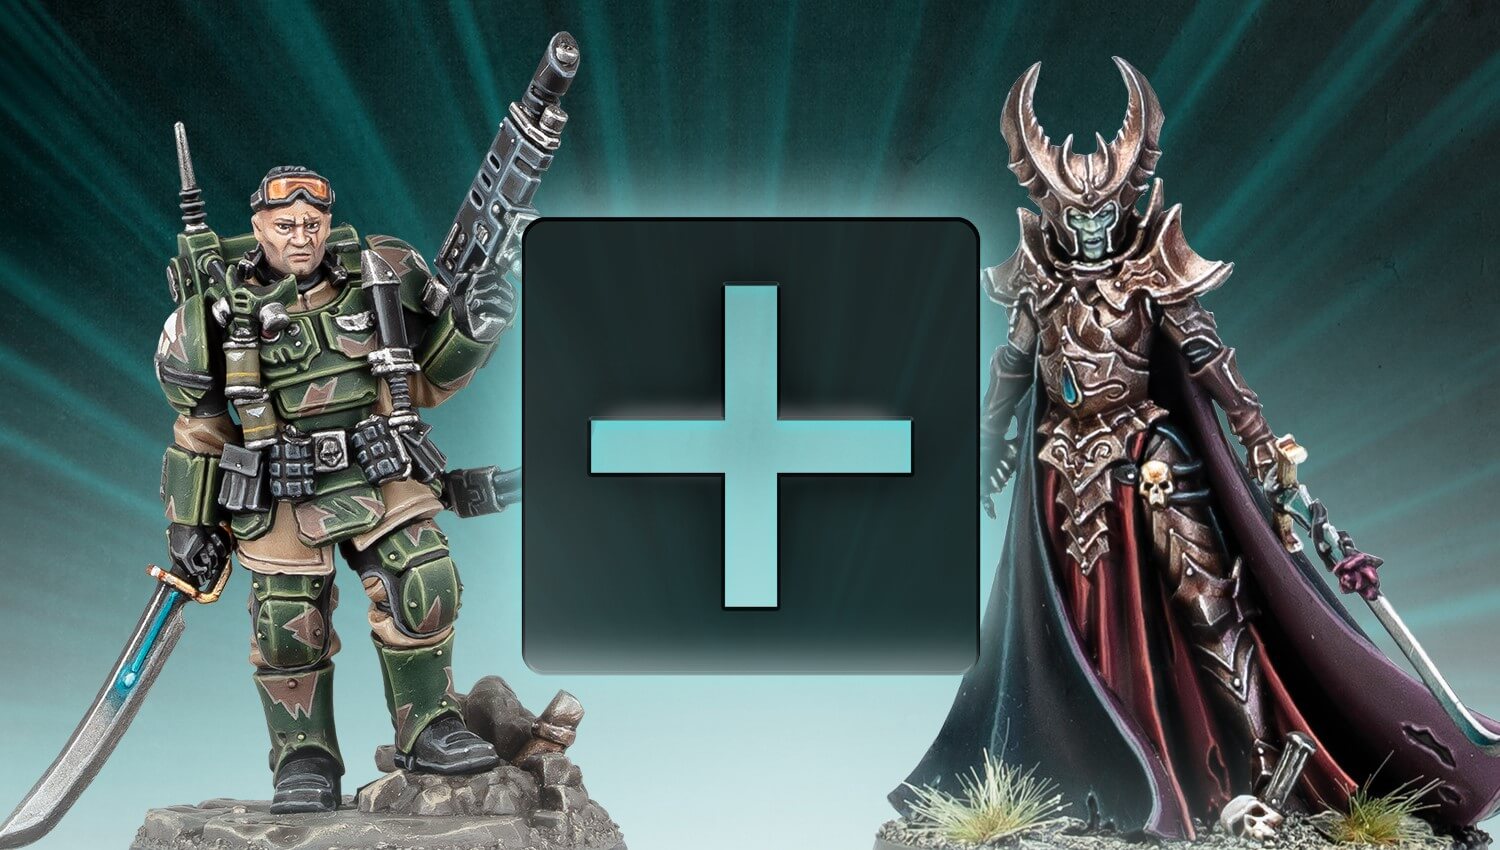
Following on from the silhouette shapes from last week, we have the full reveal of the two exclusive miniatures available from Warhammer+ for the next year!
Continue Reading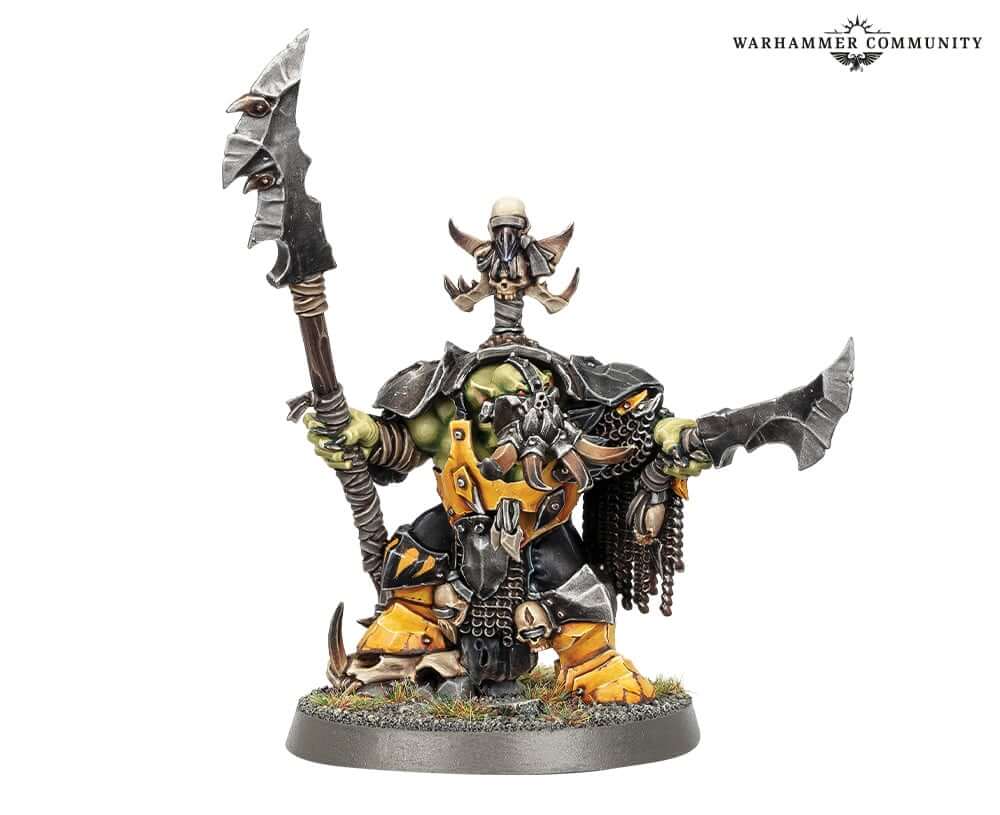
He’s mean green and coming soon! The Ironjawz Ardboy Big Boss is shown off!
Continue Reading
My first post under the broad heading of Musings and for this post I’m going to be musing about 3d printing and it’s place within the miniature and wargaming hobby.
Continue Reading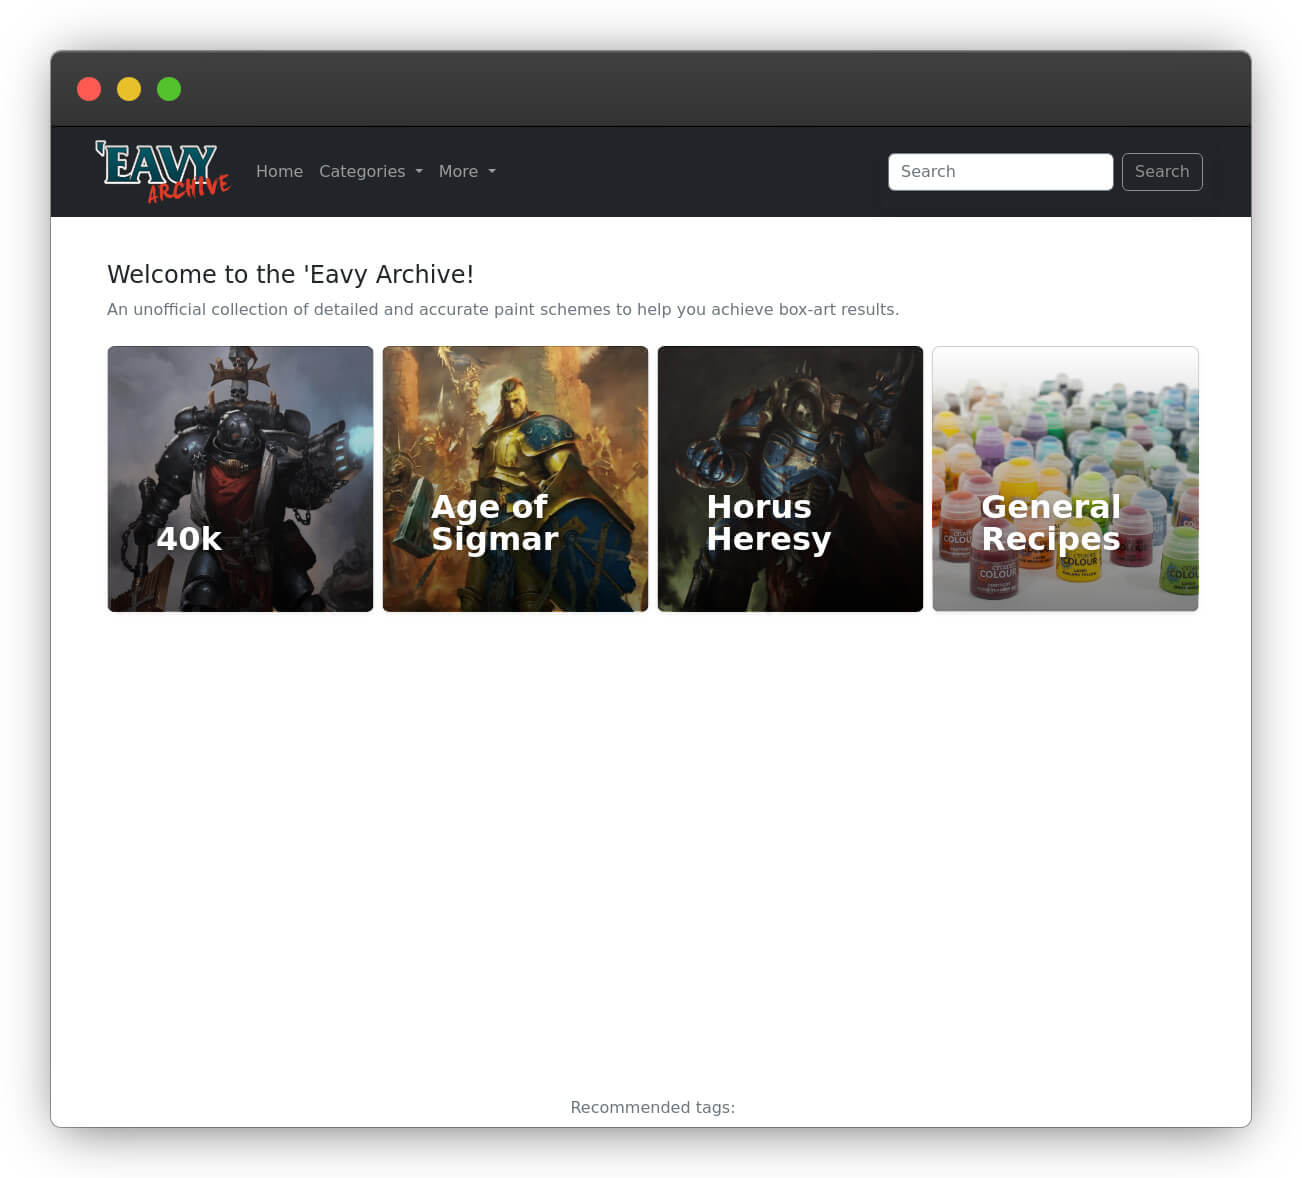
On occasion I come across a website that makes me sit up and go “how have I missed this?” and those were the words I uttered when first came across ‘Eavy Archive.
Continue Reading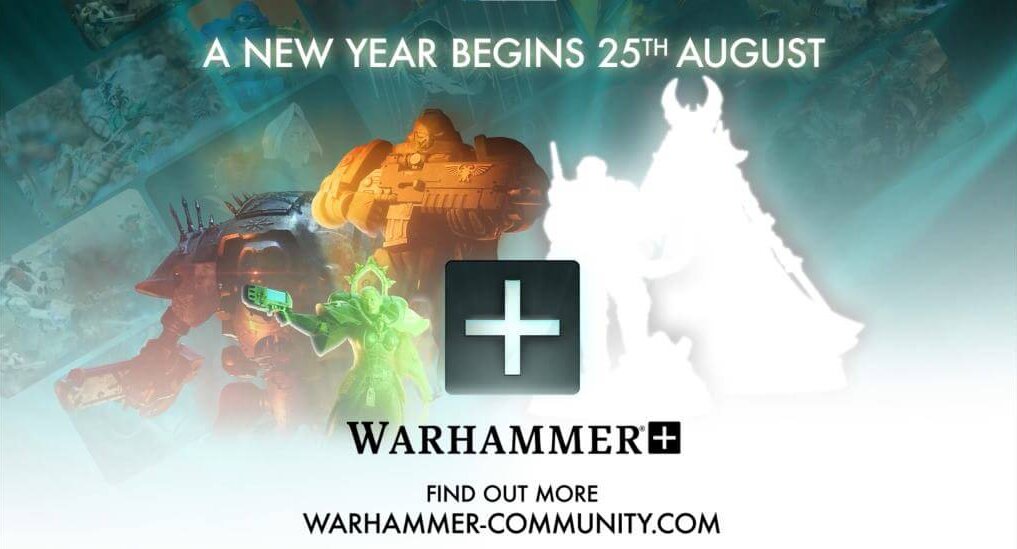
We’ve just had a reveal for the next year of Warhammer+ drop on Warhammer Community!
Continue Reading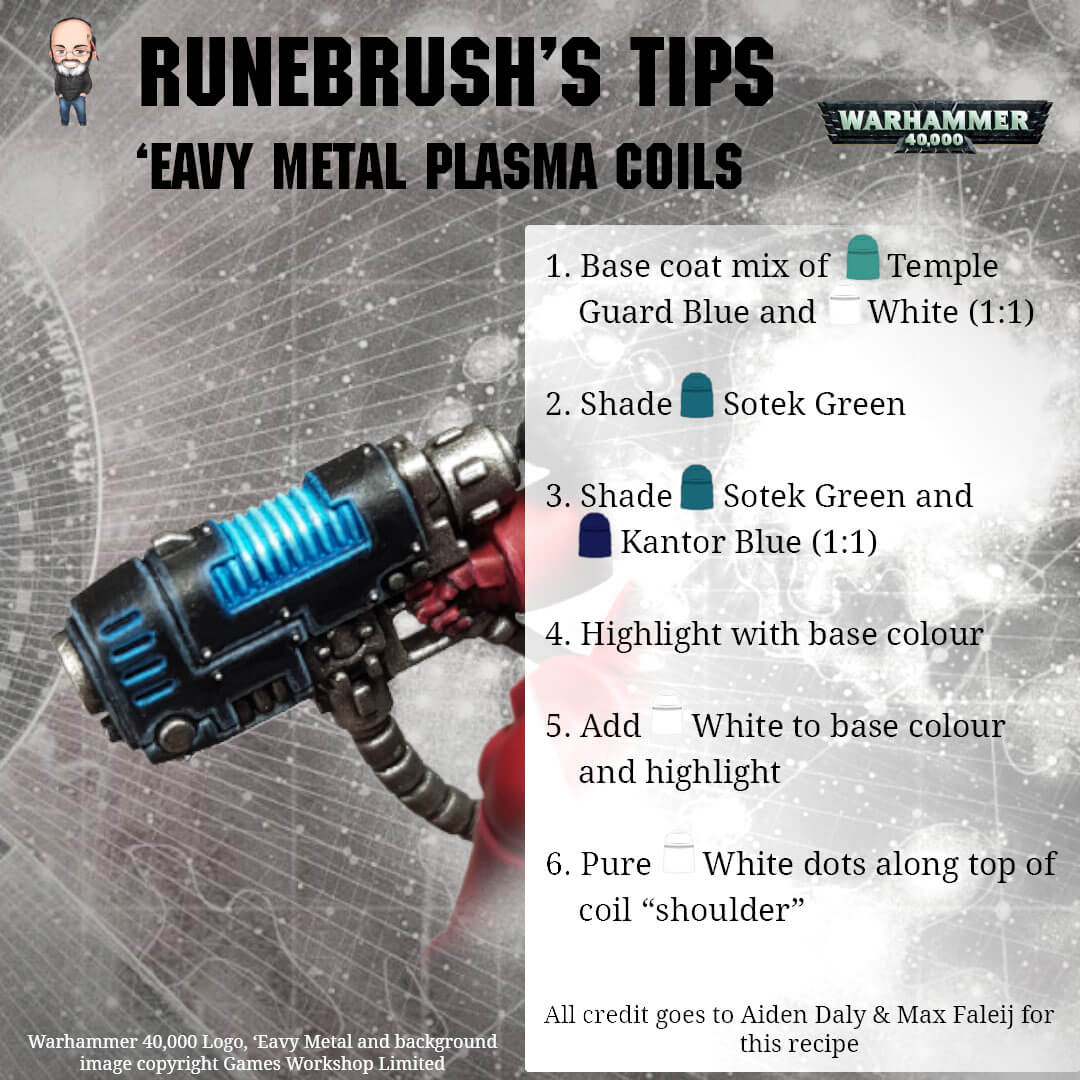
Realised that I’d created this ages ago and never really put it anywhere for people to see! This was a recipe that I learned on an ‘Eavy Metal painting course I attended way back in 2019. It’s a lot more straightforward than it sounds, the key is a really solid and smooth base coat.
Continue ReadingIt’s 5 years late, but I’m going to attempt to get things running on here with some new content and such like. The first thing that I’ve done is to archive off the entirety of the old content into an Archive area. That means the home page will only contain lovely fresh articles. All of […]
Continue ReadingSomething a little different from me in the form of a YouTube video where I unbox the Cult of Paint spec Harder & Steenbeck Infinity airbrush.
Continue ReadingThought I was well overdue to do a catch-up post on what a crazy five months I’ve had since the last time I wrote anything. Without a doubt, this year has been one of the best hobby years I’ve had in over 25 years and I’ve achieved things that I wouldn’t have even believed possible. […]
Continue Reading
The Imperial Knight Armiger is the smallest addition to the Imperial Knight family. As with it’s bigger brother, future weapon variations are highly likely, so I’ve created this tutorial detailing how to magnetising Knight Armiger weapon arms.
Continue Reading
I had a bit of a realisation on the weekend as I was finishing off my Watchtower over the weekend that I’d really been pushing myself to churn models out since Christmas, already clocking in well over 200 hours worth of hobby so far. That’s pretty insane so this week I’m taking a little break […]
Continue Reading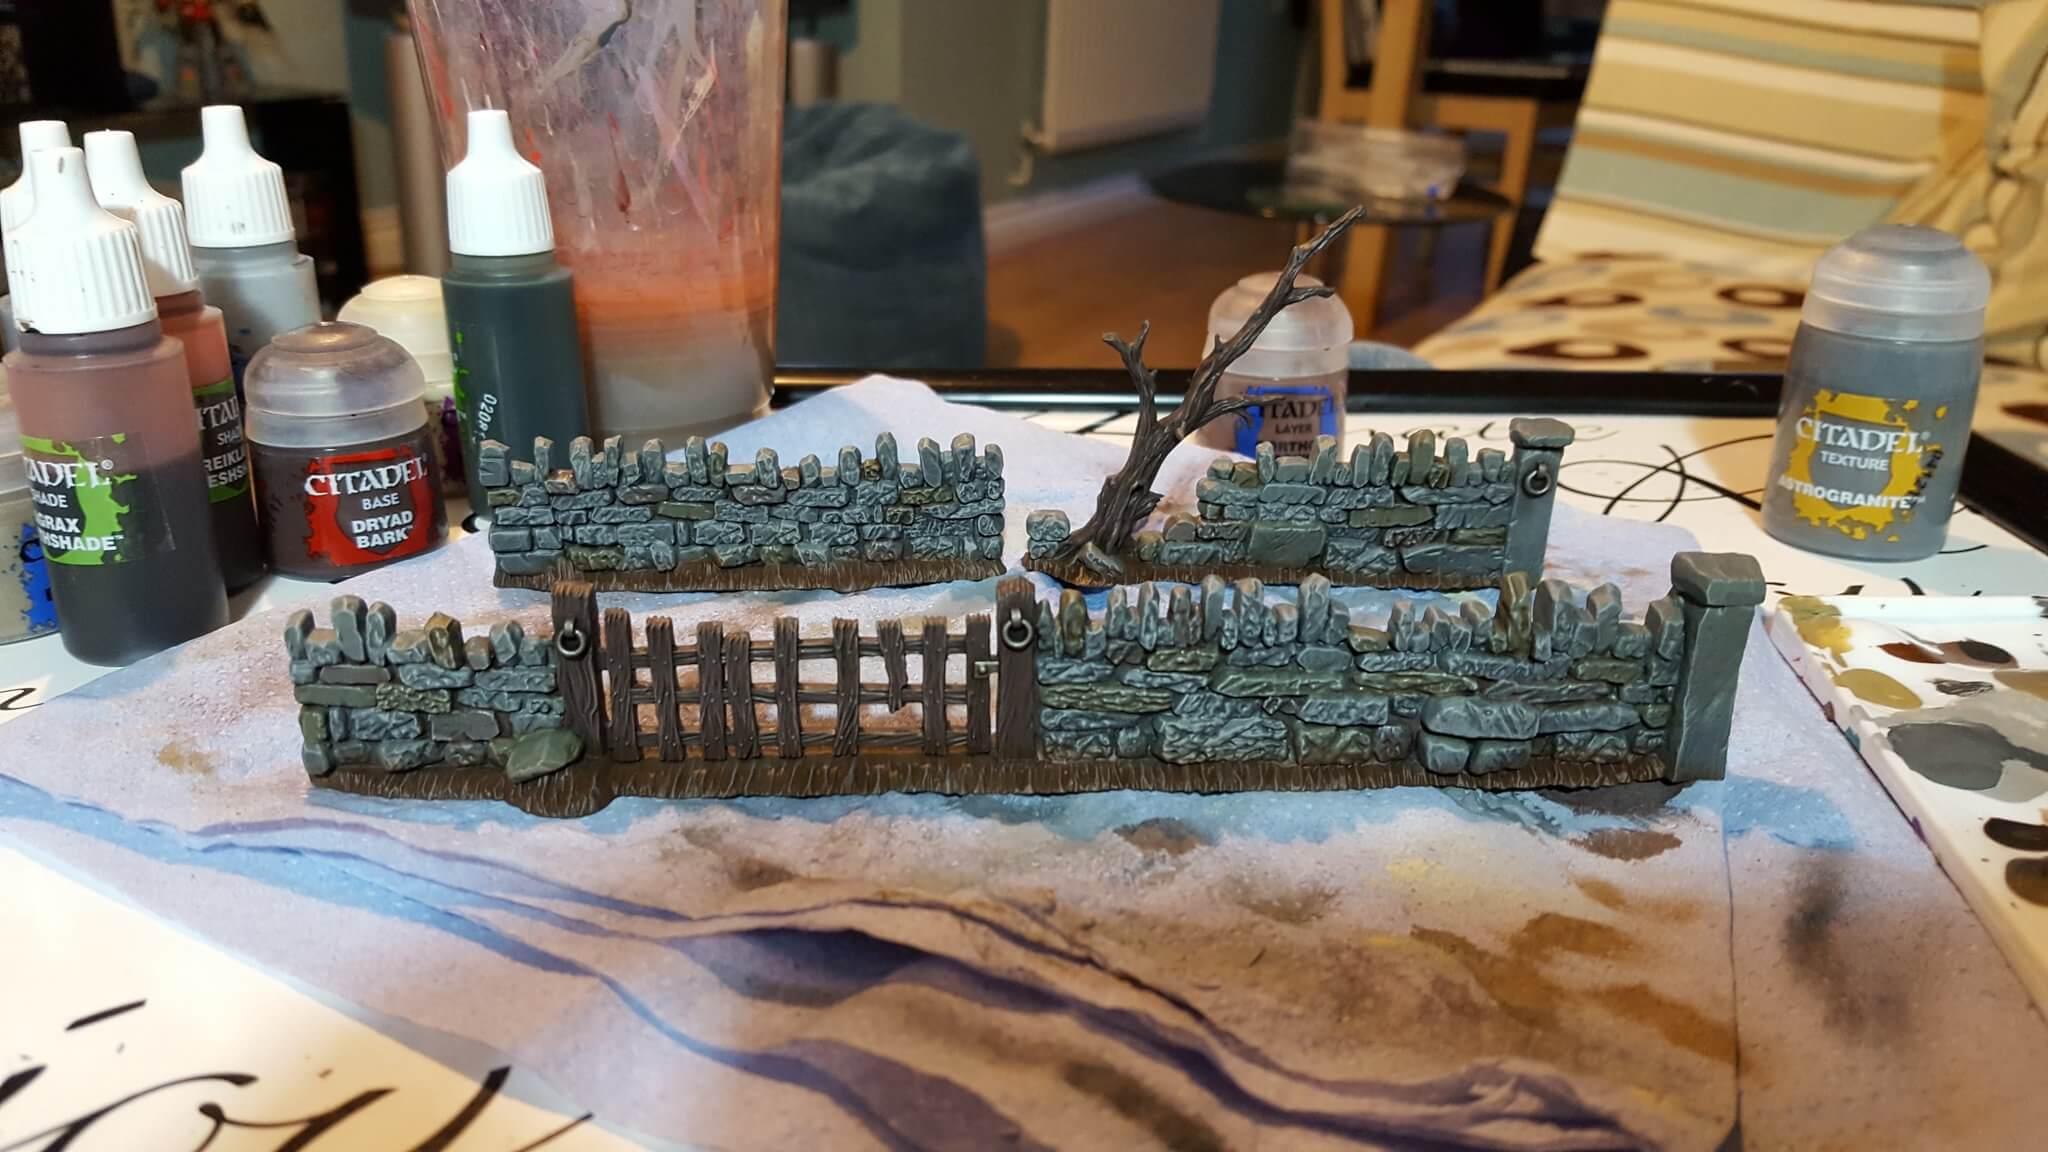
Welcome to my first Painting Scenery Tutorial, this tutorial will focus on painting walls or brickwork in a fairly natural grey stone effect. Ideal for painting drystone walls or similar pieces of scenery. I hadn’t actually thought of writing a tutorial for this so unfortunately I’ve only got a picture of the finished wall pieces. […]
Continue Reading