Deprecated: Using null as an array offset is deprecated, use an empty string instead in /home/pa-syco/public_html/runebrush/wp-includes/class-wp-block-type-registry.php on line 168
Deprecated: Using null as an array offset is deprecated, use an empty string instead in /home/pa-syco/public_html/runebrush/wp-includes/class-wp-block-type-registry.php on line 168
Deprecated: Using null as an array offset is deprecated, use an empty string instead in /home/pa-syco/public_html/runebrush/wp-includes/class-wp-block-type-registry.php on line 168
Deprecated: Using null as an array offset is deprecated, use an empty string instead in /home/pa-syco/public_html/runebrush/wp-includes/class-wp-block-type-registry.php on line 168
Deprecated: Using null as an array offset is deprecated, use an empty string instead in /home/pa-syco/public_html/runebrush/wp-includes/class-wp-block.php on line 257
Deprecated: Using null as an array offset is deprecated, use an empty string instead in /home/pa-syco/public_html/runebrush/wp-includes/class-wp-block-type-registry.php on line 168
Deprecated: Using null as an array offset is deprecated, use an empty string instead in /home/pa-syco/public_html/runebrush/wp-includes/class-wp-block-type-registry.php on line 168
Deprecated: Using null as an array offset is deprecated, use an empty string instead in /home/pa-syco/public_html/runebrush/wp-includes/class-wp-block-type-registry.php on line 168
Deprecated: Using null as an array offset is deprecated, use an empty string instead in /home/pa-syco/public_html/runebrush/wp-includes/class-wp-block-type-registry.php on line 168
Deprecated: Using null as an array offset is deprecated, use an empty string instead in /home/pa-syco/public_html/runebrush/wp-includes/class-wp-block-type-registry.php on line 168
The Imperial Knight Armiger is the smallest addition to the Imperial Knight family. As with it’s bigger brother, future weapon variations are highly likely, so I’ve created this tutorial detailing how to magnetising Knight Armiger weapon arms.
Magnetising Knight Armiger Weapons
One of the biggest issues when magnetising Knight Armigers is the very small contact points, so a slightly different approach is needed in comparison to Questoris Knights. Equipment wise you’re going to need a miniature hand drill, 1mm and 3mm bits, some kind of sharp scribe and four 6mm x 1.5mm magnets and four 3mm x 2mm magnets.
Magnets
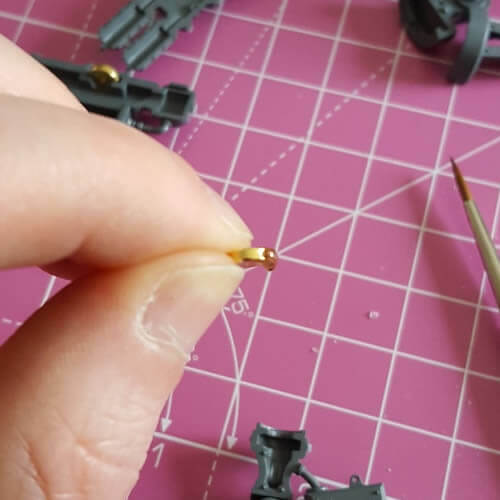 The most critical magnet in this whole process is the 6mm x 1.5mm magnet. Now this is an irregular sized magnet so I ended up having to buy gold plated ones intended for pain relief therapy, one benefit is that the North pole is marked with a dimple on one face. That comes onto one important point – make sure that all of the magnets are glued in with identical polarities, else you’ll not be able to mix and match the arms!
The other magnet you need is a regular sized 3mm x 2mm. This is one of my “mainstaple” magnets and will hold a miniature on a 25mm base onto a baking sheet pretty securely.
Fixing the Magnets
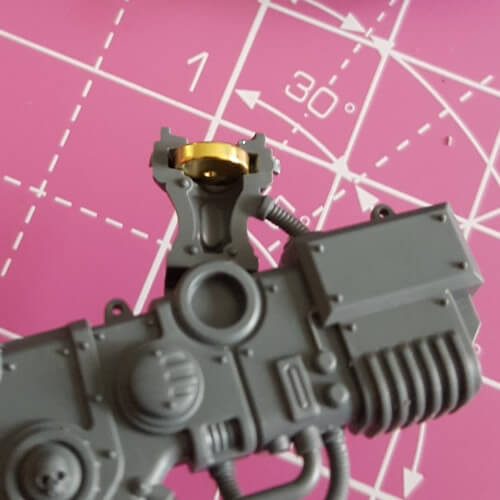 Start off with the easiest ones first. Using a thick super glue (I use Gorilla Gel Superglue), glue the 6mm x 1.5mm magnet into the weapon/lower arm. Make sure it sits square and ensure the top face of the magnet is clear of glue. Don’t worry about wedging it into the slot either as you’ve a small amount of play all the way around it.
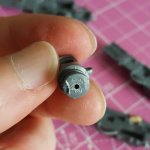
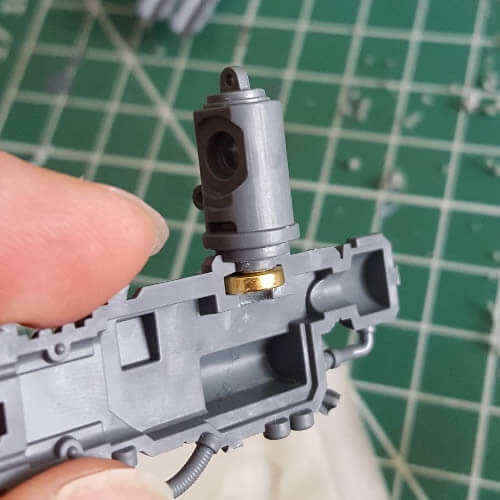
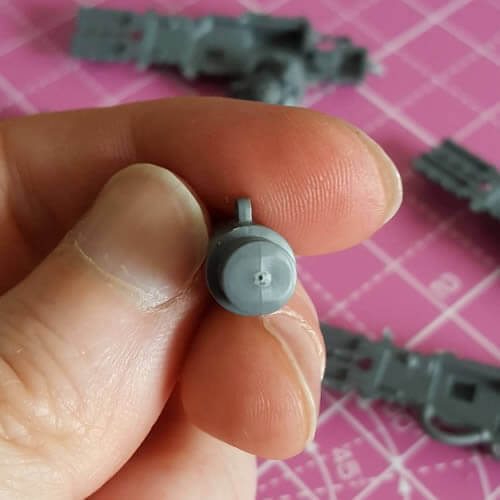 Next up you need to mark the dead centre of the bicep piece. You should have a mold line to help guide you in one direction, but the other you’ll need to do by eye. Use something round, sharp and pointed to make this mark, my own preference is a Scribe used for scribing metal, however a pin in a vice works equally well. A knife isn’t ideal as it’ll cut a slice rather than a hole.
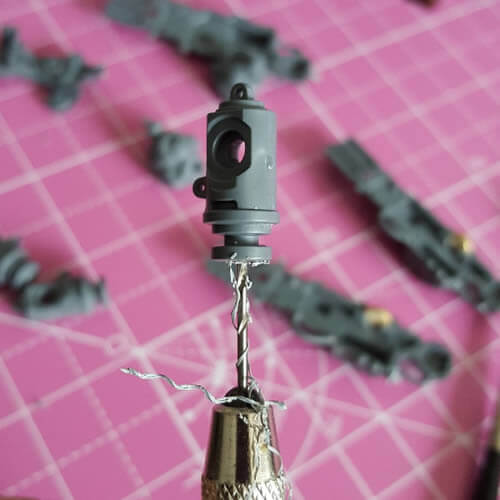
 Now using a 1mm drill bit (or a little smaller), drill a hole straight the way through the bicep, you’ll probably meet a few air pockets in the plastic on the way down, but make sure that this hole is drilled as straight as you can manage it.
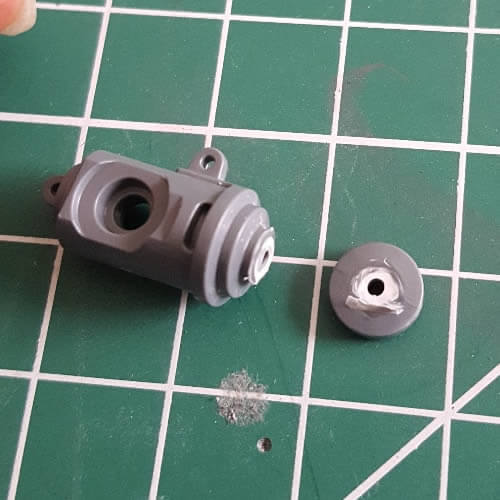 Next up, using a very sharp knife, carefully cut the flange of the bicep off. You’ll see that I grabbed an old cutting mat for this. Go gently and let the knife so the work for you, you need to hold the blade into the flange and then rotate the bicep as much as you can. Don’t just hack down else you’ll shave off a lot of plastic and end up with a mess.
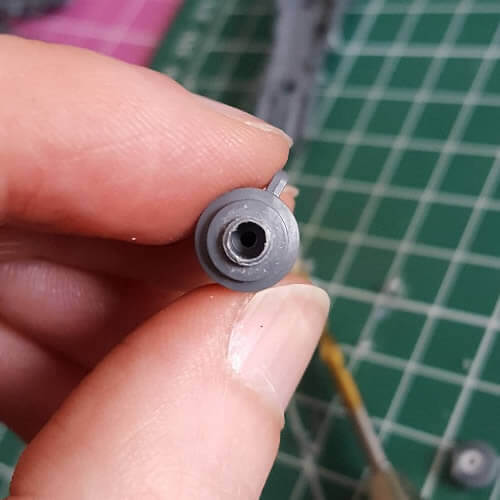 You now need to widen that pilot hole up to 3mm so that it’ll accept the 3mm x 2mm magnet. You will need to go fairly deep and test as you go – however don’t ram the magnet in else you’ll never get it out. I tend to widen the hole by drilling it out multiple times so the magnet slides in and out without any force. I found that I had to file the outer edge of the plastic, as drilling the hole had pushed it a little out of shape.
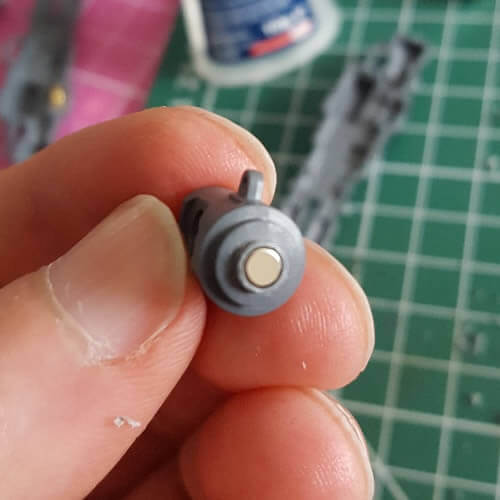
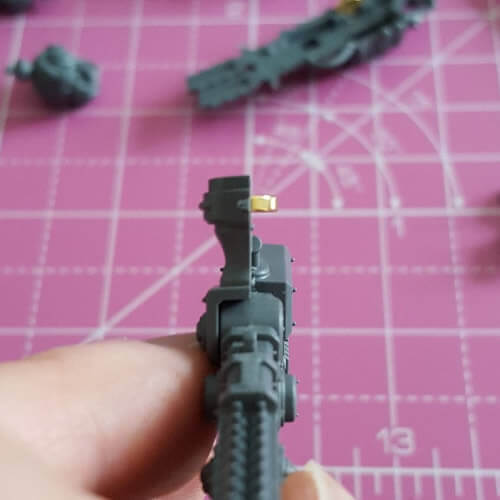
 The final step now is to glue the 3mm x 2mm magnet in place. I used a cocktail stick to apply thin super glue into the hole and then quickly pushed the magnet in place (pay attention you’ve got the polarity right), use the cutting mat to push the magnet flush.
Home Stretch
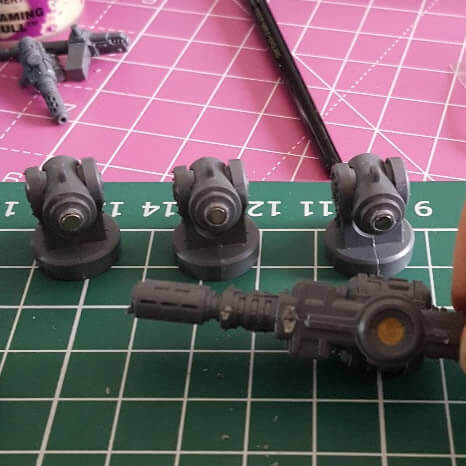
 We’ve now done the bulk of the difficult tasks when magnetising knight armiger arms and we’re now on the home stretch. Once the superglue is dry, you can test the fit of the arms. There may be a tiny air gap between the two magnets, but that’s fine, it’ll be strong enough to hold in place.
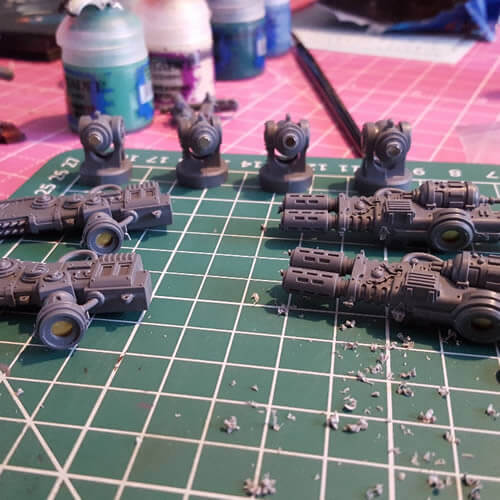
So the next steps are pretty simple and require you to glue together the rest of the plastic pieces, so the elbow joint for the chainsword, the bicep in the shoulder section and the two halves of the gun.
Overgluing

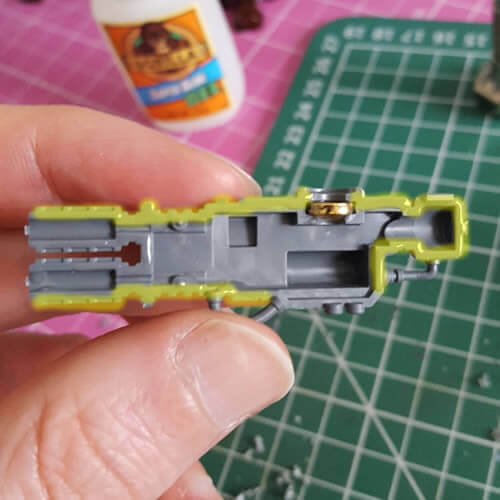 One technique I frequently do on plastic models is a process I term overgluing. This is were you apply an excess of plastic glue so that it squeezes out of the joint. Once dry (24 hours), you can cut and sand that joint in the same way as if it were all plastic. You do however need to be sensible as it’s very easy to overglue at a point where you can’t get a knife or file. As an example I’ve highlighted where I’ve overglued on the gun and the result.
Finished Magnetising Knight Armiger Weapons!
And there we have it! We’ve finished magnetising the Knight Armiger. Hopefully this tutorial will come in useful even if you don’t follow it word for word.
Hiya, the both sizes of magnets were N42’s. Weapons aren’t super heavy – you could probably get away with a lower strength magnet in truth. Both sizes came off the Amazon in the UK too if that’s any help.
Do you know if the magnets you used were N35 or N50 or something else? It seems like the weapons are probably fairly heavy, so I am concerned weaker magnets might night hold well enough.