 As I planned a few weeks back, I took a small hiatus from my Slaughterpriests and put some work into my Realm of Battle boards. I’ve had these boards for at least five years now and have had to contend with models slipping and sliding all over the place when I’ve used them to game on. I also popped into the Swindon Games Workshop and managed to pick up one of the Arcanabulum boards from the new Shattered Dominion Realm of Battle sets which will add a bit of variety when I’m playing games of Age of Sigmar.
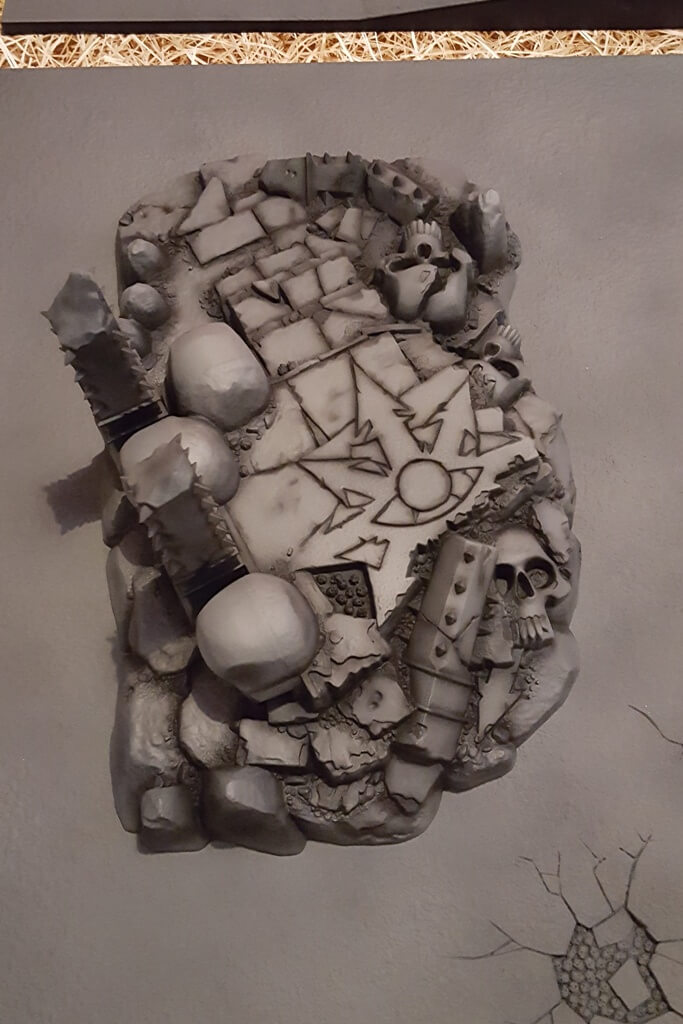
Unsurprisingly, I didn’t get the boards finished on my week off as I ended up having boiler services, deliveries and all sorts of bits, but I have got them to a pretty decent standard and it’s largely just down to details left to do and varnishing. I also got my Temple of Skulls painted up at the same time as much of it would need to match the boards.
General Tips on the Realm of Battle Boards
The first and foremost tip I would give to anyone doing scenery or boards, is to remember that you’re working on scenery not miniatures, you don’t need to be quite as refined as you would normally. In addition to not out-shining your models, scenery needs to be durable. Models will be dropped, dice thrown and the scenery will likely be leant on. To this end I chose to put the base colours onto everything with spray cans and to use a proper plastic primer rather than regular Citadel Chaos Black (which is only an undercoat).
My second tip is to take your time, have breaks between sessions to allow the paint to dry property and generally enjoy the process. You’re going to paint up significantly less scenery than models so you might as well like the whole process.
Base Colours
When it comes to plastic primer, my mind will immediately jump to what I think is the logical choice – Plastikote. Although I cannot fault Halfords primers, I find that Plastikote has a really good adherence, coverage and most importantly is quite cheap coming in at under £6.50 for a 400ml can (with Amazon Prime delivery). In comparison to other primers it also has a very good drying time of around 30 minutes.
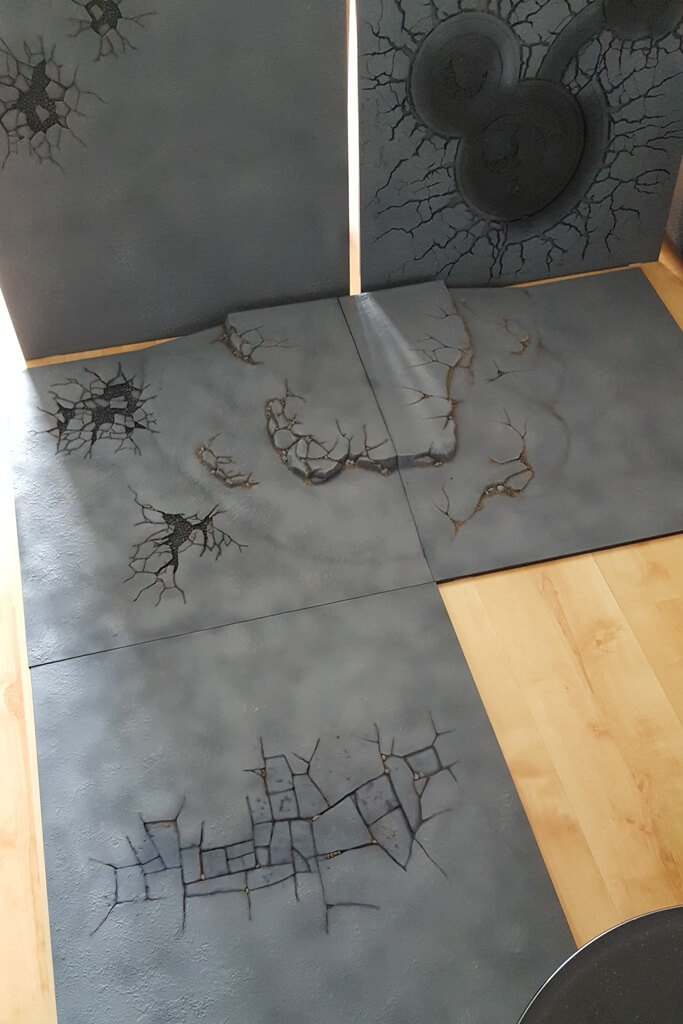
Using black Plastikote primer I managed to get three boards sprayed out of a single can, so ended up picking up a total of three cans of black primer (enough for 7 boards, the temple of skulls and some extra bits of scenery). I didn’t see much benefit in changing brand so picked up the same quantity of Plasikote matte grey too and once primed hit everything with a layer of grey. What I tried to do (with varying degrees of success) was to spray less heavily in some areas to others, in effect creating a mottled pattern. This adds a bit of variety to each board once they’re finished. To neaten up the edges of the boards I grabbed a can of Chaos Black and sprayed the edges of each board from underneath.
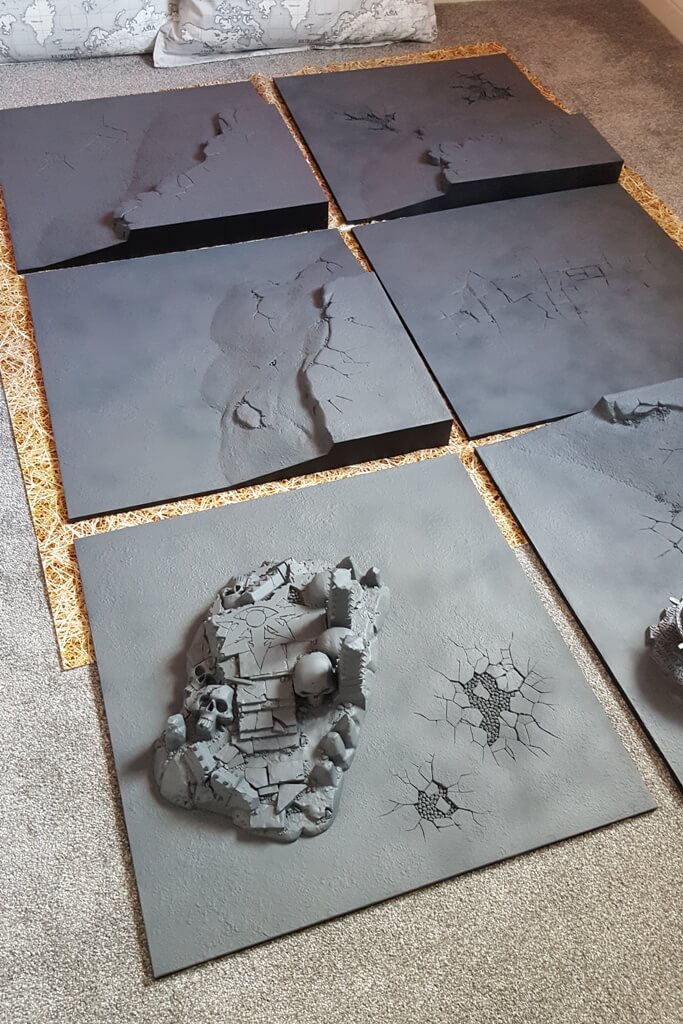
Everything was then left 24 hours to properly dry off. This is a very important step, unlike Citadel sprays which dry off in a couple of hours, Plastikote takes a lot longer to cure and it’s really important to get this set solid as it’ll receive a lot of drybrushing.
Shading the boards (Airbrushing)
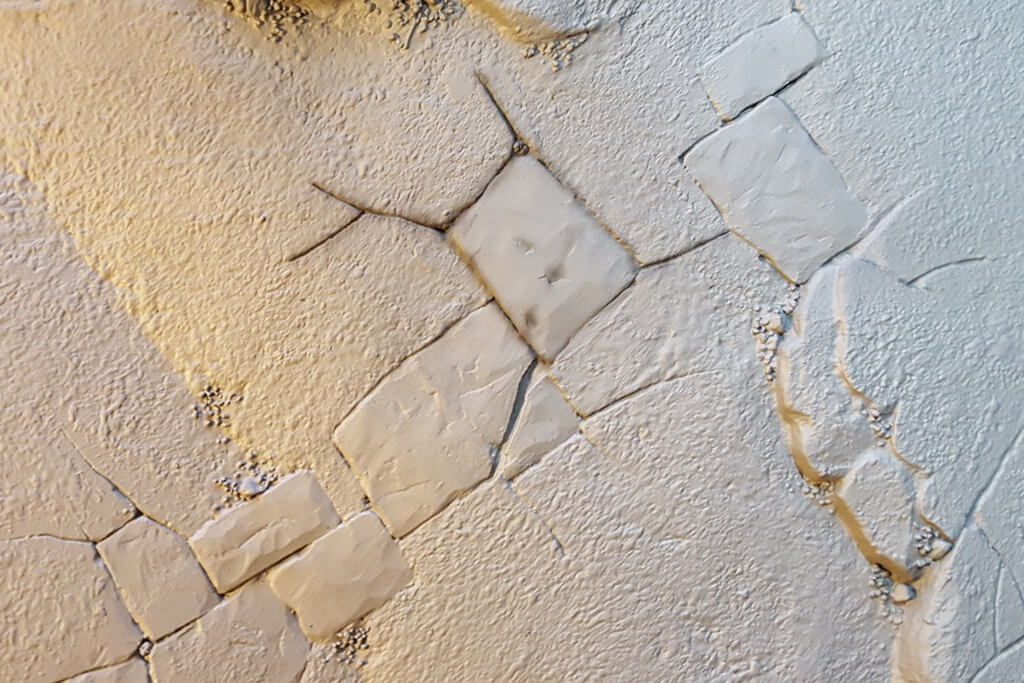
So, next up we’re onto some nice airbrush work. Thinned down black (I used Vallejo Model Air) got airbrushed into every single crevice and shadow. This makes a huge difference to the overall appearance of everything and is a really good way to practice accuracy with an airbrush. All of the flagstones then got airbrushed with Dawnstone, followed by Administratum Grey, basically highlighting up the surface. What this does is to make solid slabs of stone look different to the rest of the grey “dirt”. The Temple of Skulls required a lot of this, although I didn’t do the actual Chaos icon as I will do that a different colour. I then grabbed one of my large GW drybrushes and gave the slabs a drybrush of Dawnstone and then Administratum grey.
This defines the edges and pushes the colours a little bit brighter and any drybrushing on dirt piles etc helps with the next step.
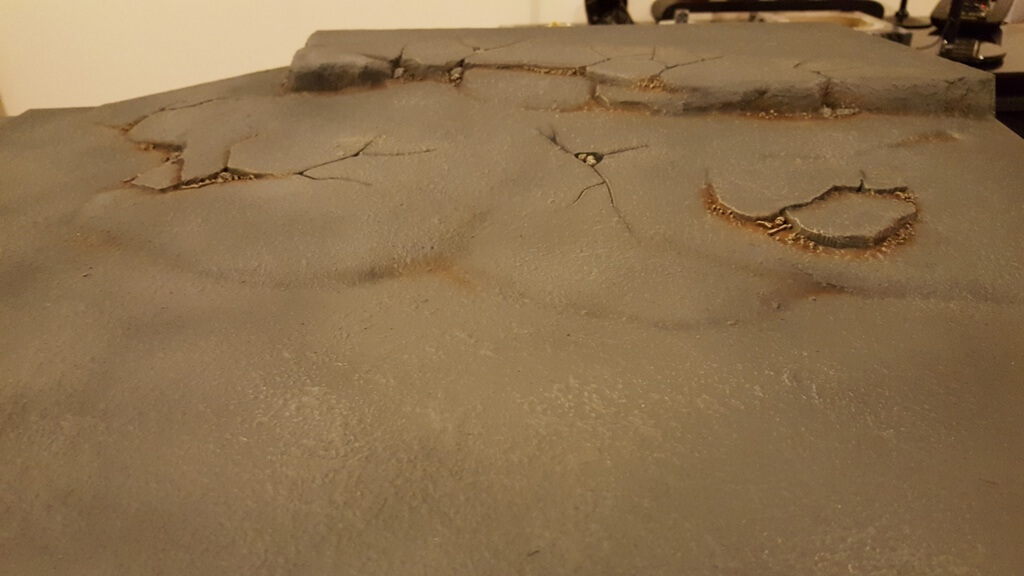
Then, back with the airbrush I give all of the rubble and dirt a coat of Vallejo Model Air Burnt Umber followed by Mournfang Brown.
Drybrushing and Paints Used
With that lot done I moved all of the boards downstairs so I could paint and drybrush with the telly on in the background. The first item was to look at all of the areas of brown and to pick out any fallen rocks with Standard Mechanicus Grey so they look like rocks on top of dirt rather than being part of is.
Needless to say, the prospect of drybrushing 24 square feet of Realm of Battle boards needs a slightly different approach to how you might drybrush a fur cloak. I used a couple of 2″ decorators brushes (stiff bristles but fairly soft tips), a large sheet of corrugated cardboard and Daler Rowney System 3 artist acrylics in Grey and Buff Titanium.
Using a 50/50 mix of the Grey and Buff I drybrushed pretty much everything that was still the colour of the spray can – in other words avoiding the brown areas and slabs. Switching over to a normal large drybrush I also did the various fallen rocks I’d painted grey earlier. Because I was able to do this during the day I actually had really good daylight to see where I’d gone so it was easy to make sure that I emphasised the mottling I’d achieved with the spray cans.
I then repeated the process but using the buff colour, concentrating on the edges of fissures, rocks and similar. If any bits go too far I would grab the 50/50 colour and use it to blend back in. The key thing is to make sure nothing is too uniform but equally making sure it’s not messy.
The last drybrush used a pot of Kharak Stone and a regular large drybrush. I carefully went over all of the dirt areas, the edges of the cliff type sections and gently around the fissures. A little bit of over lap onto the surrounding areas is good but it needs to be kept very subtle. I also randomly scuffed the brush over any areas on the flat that looked like they needed a bit of lifting, even subtly it changes the dynamic of the board.
Painting the Bones and the Next Step
All of the skulls and bones that weren’t part of one of the 4 skull pits was then given a coat of Zandri Dust, a wash of Agrax Earthshade and then a top layer of Ushbati Bone. I didn’t bother with a top highlight as I wasn’t looking to make them stand out.
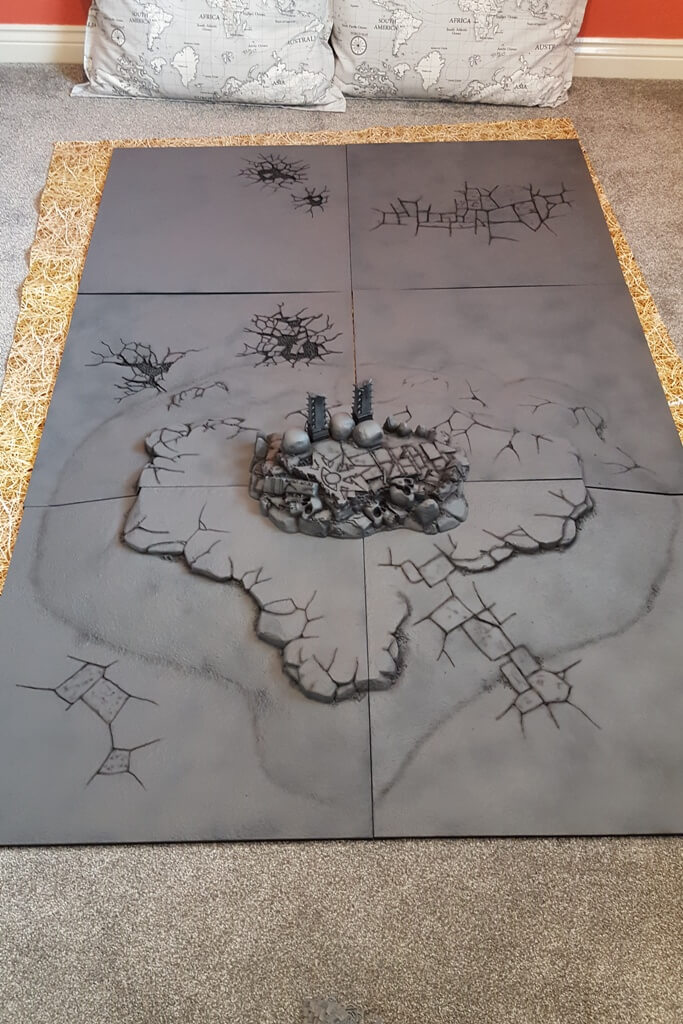
And that is pretty much where I’ve got to! Last night I started blocking out the base skull pits with Khorne Red and my intention is to paint them with Blood for the Blood God once the boards have been varnished. I’m also going to lightly apply some dirt colour from the airbrush to add a little more colour to the boards.
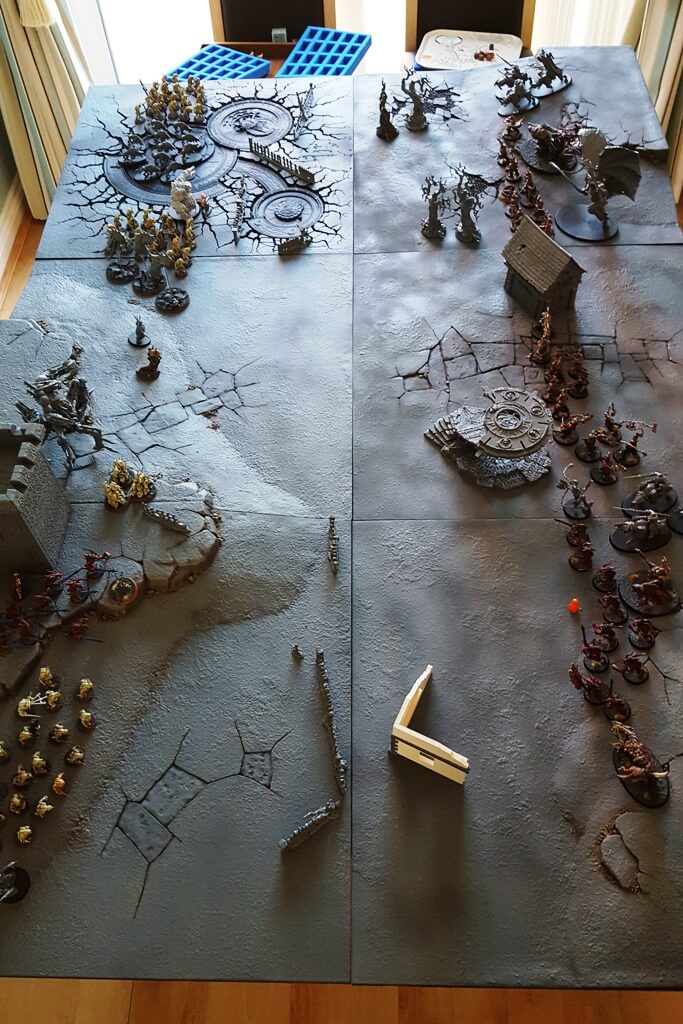
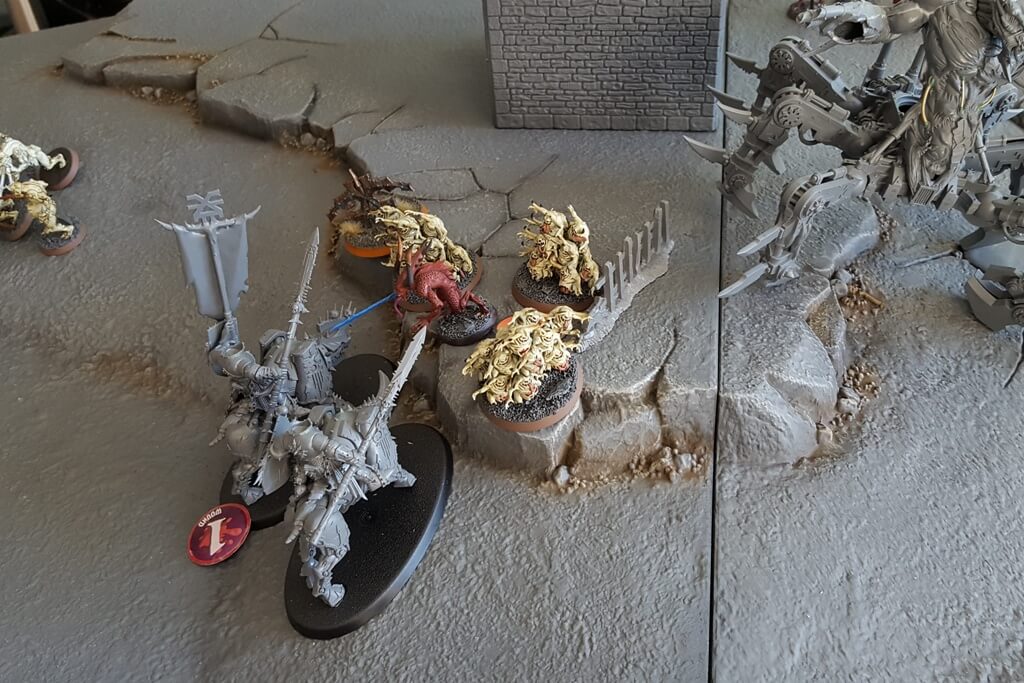
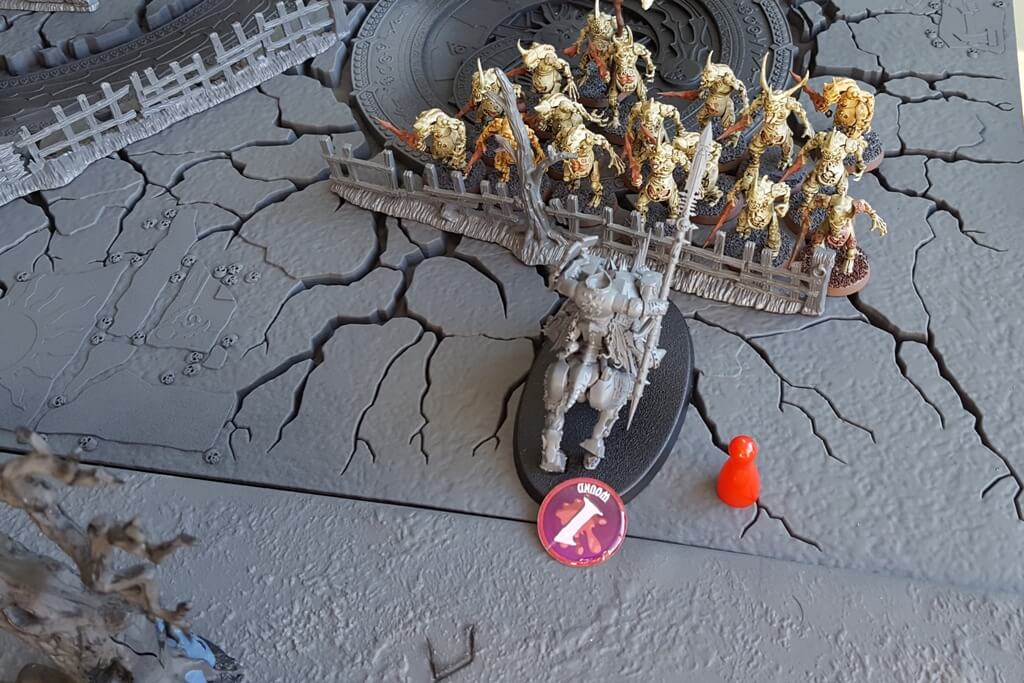
Boards in Use
So here’s a few snaps of the boards in use over the weekend – I apologise with the quantity of unpainted models, my brother and I decided to do a 2000 point game and so 800 points of my Bloodbound army is unpainted.
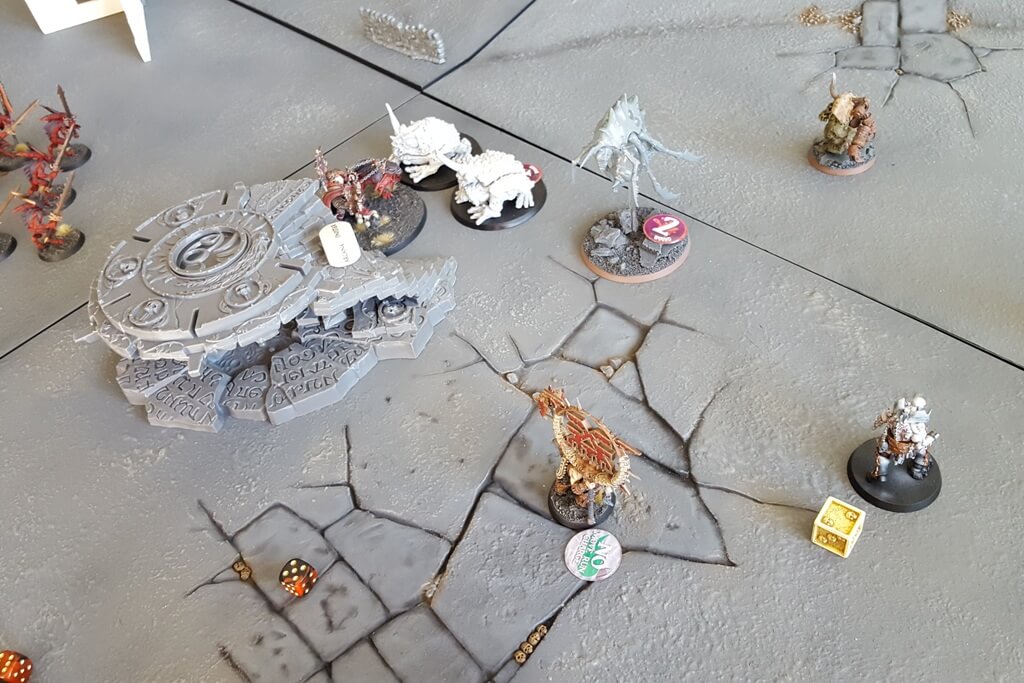
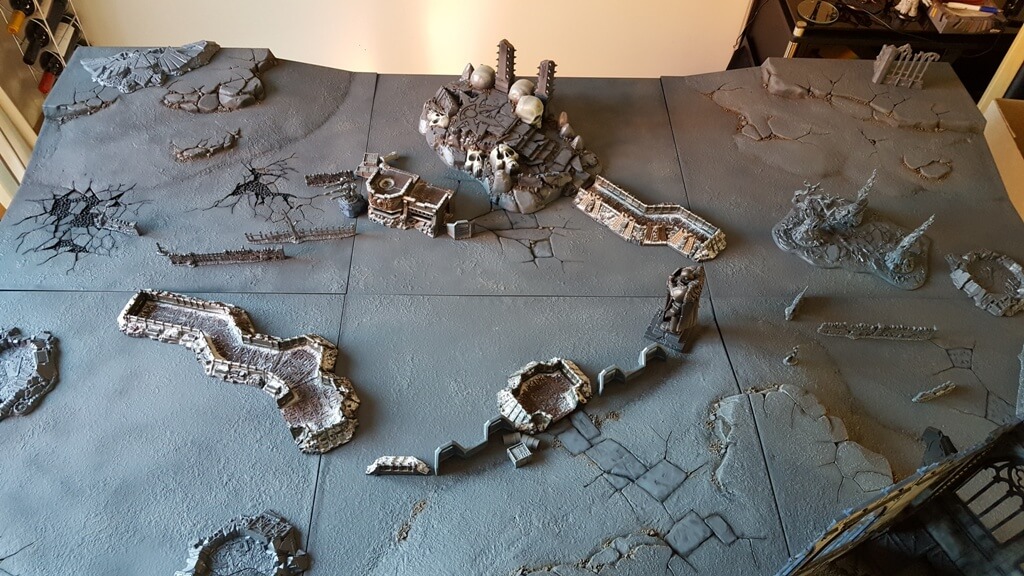
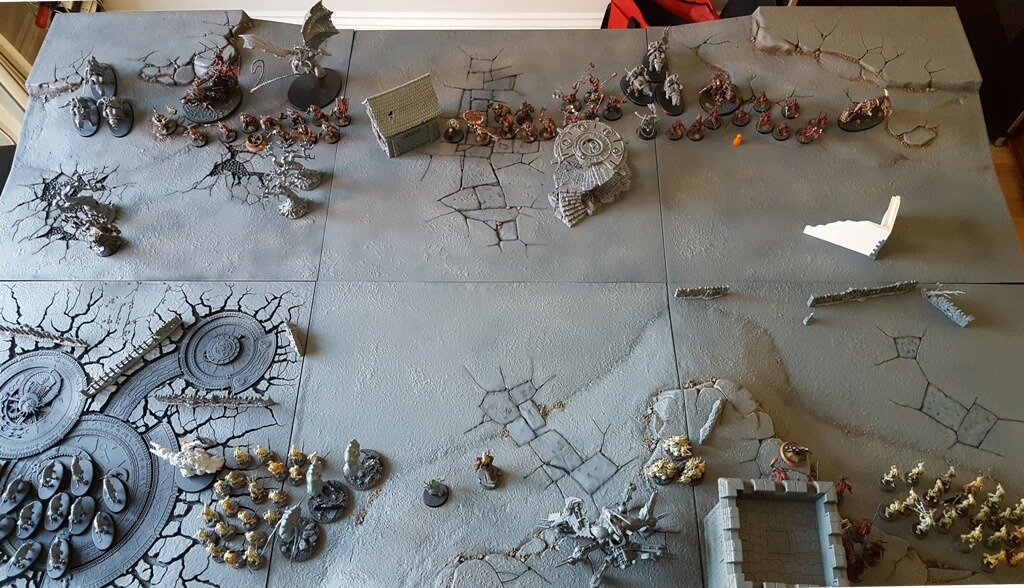
If you look at the last picture you’ll see that I’ve not yet drybrushed the Shattered Dominion board and it’s just got it’s base colour on. Although you don’t realise it at the time, drybrushing really does lift the board colours a lot.
1 thought on “Painting up the Citadel Realm of Battle Boards”