Deprecated: Using null as an array offset is deprecated, use an empty string instead in /home/pa-syco/public_html/runebrush/wp-includes/class-wp-block-type-registry.php on line 168
Deprecated: Using null as an array offset is deprecated, use an empty string instead in /home/pa-syco/public_html/runebrush/wp-includes/class-wp-block-type-registry.php on line 168
Deprecated: Using null as an array offset is deprecated, use an empty string instead in /home/pa-syco/public_html/runebrush/wp-includes/class-wp-block-type-registry.php on line 168
Deprecated: Using null as an array offset is deprecated, use an empty string instead in /home/pa-syco/public_html/runebrush/wp-includes/class-wp-block-type-registry.php on line 168
Deprecated: Using null as an array offset is deprecated, use an empty string instead in /home/pa-syco/public_html/runebrush/wp-includes/class-wp-block.php on line 257
Deprecated: Using null as an array offset is deprecated, use an empty string instead in /home/pa-syco/public_html/runebrush/wp-includes/class-wp-block-type-registry.php on line 168
Deprecated: Using null as an array offset is deprecated, use an empty string instead in /home/pa-syco/public_html/runebrush/wp-includes/class-wp-block-type-registry.php on line 168
Deprecated: Using null as an array offset is deprecated, use an empty string instead in /home/pa-syco/public_html/runebrush/wp-includes/class-wp-block-type-registry.php on line 168
Deprecated: Using null as an array offset is deprecated, use an empty string instead in /home/pa-syco/public_html/runebrush/wp-includes/class-wp-block-type-registry.php on line 168
Deprecated: Using null as an array offset is deprecated, use an empty string instead in /home/pa-syco/public_html/runebrush/wp-includes/class-wp-block-type-registry.php on line 168
In the second of a small series of posts, I go through my progress and show off some of my first prints
I’ll may do a proper post and video about this (if you want to see this, add a comment below!), but in simple terms the first thing you need to do on a 3d printer is work out your “exposure time” – this process is referred to as “dialling in” your printer. In exactly the same way as camera, the exposure time is how long you hold open the LCD to let UV Light through to cure the resin. There are loads of different resources out there on how to do this – Fauxhammer has a good video to get you started on this track.
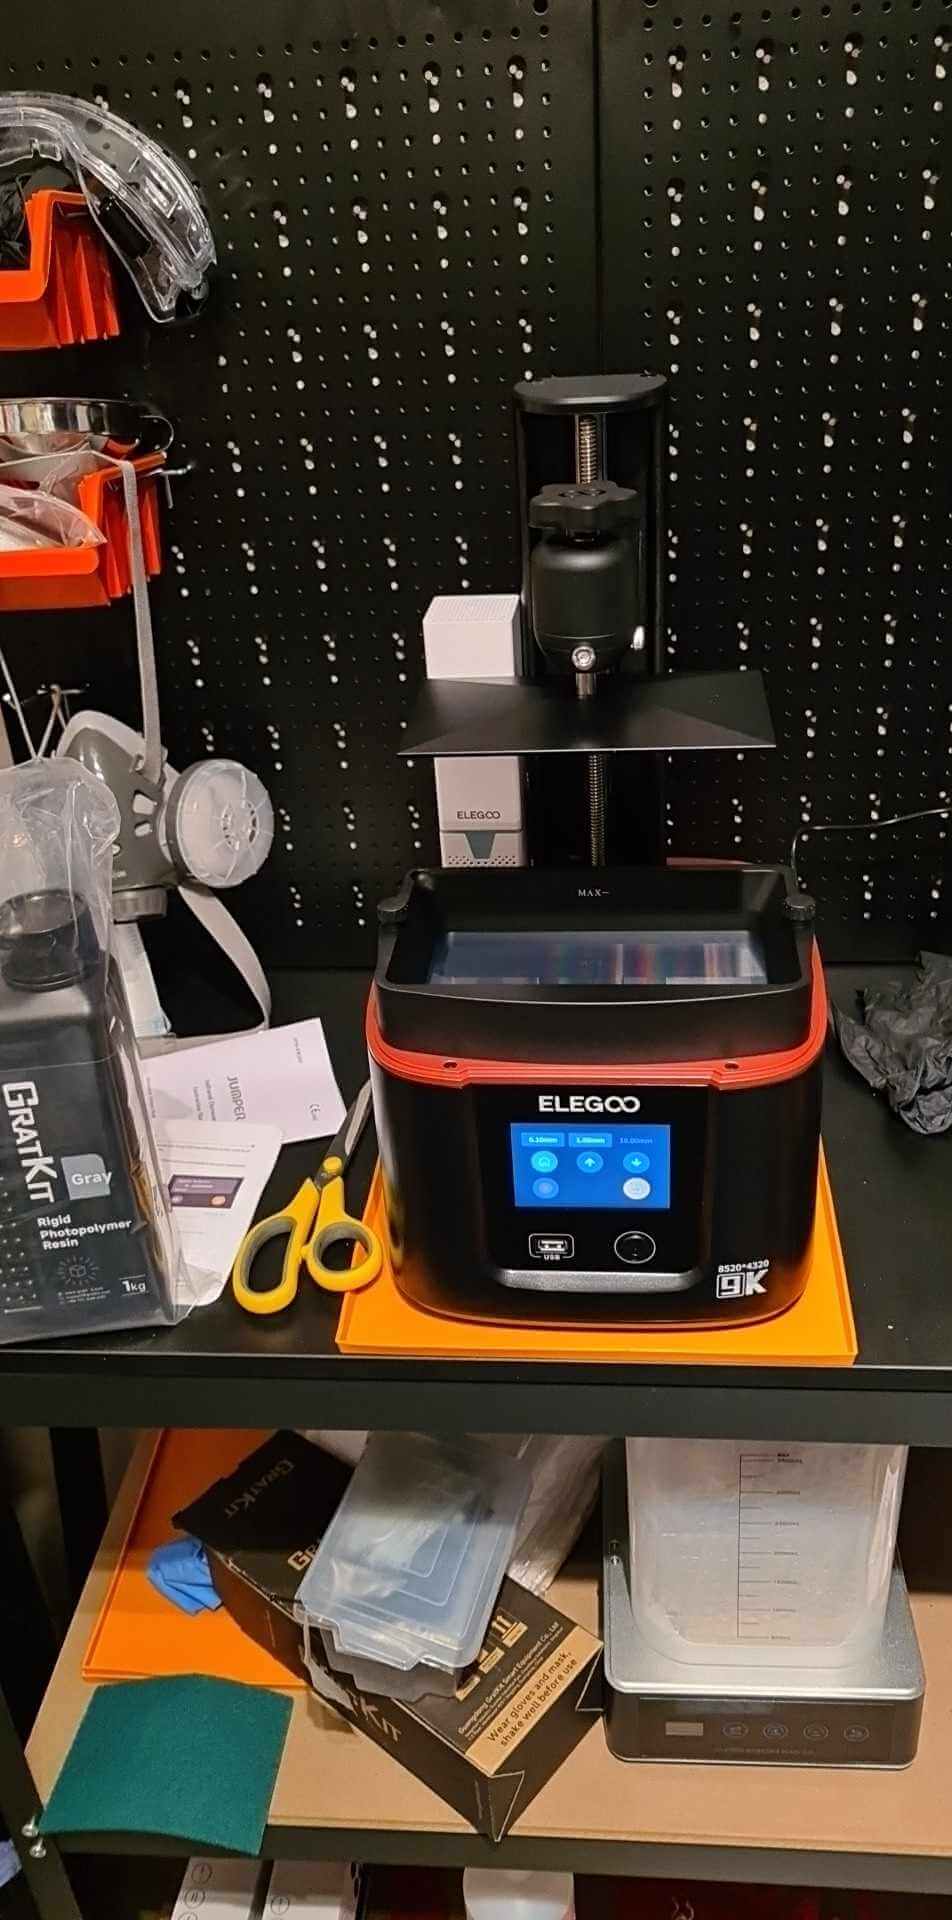
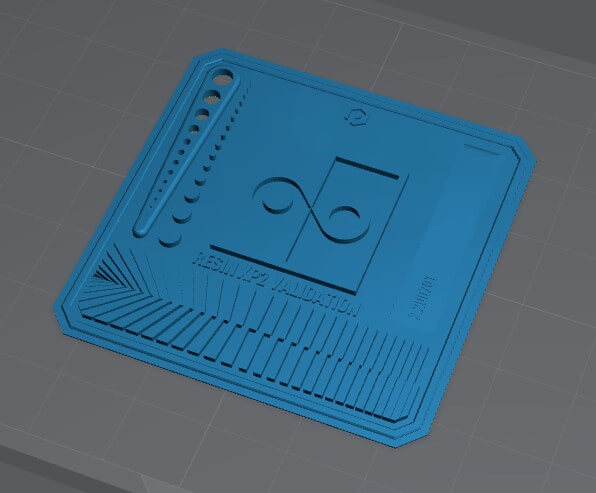 I’d already decided that I’d use the XP2 Validator to get my print roughly dialled in and then use the Cones of Calibration to get it more accurate. In total it took me 5 days to get my printer nailed down, however I did make my life a lot more difficult than most people would do! Firstly I was trying to do this in the tiny amount of time between getting home and it getting dark – it’s September in the UK, the nights are drawing in and the weather is foul. This means I really only have a short time frame between 4.30 and 7 to do anything. I print in my external garage and I’m lucky enough to have hedgehogs frequent the garden and put out food, so “dark” was my hard limit as I didn’t want to disturb them fattening up for winter.
Normally the dialling process begins by looking up some exposure settings from community driven spreadsheets or Lychee’s database. However I was using a very new model of printer with GratKit’s Rigid resin – a manufacturer that isn’t quite as mainstream as other brand. That meant the only settings I could go for was for a different type of resin entirely as the starting point.
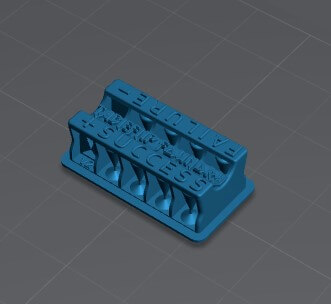 The other thing was I refined my exposure using the regular Cones of Calibration – which was taking around an hour to print out. What I discovered is not only is there an amazing Discord channel from Table Flip Foundry (the creators of the Cones), but there’s also a version 2 of the cones in development, that is half the height thus half the print time and available from their Discord. This Discord is also full of experts who are more than happy to help with any problems you have.
I did make mistakes during this period. My second print I forgot to tighten the build plate – thankfully no damage caused and I realised half way through. Getting that second print off the build plate also resulted in me putting a massive scratch in the build plate with the metal scraper – I’d not realised that the scraper has an angle ground on one side and thought both sides the same. Really frustrating to do on something I’d had for less than 24 hours and did cement in my mind that I’d like to pick up a magnetic flex plate – not that anyone in the UK sells one for my printer yet… A flex plate could also help solve the issue where prints would randomly ping off like a bullet and bounce across the concrete floor.
 A few other things flagged up too. I’m printing in the back of my garage, a number of years ago I plasterboarded this out with insulation to make a little room – basically a 2m cube. It’s a great space filled with old copies of White Dwarf, miniatures and such like. However it’s small and the fumes from the printer are a little overwhelming at times as the carbon purifier only runs whilst printing. At some point I do need to install an extractor to just make it a lot safer and more pleasant – a respirator absolutely helps, but even shifting those fumes into the garage roof space would be an improvement to working in that section.
Printing is also really messy, you end up dripping resin absolutely everywhere if you’re not careful. Really printers need lipped silicon mats built in around the vat to catch drips and you absolutely need wipeable surfaces pretty much everywhere. Because of this you generate a huge amount of rubbish – resin soaked paper towel, nitrile gloves etc. You absolutely need a bin with a bin bag to contain all of this.
After a few short evenings I did manage to get a good Cones print which meant I could jump in and actually print something off! However I was hampered by that very short timeframe during the week – anything over a two hour print wouldn’t be finished in time for me to wash, cure and come in before it was dark. Thinking about it, I decided that the best thing to work on was actually a series of bases for Legions Imperialis (Epic). Although not out yet, the bases that come in the box are thinner and have details cast into them to represent an urban environment. They are however exceptionally flat – that’s fine for infantry, but for knights, titans and flyers it’s pretty dull! Even adding some bits on the top like barrels, the print time would be well within my window.
The other thing that this would allow me to do was to add a recess into each base that could take a magnet. This would allow me to use them in my carry case and also use my magnetic painting blocks to work on the models.
From this short list of requirements, I quickly put together a basic shape for a base. 3mm thick, with a slightly oversized magnet hole underneath. I’d done a bit of research, so circular bit of the hole wasn’t flat – instead there was a 0.8mm lip and then an angled section as if you’d drilled it out with a pointed drill bit. This theoretically should mean the overhang shouldn’t break off meaning I shouldn’t require supports, plus that angled section means when gluing, the glue has somewhere to sit. Having watched a lot of videos, I’d also decided to print this flat on the build plate, so added a 0.3mm shim that was slightly smaller than the base bottom. This would form the 6 base layers and subsequently get sanded off flat.
Before I printed, I shared the design on a Discord chat and one person pointed out that as the void for the magnet gets covered over, it’s going to retain resin and potentially build up pressure as the resin will be squeezed into the void, so I added four gaps into the shim to release some of the pressure – I’d still get resin in the void, but this should prevent it being a problem. With the design all settled I did an exposure print I was happy with and printed a base out!
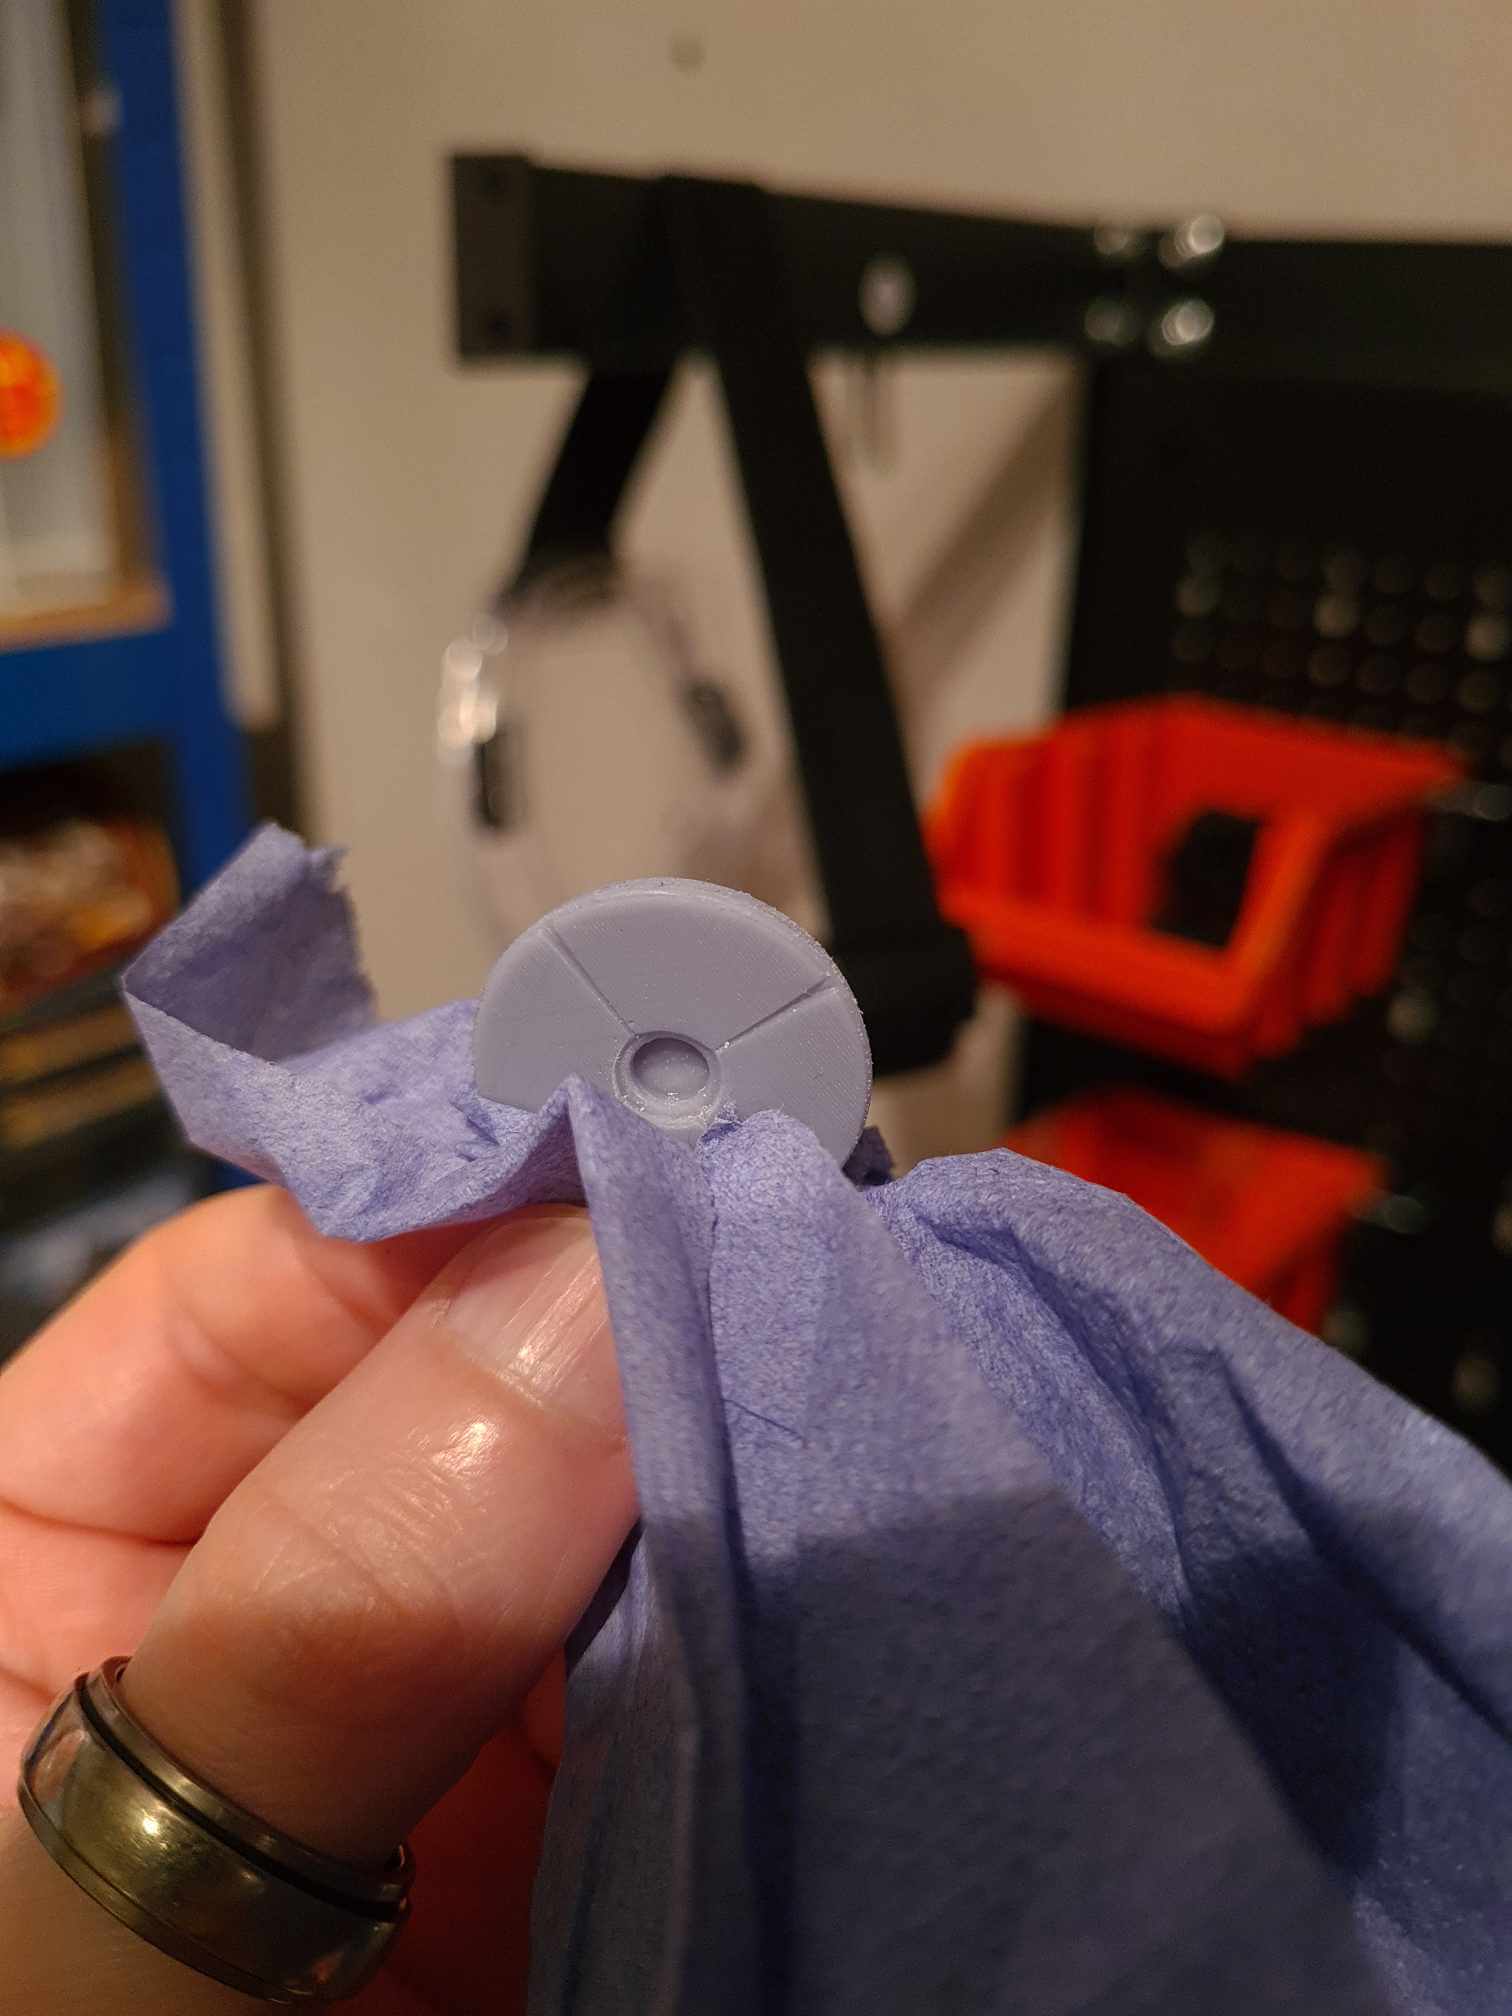 And I’ll be honest – I was pretty happy with the result! The shim has ballooned with what they call “Elephants Foot”, but other than a small deformity on the surface, the actual base itself is pretty spot on.
And with that print done, I shall draw this post to a conclusion! Hopefully this is helpful to somebody out there, please feel free to comment below on anything that’s relevant