Deprecated: Using null as an array offset is deprecated, use an empty string instead in /home/pa-syco/public_html/runebrush/wp-includes/class-wp-block-type-registry.php on line 168
Deprecated: Using null as an array offset is deprecated, use an empty string instead in /home/pa-syco/public_html/runebrush/wp-includes/class-wp-block-type-registry.php on line 168
Deprecated: Using null as an array offset is deprecated, use an empty string instead in /home/pa-syco/public_html/runebrush/wp-includes/class-wp-block-type-registry.php on line 168
Deprecated: Using null as an array offset is deprecated, use an empty string instead in /home/pa-syco/public_html/runebrush/wp-includes/class-wp-block-type-registry.php on line 168
Deprecated: Using null as an array offset is deprecated, use an empty string instead in /home/pa-syco/public_html/runebrush/wp-includes/class-wp-block.php on line 257
Deprecated: Using null as an array offset is deprecated, use an empty string instead in /home/pa-syco/public_html/runebrush/wp-includes/class-wp-block-type-registry.php on line 168
Deprecated: Using null as an array offset is deprecated, use an empty string instead in /home/pa-syco/public_html/runebrush/wp-includes/class-wp-block-type-registry.php on line 168
Deprecated: Using null as an array offset is deprecated, use an empty string instead in /home/pa-syco/public_html/runebrush/wp-includes/class-wp-block-type-registry.php on line 168
Deprecated: Using null as an array offset is deprecated, use an empty string instead in /home/pa-syco/public_html/runebrush/wp-includes/class-wp-block-type-registry.php on line 168
Deprecated: Using null as an array offset is deprecated, use an empty string instead in /home/pa-syco/public_html/runebrush/wp-includes/class-wp-block-type-registry.php on line 168
I’ve been merrily assembling tiny tanks and marines for Legions Imperialis over the past five weeks or so and in this (second) post, I show my progress so far. My first post covers a review of the box and some concerns I have over the longevity of the game.
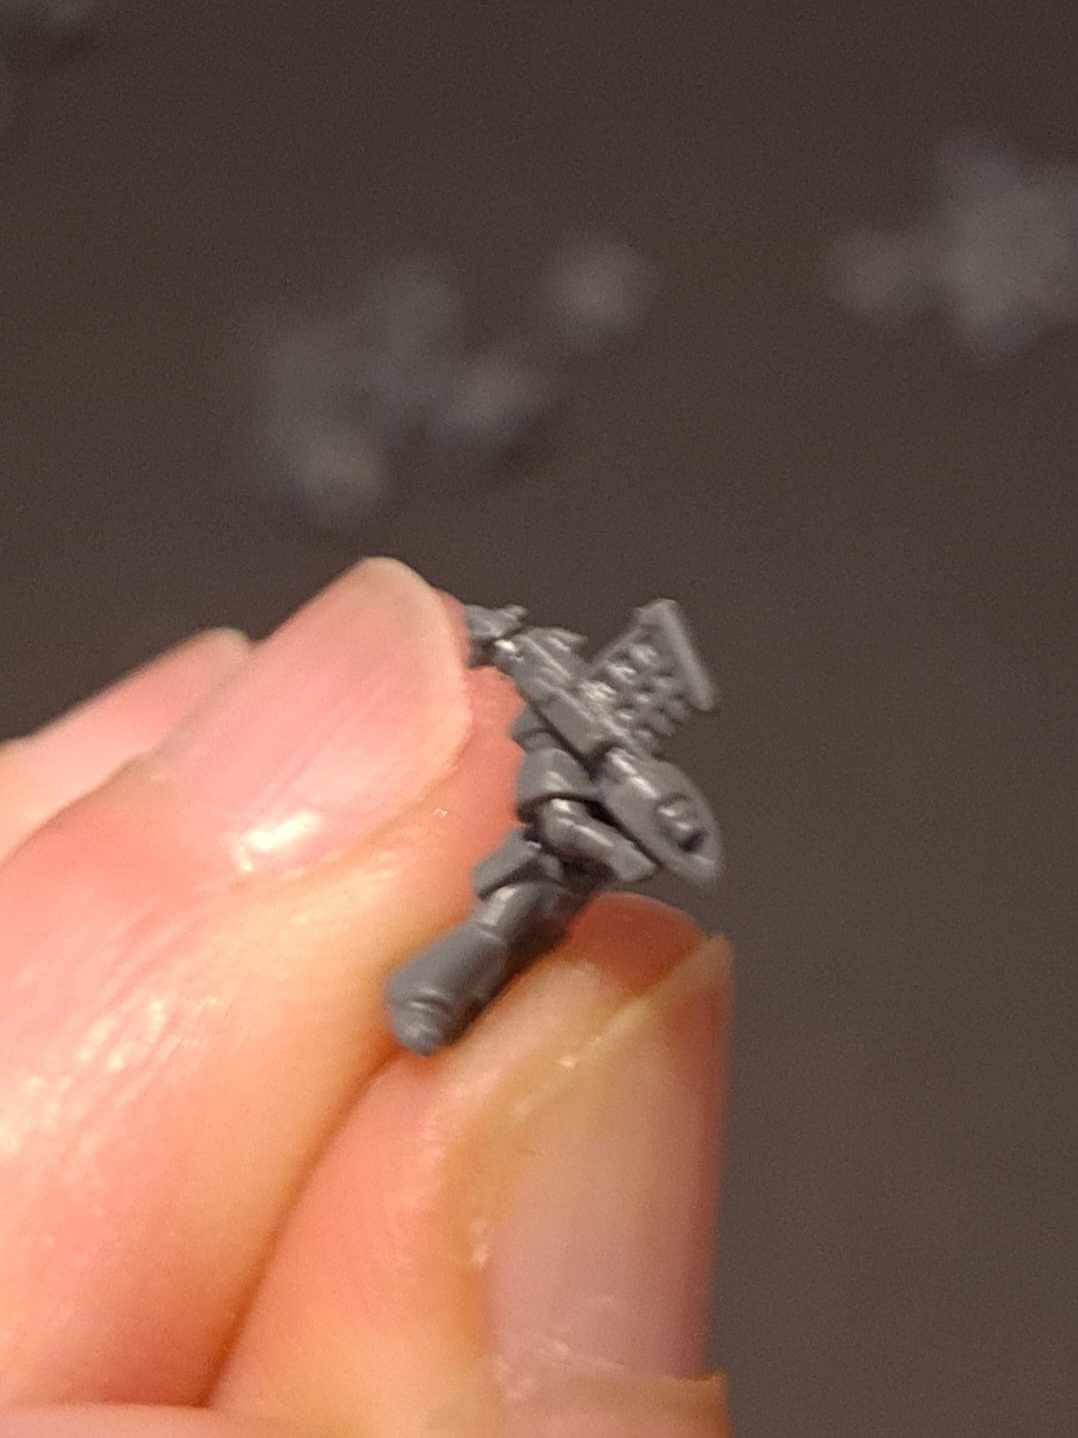 Having sorted out the Solar Auxilia I was passing to my brother, I started tidying up tiny marines! Now one tip I do have is to leave the marines connected to the sprue and snip the sprue away to give you “strips” of marines. I didn’t think of this when I started and double-sided taped them onto the narrow edge of a piece of wooden baton I use for spraying and transferred them to a lollipop stick to paint. Quality wise, the marines are great, there’s some weird undercuts related to injection molds however after gluing on separate missile launchers, I’m glad they didn’t do separate boltguns. At three feet distance you’re not going to see the undercut on a model that is smaller than your thumbnail.
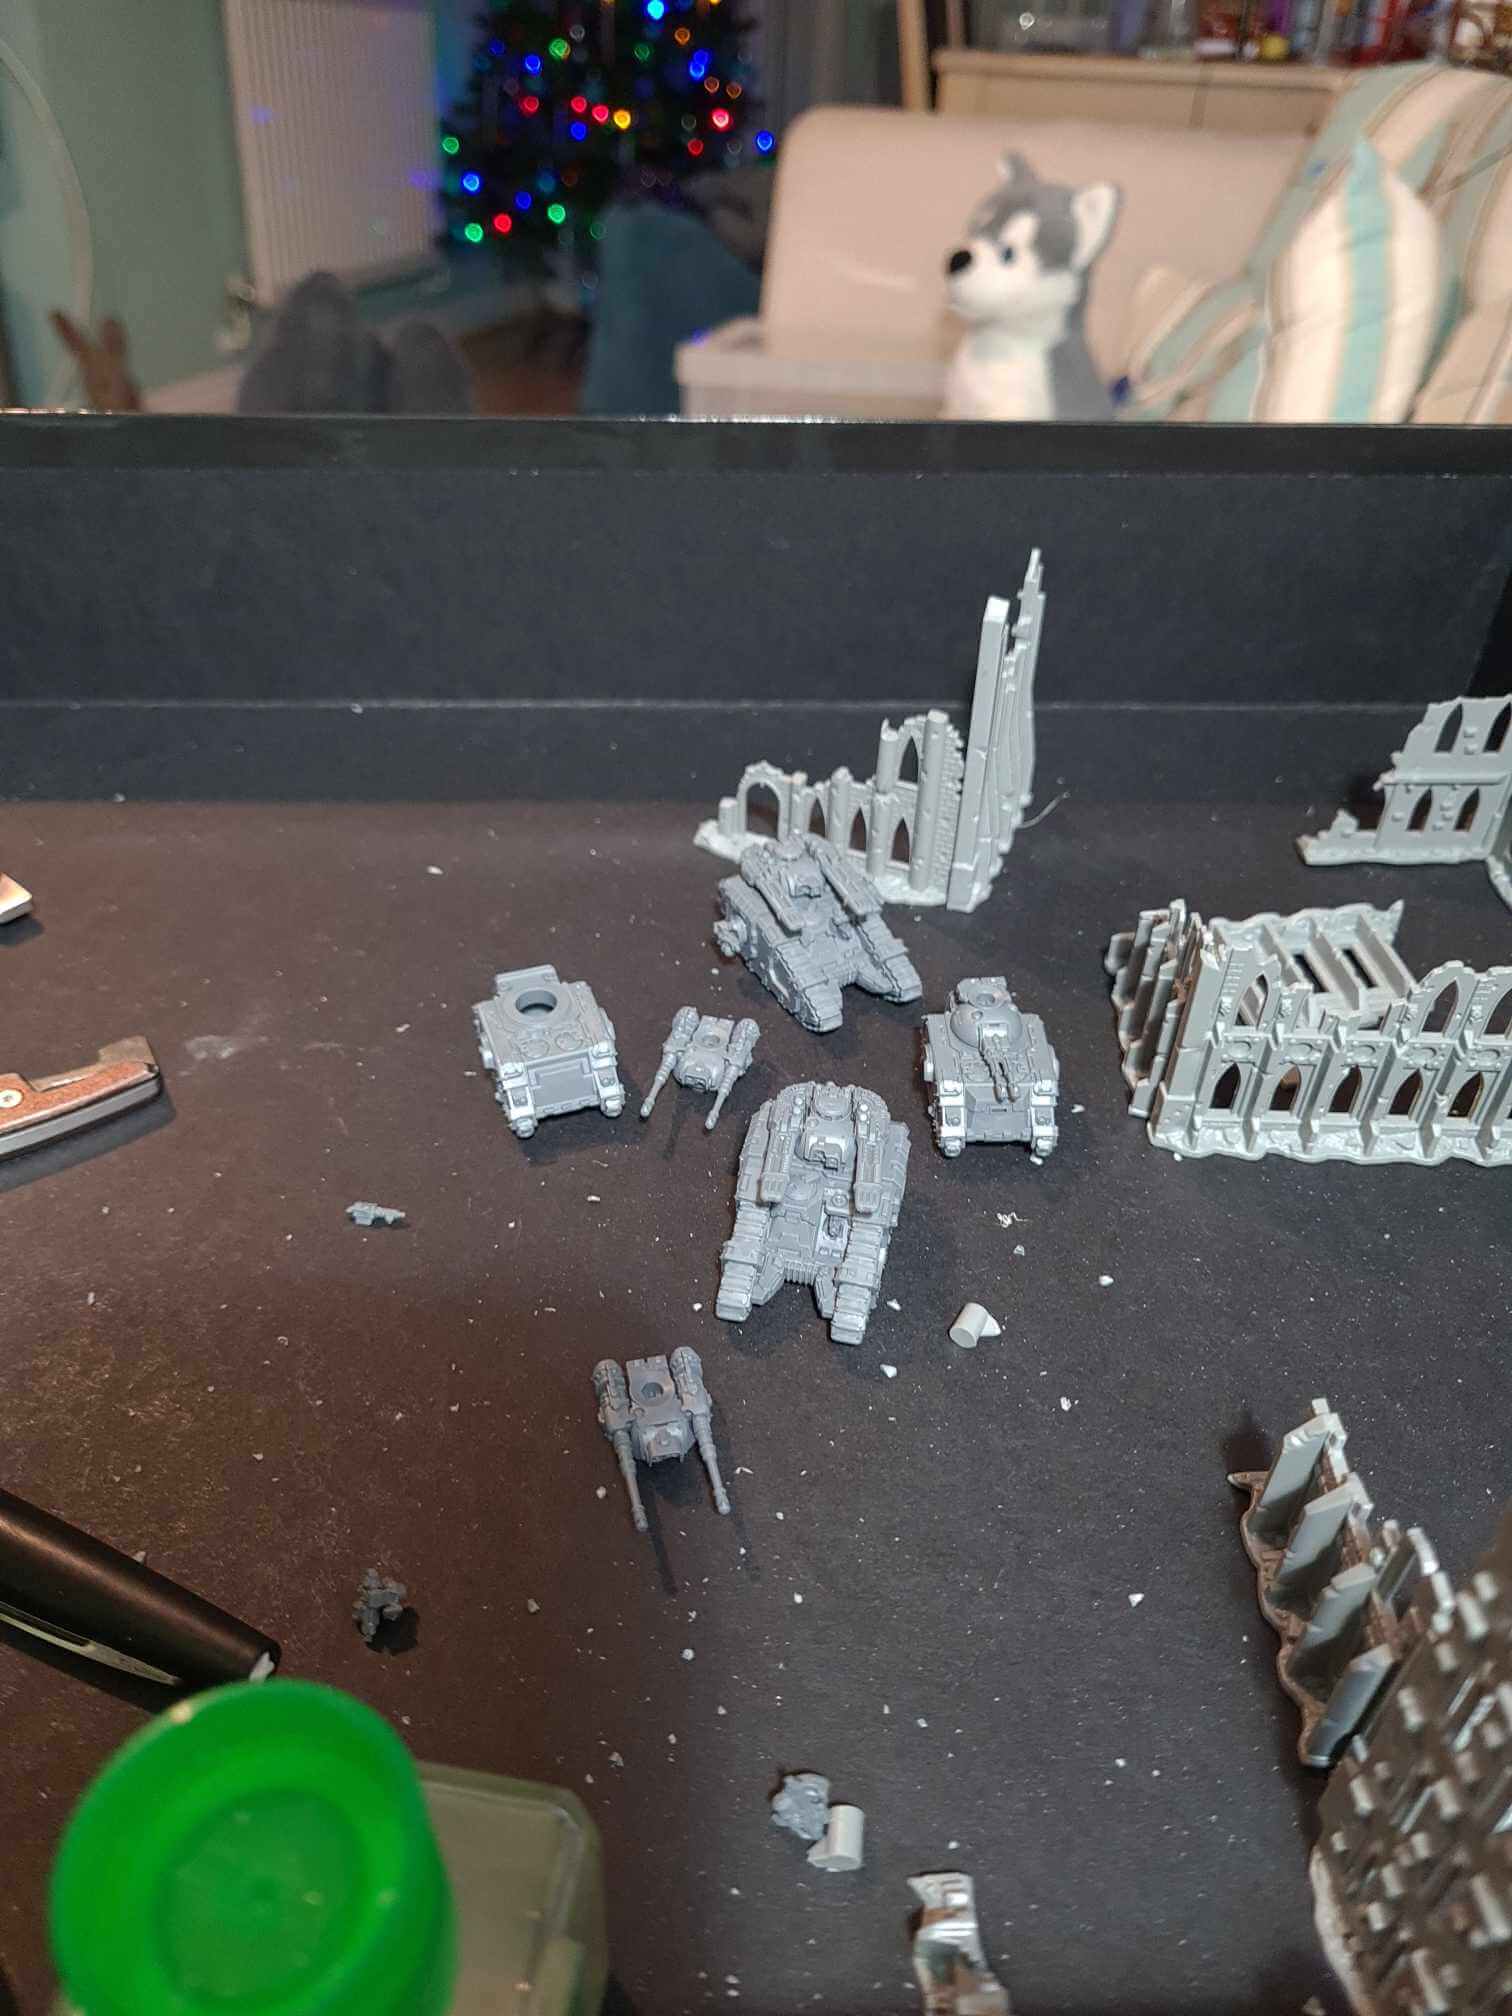 The tanks themselves were a joy to put together – a little daunting with the number of pieces, but they needed very little mold line removal and went together really well, I’d go so far as to say they went together more easily than a flyer or titan. The quality of the molding is top notch for both vehicles and marines. One small consternation I do have is what happens when the injection molds wear, it’s what happened with older versions of Epic and removing mold lines became an absolute chore. Fingers crossed this will be a long time off!
Thankfully assembling the bulk of the models during a week’s holiday meant that I was able to pop outside when the wind and rain died down and the marines received a coat of Standard Mechanicus Grey followed by Grey seer. I glued a 6 x 1 mm magnet into my bases and gave those a coat of Standard Mechanicus Grey spray – though I’ve not yet worked out the colour scheme I’ll use on the bases, but figured that grey is always a good middle ground colour to start from.
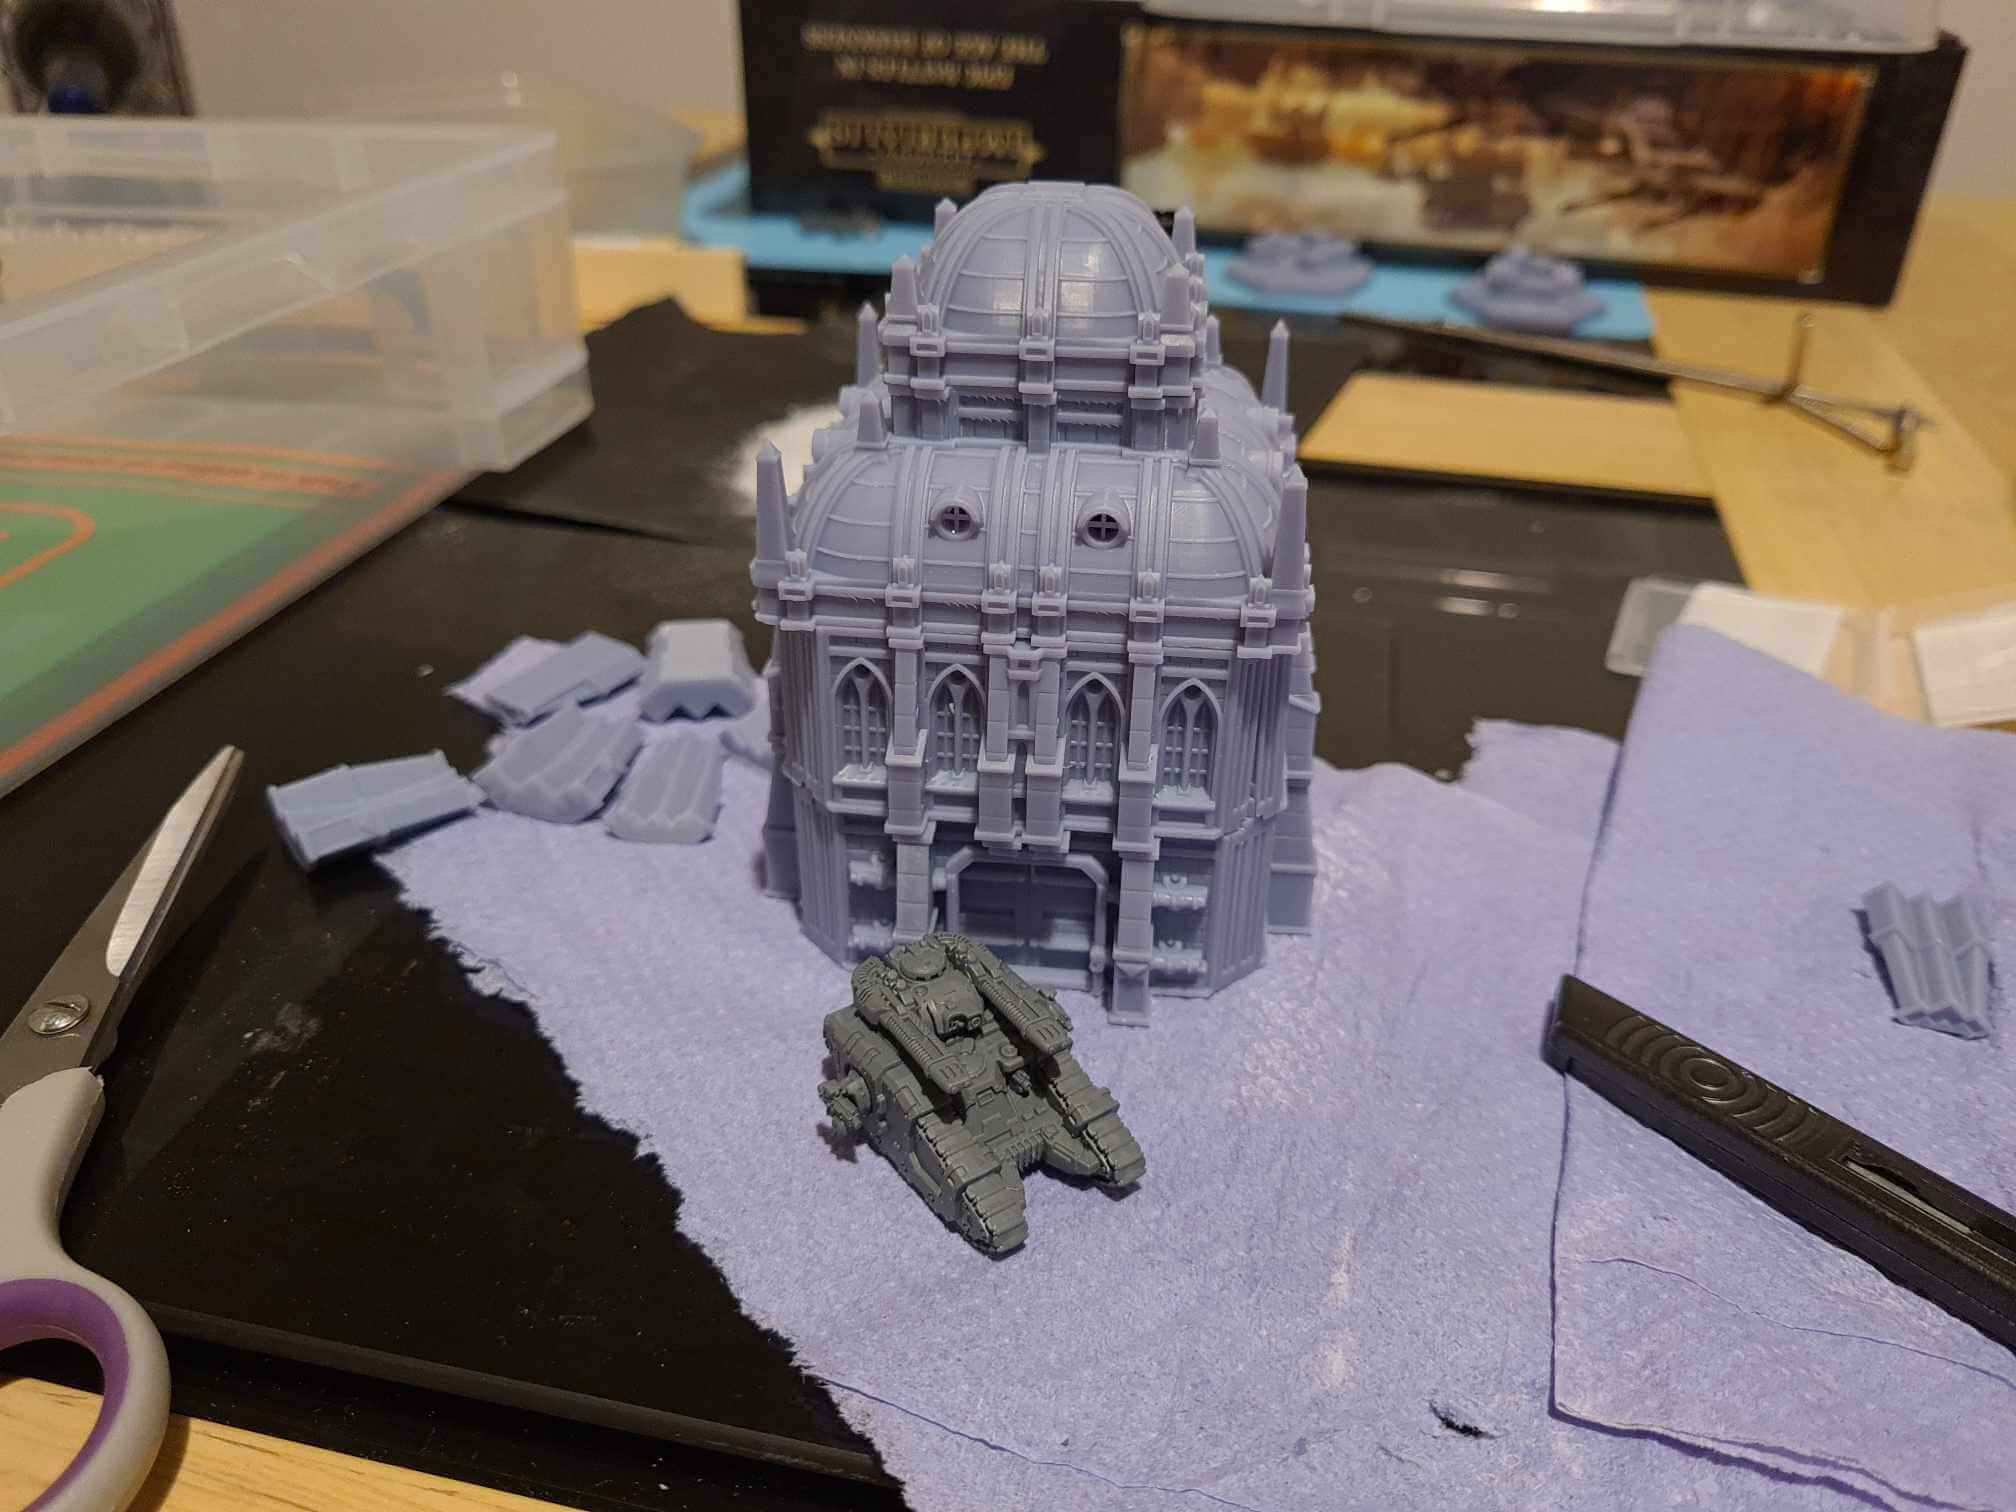
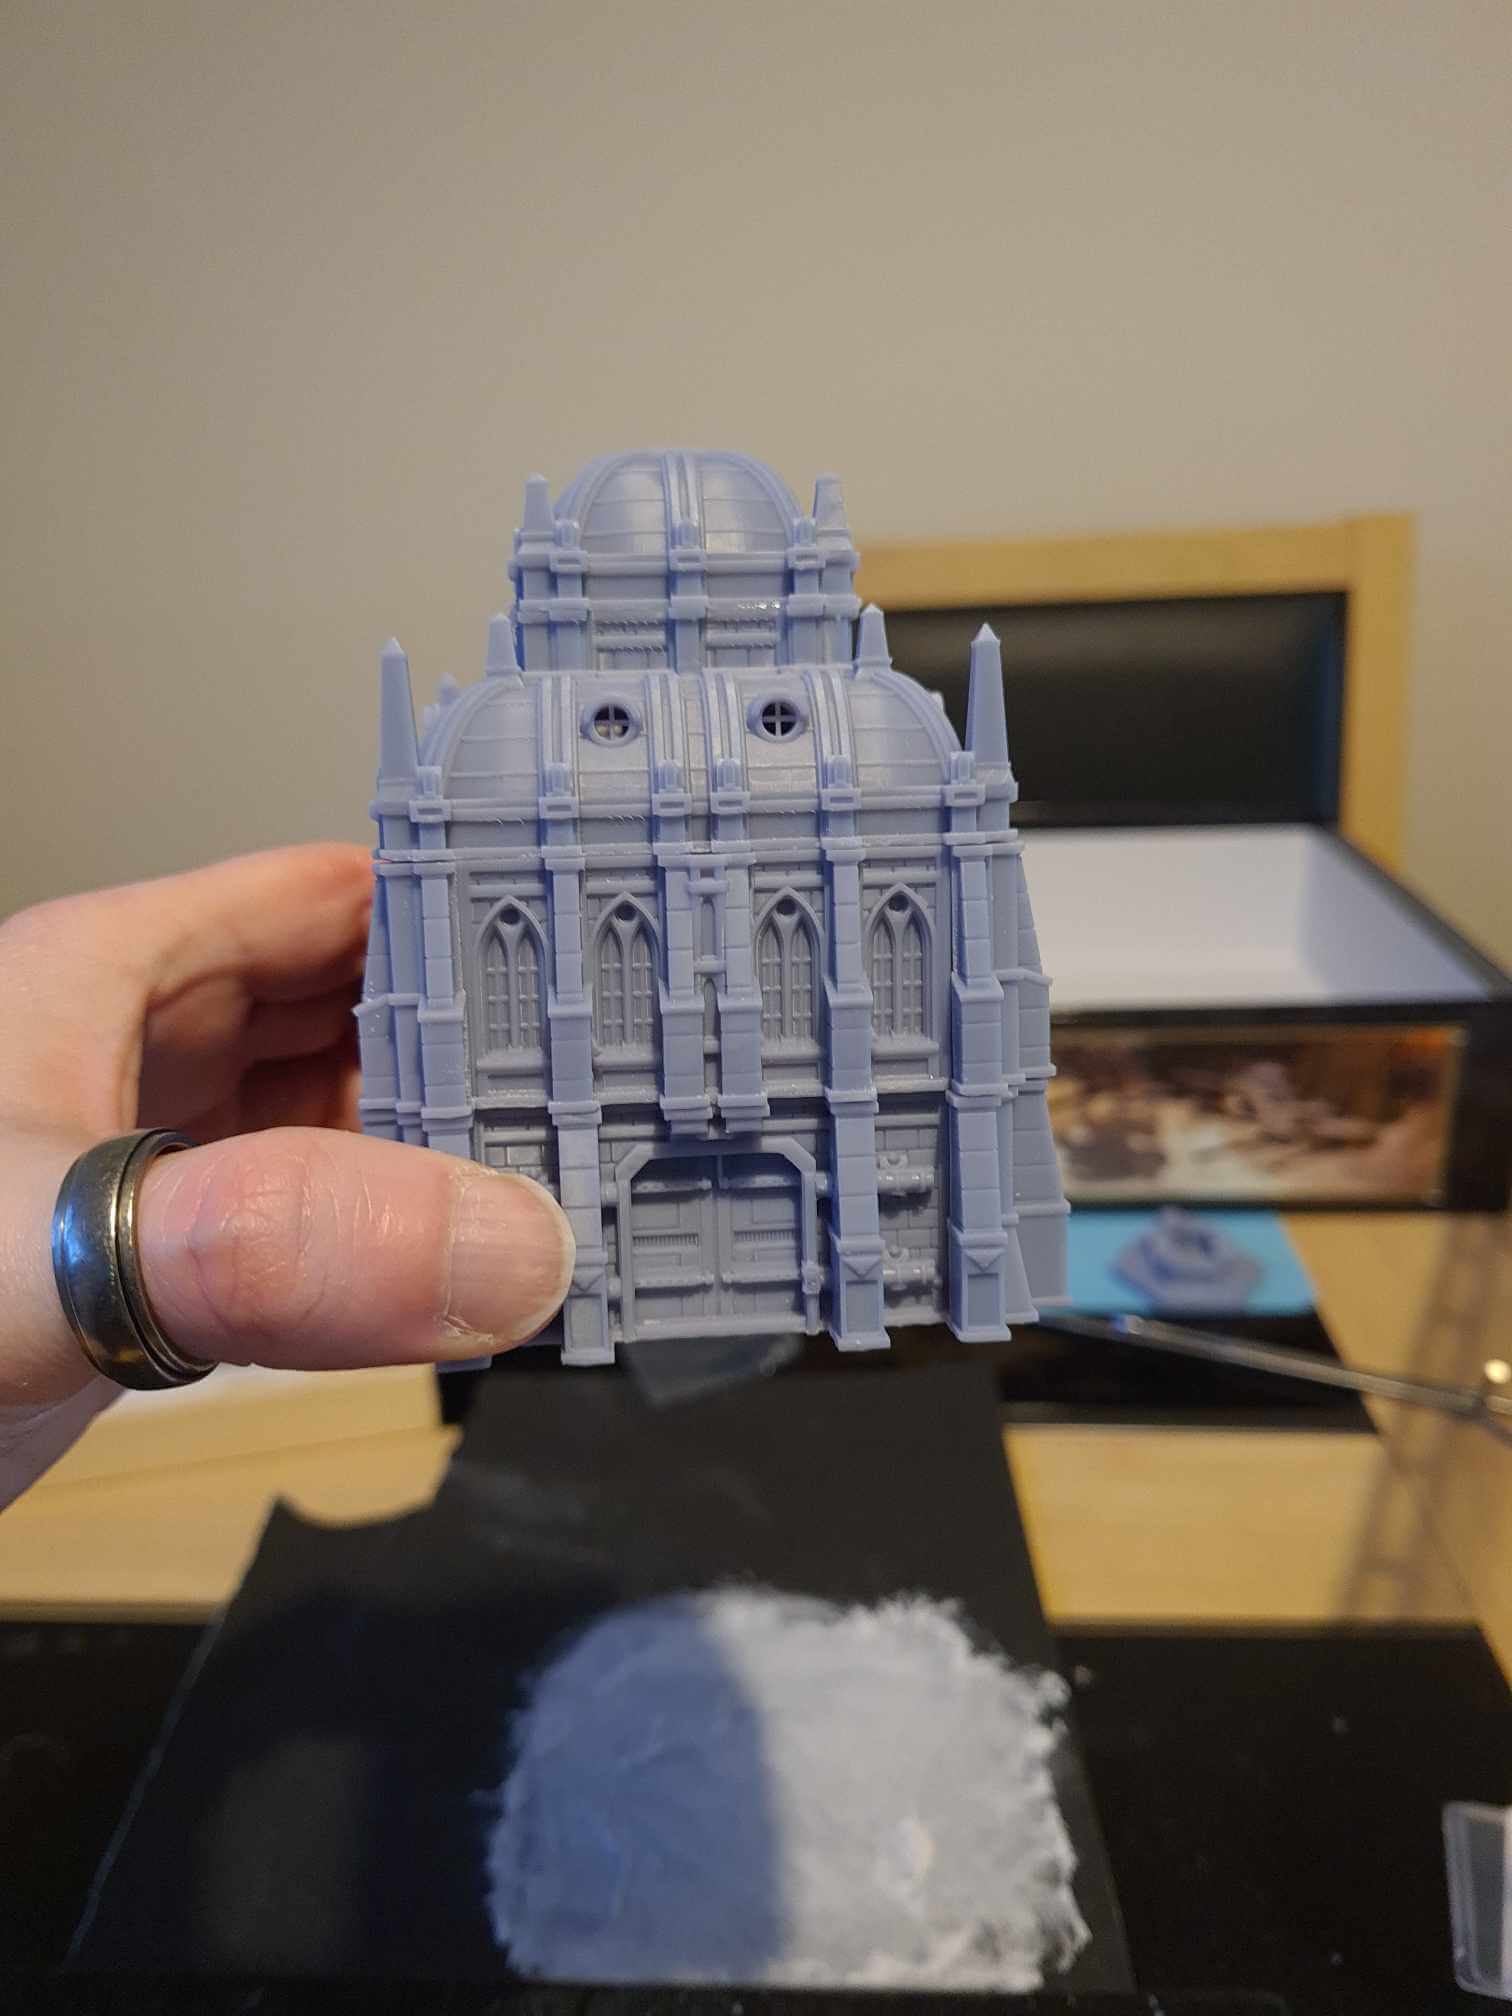
One thing that I was very conscious of was that I didn’t have any scenery to speak of. I could use one of my Aeronautica board as a pseudo playmat, but short of cardboard boxes and a handful of old Epic ruins it would be completely flat. The plastic buildings aren’t available yet and also slightly formulaic in their appearance – I certainly plan to pick some up, but don’t really fancy an entire battlefield of them. So I turned to my 3d printer and the amazing GrimDark Terrain scenery packs and printed out some scatter pieces and a single building that was big enough to hide a Warhound, this was using a 30um layer height (probably a little overkill) and my preferred GratKit ABS-Like Resin. Absolutely blown away by how good these look! Printing them out piece by piece and gluing them together was a bit of a pain, so I’ll likely composite the next ones together to make them print a little more easily.

The other thing that I knew was going to be a challenge was bases. One thing that is always tricky is enforcing the sense of scale, especially for miniatures like Titans, a broadly flat base means your miniature could be almost any scale from dreadnought to king kong. Bases ideally need something to just help add context to the size. The other issue I do have is that for all base sizes apart from the 25mm size, there is only a single design per size which means you have a lot of repetition.
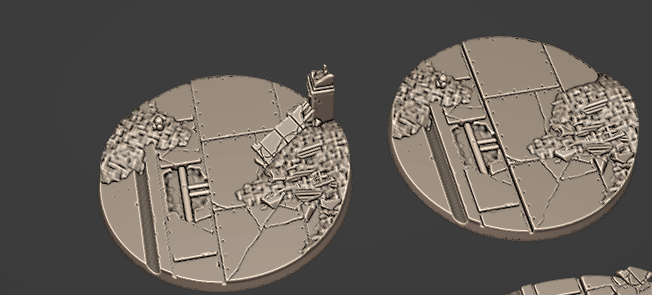
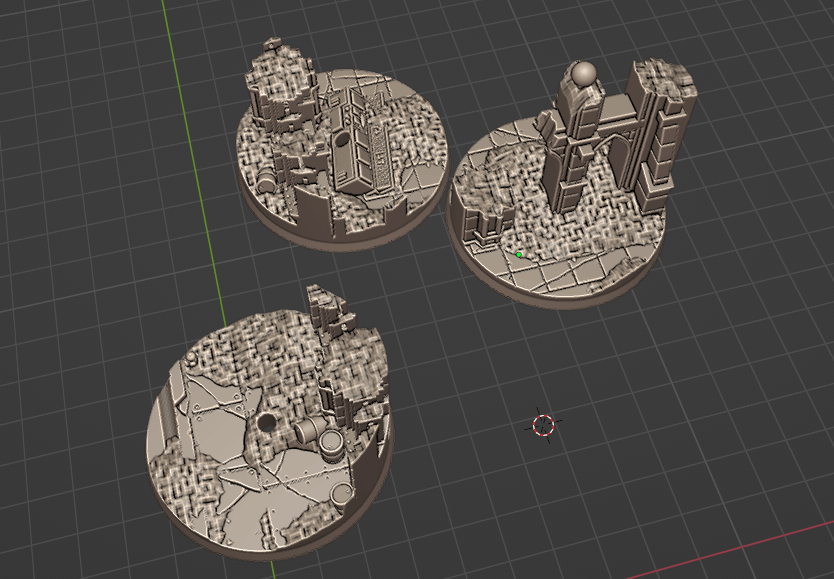 Seeing how lovely the piece of scenery I’d printed had come out I decided that I’d have a punt at trying to design my own bases, incorporating bits of GrimDark Terrain and a few bits like little barrels and bits that I’d designed previously. Using Blender, I put together a rough representation of the roadway and path design the plastic bases used, then added the various terrain items. I’ve played around with various designs and currently have a mixture of bases for 40mm flyers, 50mm knight and 32mm for some tanks if I decide to base those all with magnet holes added. The 80mm titan base needs a rework due to some weakness when printed, but I’m not a million miles off. I’ve really enjoyed doing these bases, there’s something really satisfying designing and printing something that blends with Games Workshop designs, but are really bespoke too.
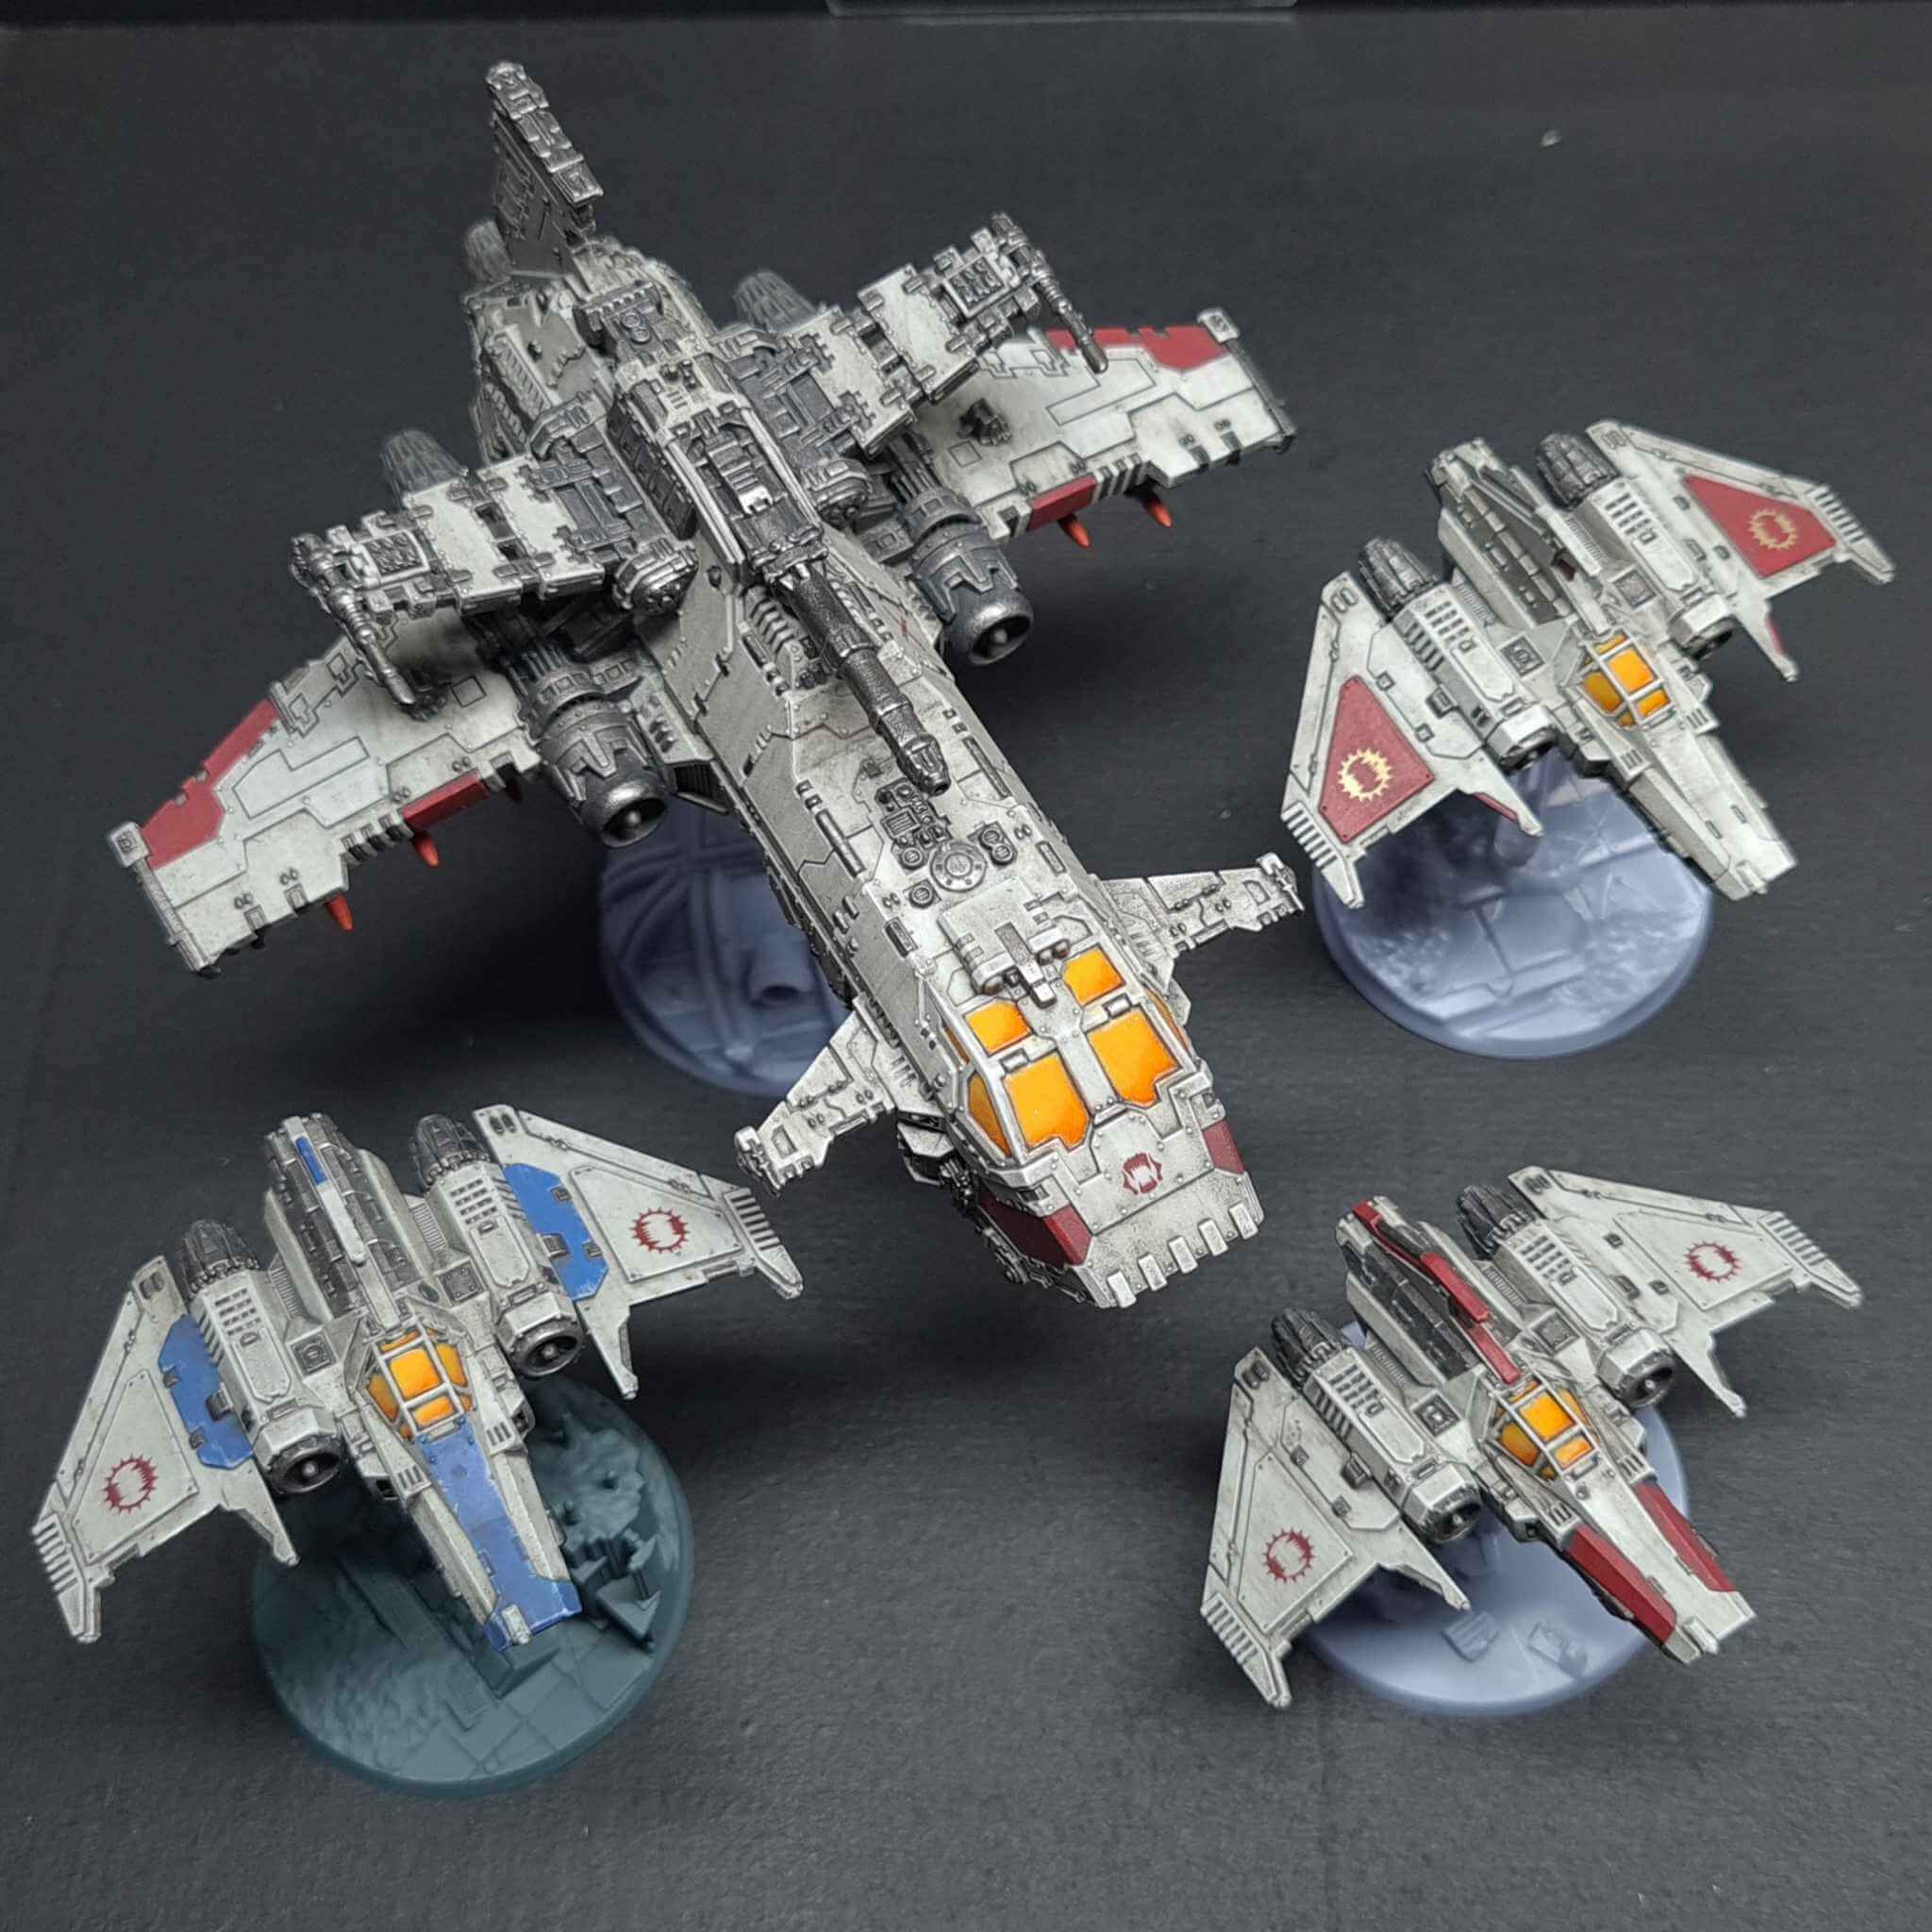
Christmas saw me receive a box of Rhinos, so I’ve been tidying up and gluing those together over the Christmas break, plus have pretty much finished four of the flyers I had assembled. Decisions on the basing needs to come soon though!
And with that, I’ll bring this post to a close. As you may be able to tell, I’m really enjoying painting and building models at this scale!