Deprecated: Using null as an array offset is deprecated, use an empty string instead in /home/pa-syco/public_html/runebrush/wp-includes/class-wp-block-type-registry.php on line 168
Deprecated: Using null as an array offset is deprecated, use an empty string instead in /home/pa-syco/public_html/runebrush/wp-includes/class-wp-block-type-registry.php on line 168
Deprecated: Using null as an array offset is deprecated, use an empty string instead in /home/pa-syco/public_html/runebrush/wp-includes/class-wp-block-type-registry.php on line 168
Deprecated: Using null as an array offset is deprecated, use an empty string instead in /home/pa-syco/public_html/runebrush/wp-includes/class-wp-block-type-registry.php on line 168
Deprecated: Using null as an array offset is deprecated, use an empty string instead in /home/pa-syco/public_html/runebrush/wp-includes/class-wp-block.php on line 257
Deprecated: Using null as an array offset is deprecated, use an empty string instead in /home/pa-syco/public_html/runebrush/wp-includes/class-wp-block-type-registry.php on line 168
Deprecated: Using null as an array offset is deprecated, use an empty string instead in /home/pa-syco/public_html/runebrush/wp-includes/class-wp-block-type-registry.php on line 168
Deprecated: Using null as an array offset is deprecated, use an empty string instead in /home/pa-syco/public_html/runebrush/wp-includes/class-wp-block-type-registry.php on line 168
Deprecated: Using null as an array offset is deprecated, use an empty string instead in /home/pa-syco/public_html/runebrush/wp-includes/class-wp-block-type-registry.php on line 168
Deprecated: Using null as an array offset is deprecated, use an empty string instead in /home/pa-syco/public_html/runebrush/wp-includes/class-wp-block-type-registry.php on line 168
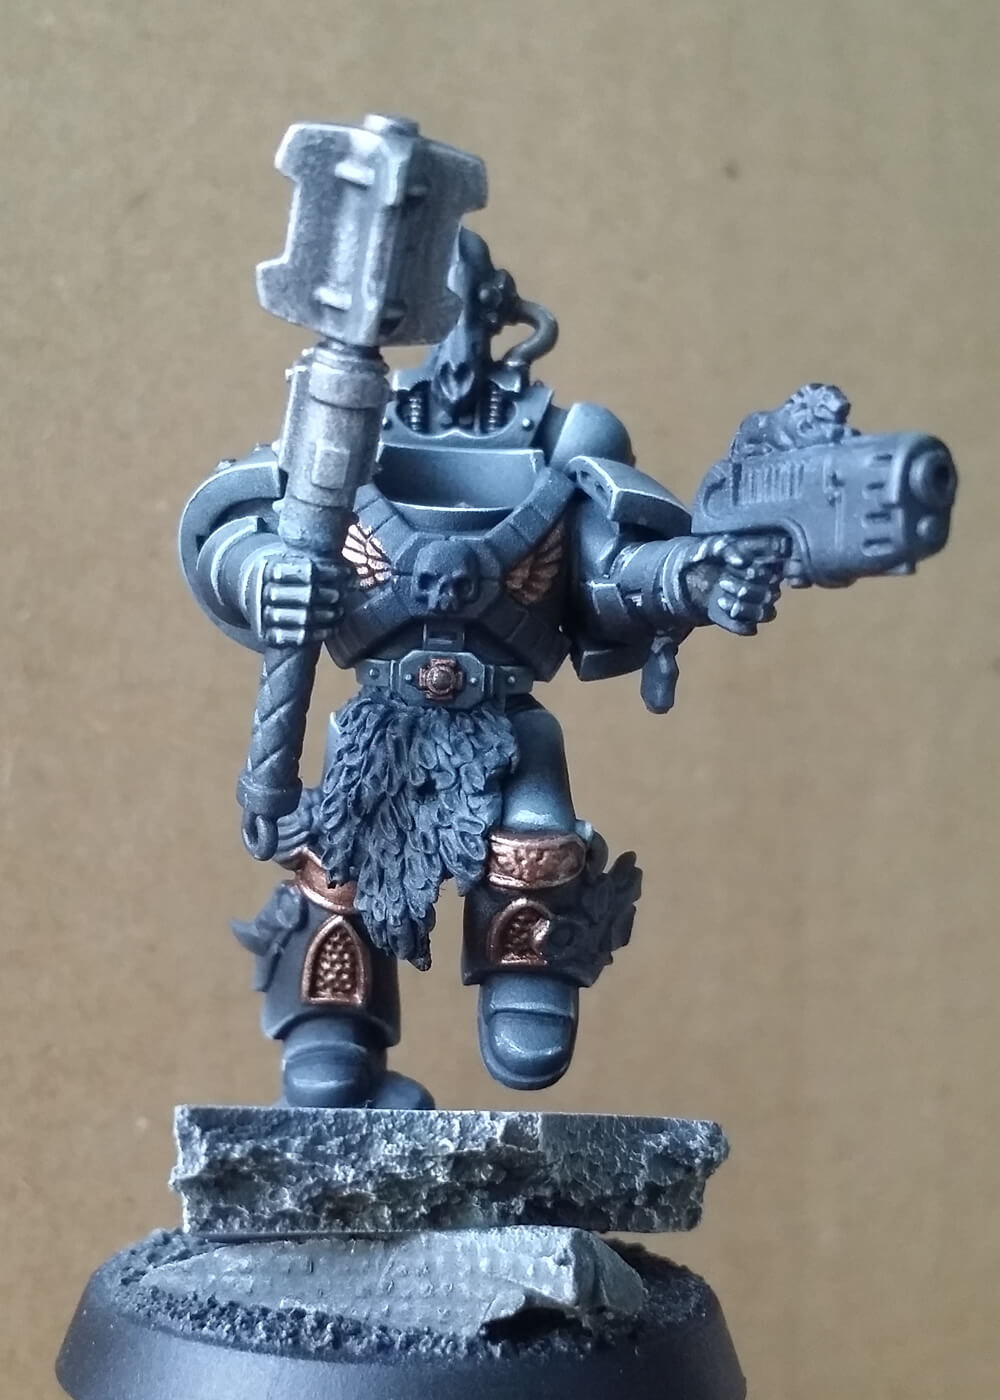 Do you know how sometimes something you’re working on just “goes right”. You barely put a brush stroke wrong and everything comes together really well. Well I’m happy to say that my Wolf Priest sits quite nicely in that category. For those who aren’t big in the whole Space Wolf ethos and background, Wolf Priests fulfil a multi-purpose role within the chapter. They are responsible for the physical training of new recruits, the spiritual training of the whole chapter (think Chaplain) and collector of fallen marines gene-seed (think Apothecary). Also, unlike the rest of the chapter their armour is painted black rather than the normal blue-grey.
This of course means that they really stand out when put on a gaming table alongside the rest of the army, so a simple “black undercoat, grey edge highlight” wasn’t really going to cut it. From a game point of view, Wolf Priests grant the unit they’re with, preferred enemy and feel no pain. This makes them quite punchy and naturally lend themselves to being put with full squads of Blood Claws, preferred enemy goes a way to balancing the poor WS3 and feel no pain helps deliver them to their location.
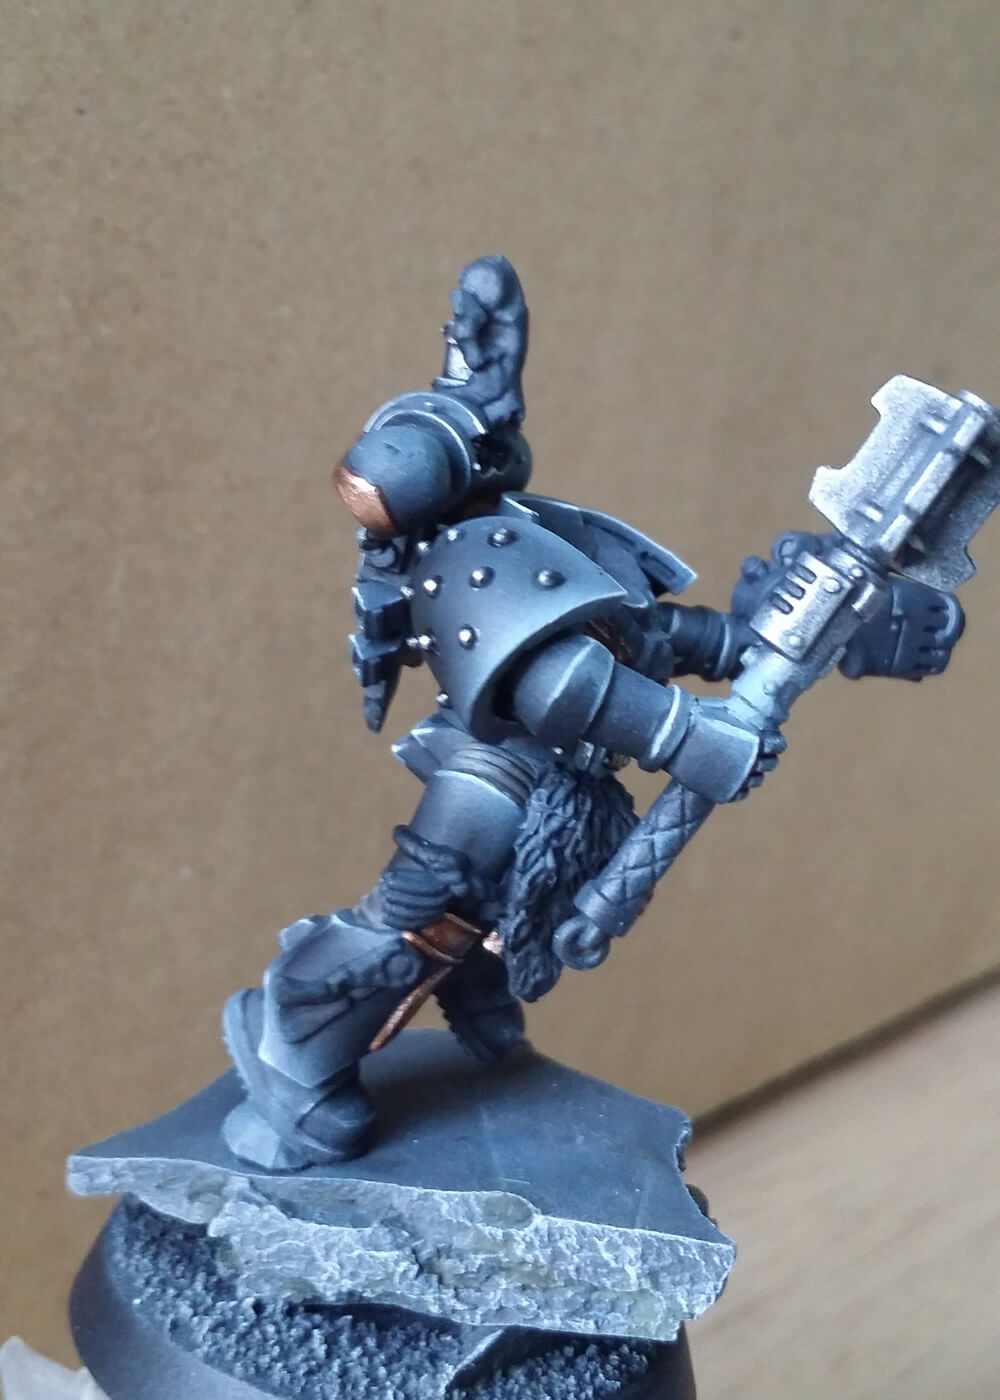
The first challenge I faced was sorting out a suitable miniature. Games Workshop don’t produce a plastic Wolf Priest and in fact the only ones they’ve produced are pretty static with the old “raised Crozius and plasma pistol” pose. Thankfully a decent kit bash sorted that out, picking pieces from a variety of boxes and undertaking a bit of weapon tweaking. My intention was that my Wolf Priest would accompany a pack of Sky Claws, so I sorted out an appropriate jump pack, however due to an imminent game planned for September where I wanted to assign him to a regular Blood Claw pack, I ended up magnetising his back pack so that I had the best of both worlds. This also had the benefit of making it significantly easier to access the back of the miniature to paint.
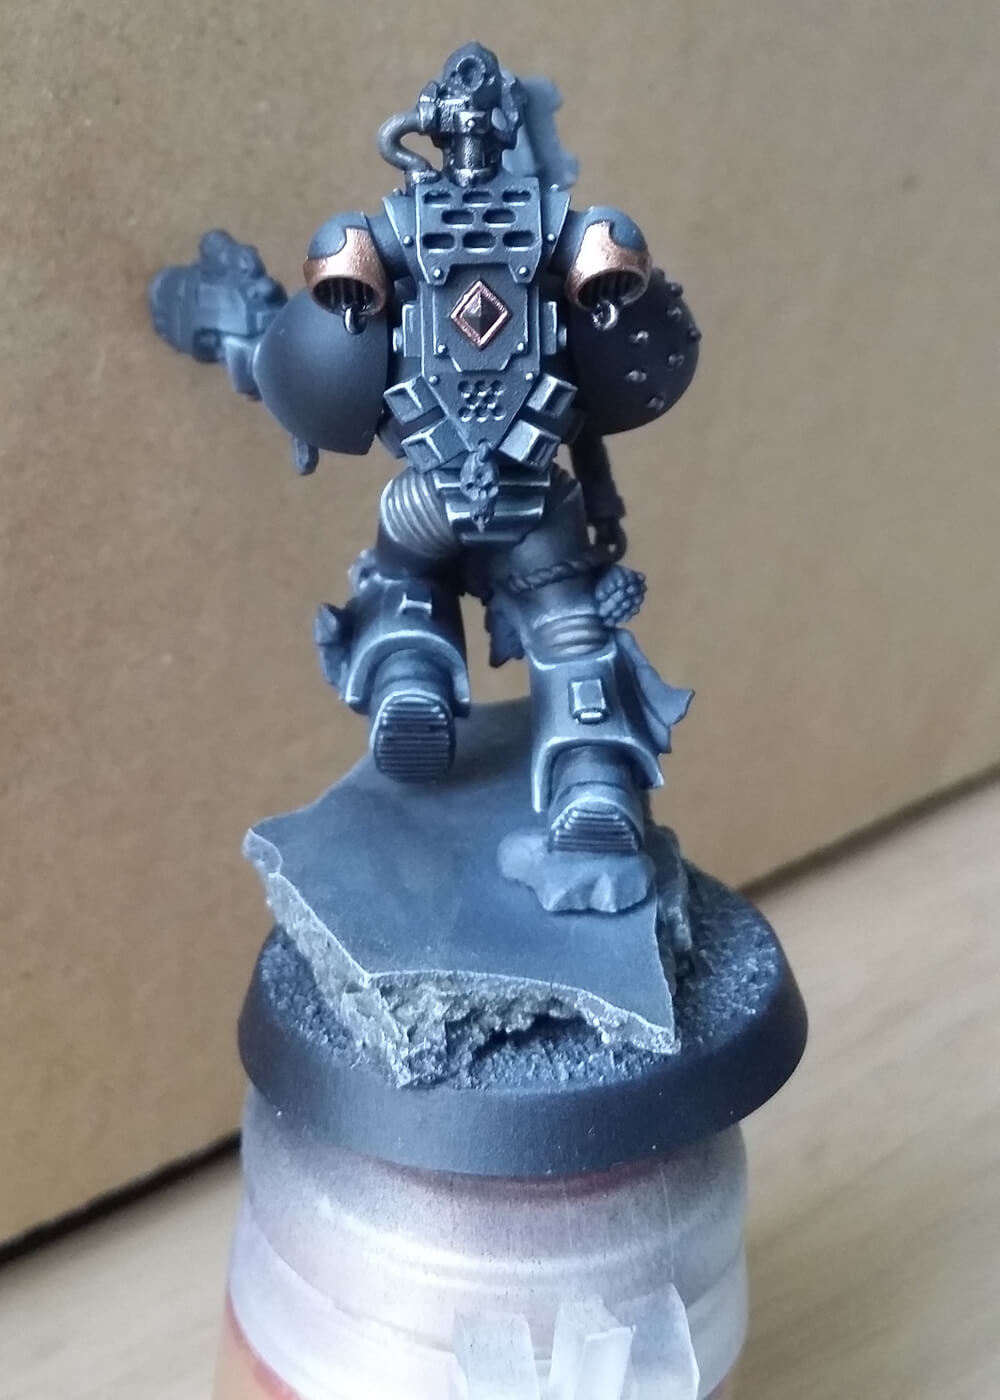
I spent quite a bit of time hunting around online for an appropriately impressive way of painting black, looking up NMM recipes, different manufacturers of black paint etc and ended up going for an airbrushed finish. All Vallejo Model Air colours: Black > Blue Grey > US Blue Grey, then reblending in with black again. This was then given an edge highlight of the US Blue Grey followed by VMA Light Grey. The whole miniature then received a black glaze, made from VMA Black and a very old pot of Vallejo glaze medium, final edge highlights with Light Grey and finally white just finished it off once the glaze had dried. And that’s it 🙂
Overall the finish is really clean and crisp and by using regular colours has meant that I’ve been able to go back in and retouch areas I’ve missed or am not happy with. The metallics still need some work and I’ve got all of the parchment, tassel, trinkets and bones to paint up.