It’s been a busy week and a bit, but I feel slightly more confident that I’ll get my entry for Armies on Parade completed. Now it might not necessarily be as completed as I’d like, as with most projects you can always find additional things to do. I can’t see me getting any scatter terrain added to the board sadly, despite making a good start on half a dozen Armoured containers, I just don’t think I’ll have enough time to weather them in without cutting doing something else.
Current Armies on Parade Timetable
Now that I’ve cracked into the project properly I’ve been able to set myself up a fairly tight timetable that should get everything together by the end of this weekend. Frustratingly I’m out two evenings next week and have some preparation for a management meeting to cram in too (which I should have really started much earlier).
This gives me Wednesday evening, Friday afternoon & evening, some of Saturday and a fair portion of Sunday. I think this should be OK although I’m positive I’ll find some bits I’ve forgotten or don’t go very well. I also have an all important contingency of next Friday afternoon and evening although ideally this will be used for packing up my models!
The Board
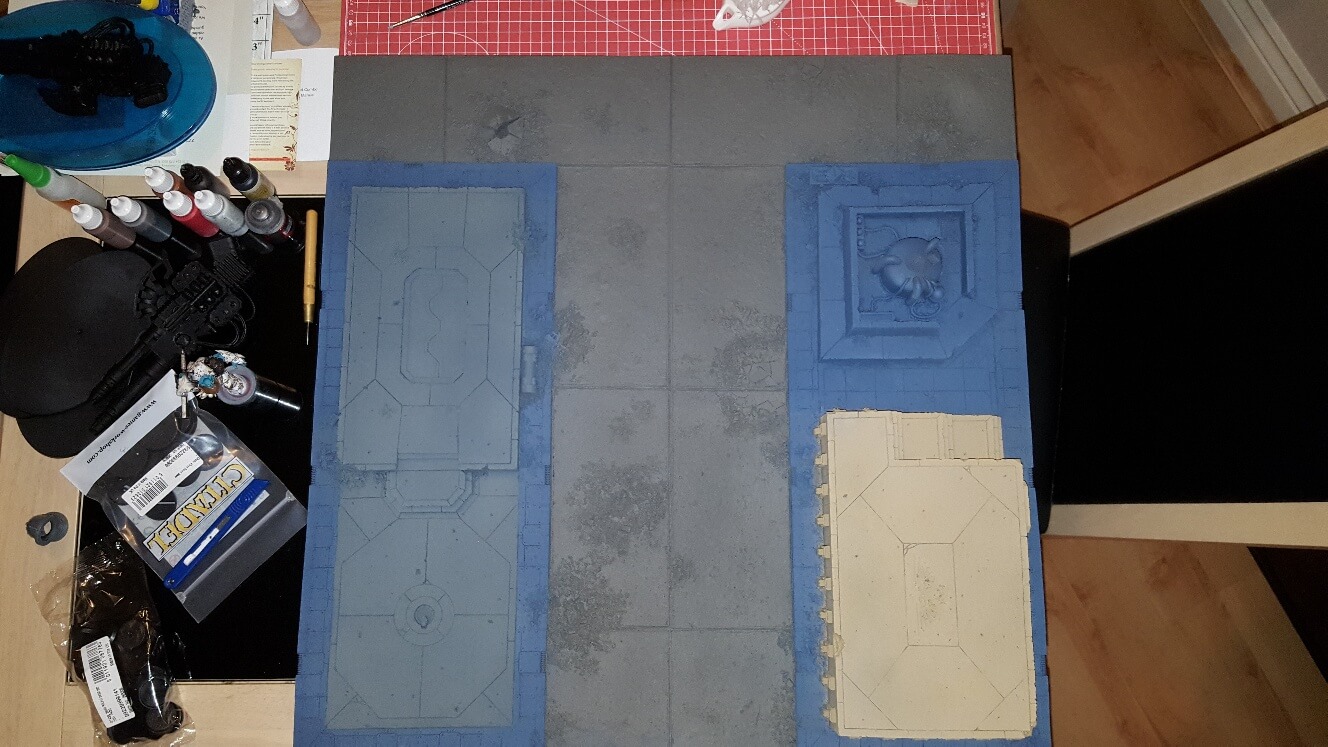
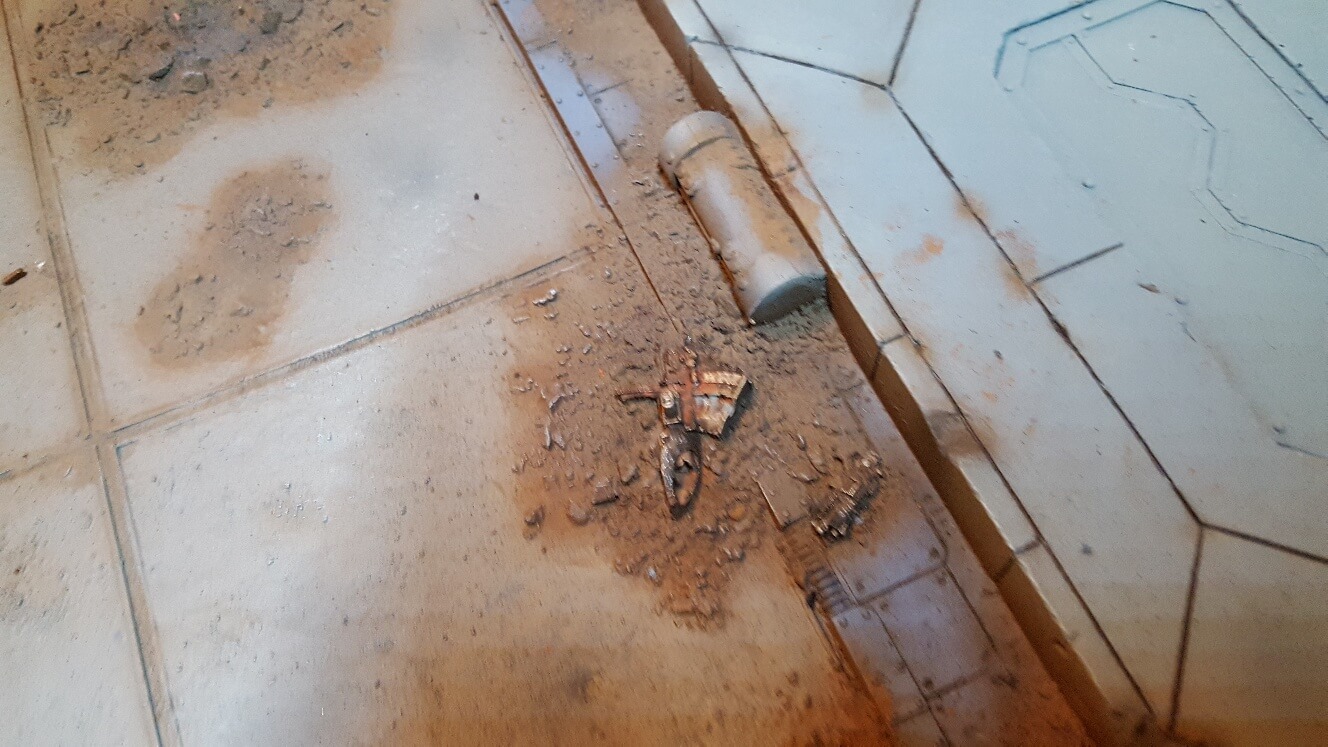
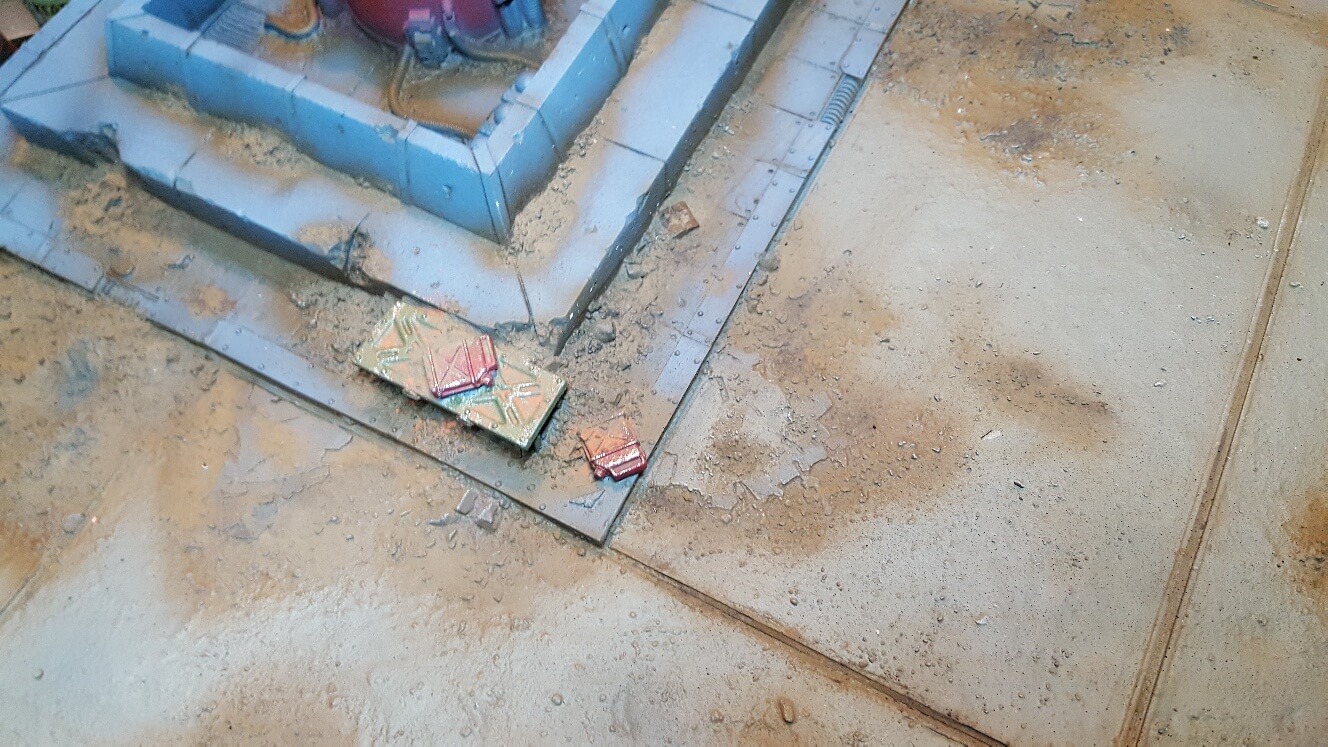
I’m fairly happy to say that two weekends worth of work have got the Forge World Realm of Battle Generatorum Sector board pretty much completed. It’s been washed, sprayed, oil washed, airbrushed and weathered with pigments. I did have one minor panic when I masked off one bit of the road section and pulled off a load of paint (clearly having not washed it as well as I could have). I was using regular masking tape rather than low tack, but ended up using envelopes and a disposable glove to mask off the various areas. It’s going to get a good coat of clear sealer so it’s unlikely to chip off during usage.
One thing that I now have an even greater respect for, is the Citadel coloured spray cans. They’re amazing and sped up the whole process massively.
So the rough process was to spray the board roughly using cans – that’s Skavenblight Dinge for the road, The Fang for the flagstones, Standard Mechanicus Grey for the grey items and then Zandri Dust for the larger platform. Using an envelope and glove you can actually get some really sharp edges. The next job was to use an airbrush to just touch up some of the items that you couldn’t get to, such as the edges of the road and round the piles of debris. Skavenblight Dinge was airbrushed onto most of the rubble piles too. Finally the large platform was giving a light coat of Kharak Stone to remove some of the yellowness.
Using black and brown oil paint, some white spirit and a long thin brush, I painted between all of the flagstones and details. Keep a rag/towel on hand with a clean brush use this to blend and wipe the oils in as you’re going and to add nice streaks on some of the vertical surfaces. If there are any deep divets you can put some in there too. The large platform had this done using just brown oil (no black) and the rest was a mix of brown with a bit of black. You don’t need to be accurate in the slightest and a bit of tonal variety just adds to the overall effect.
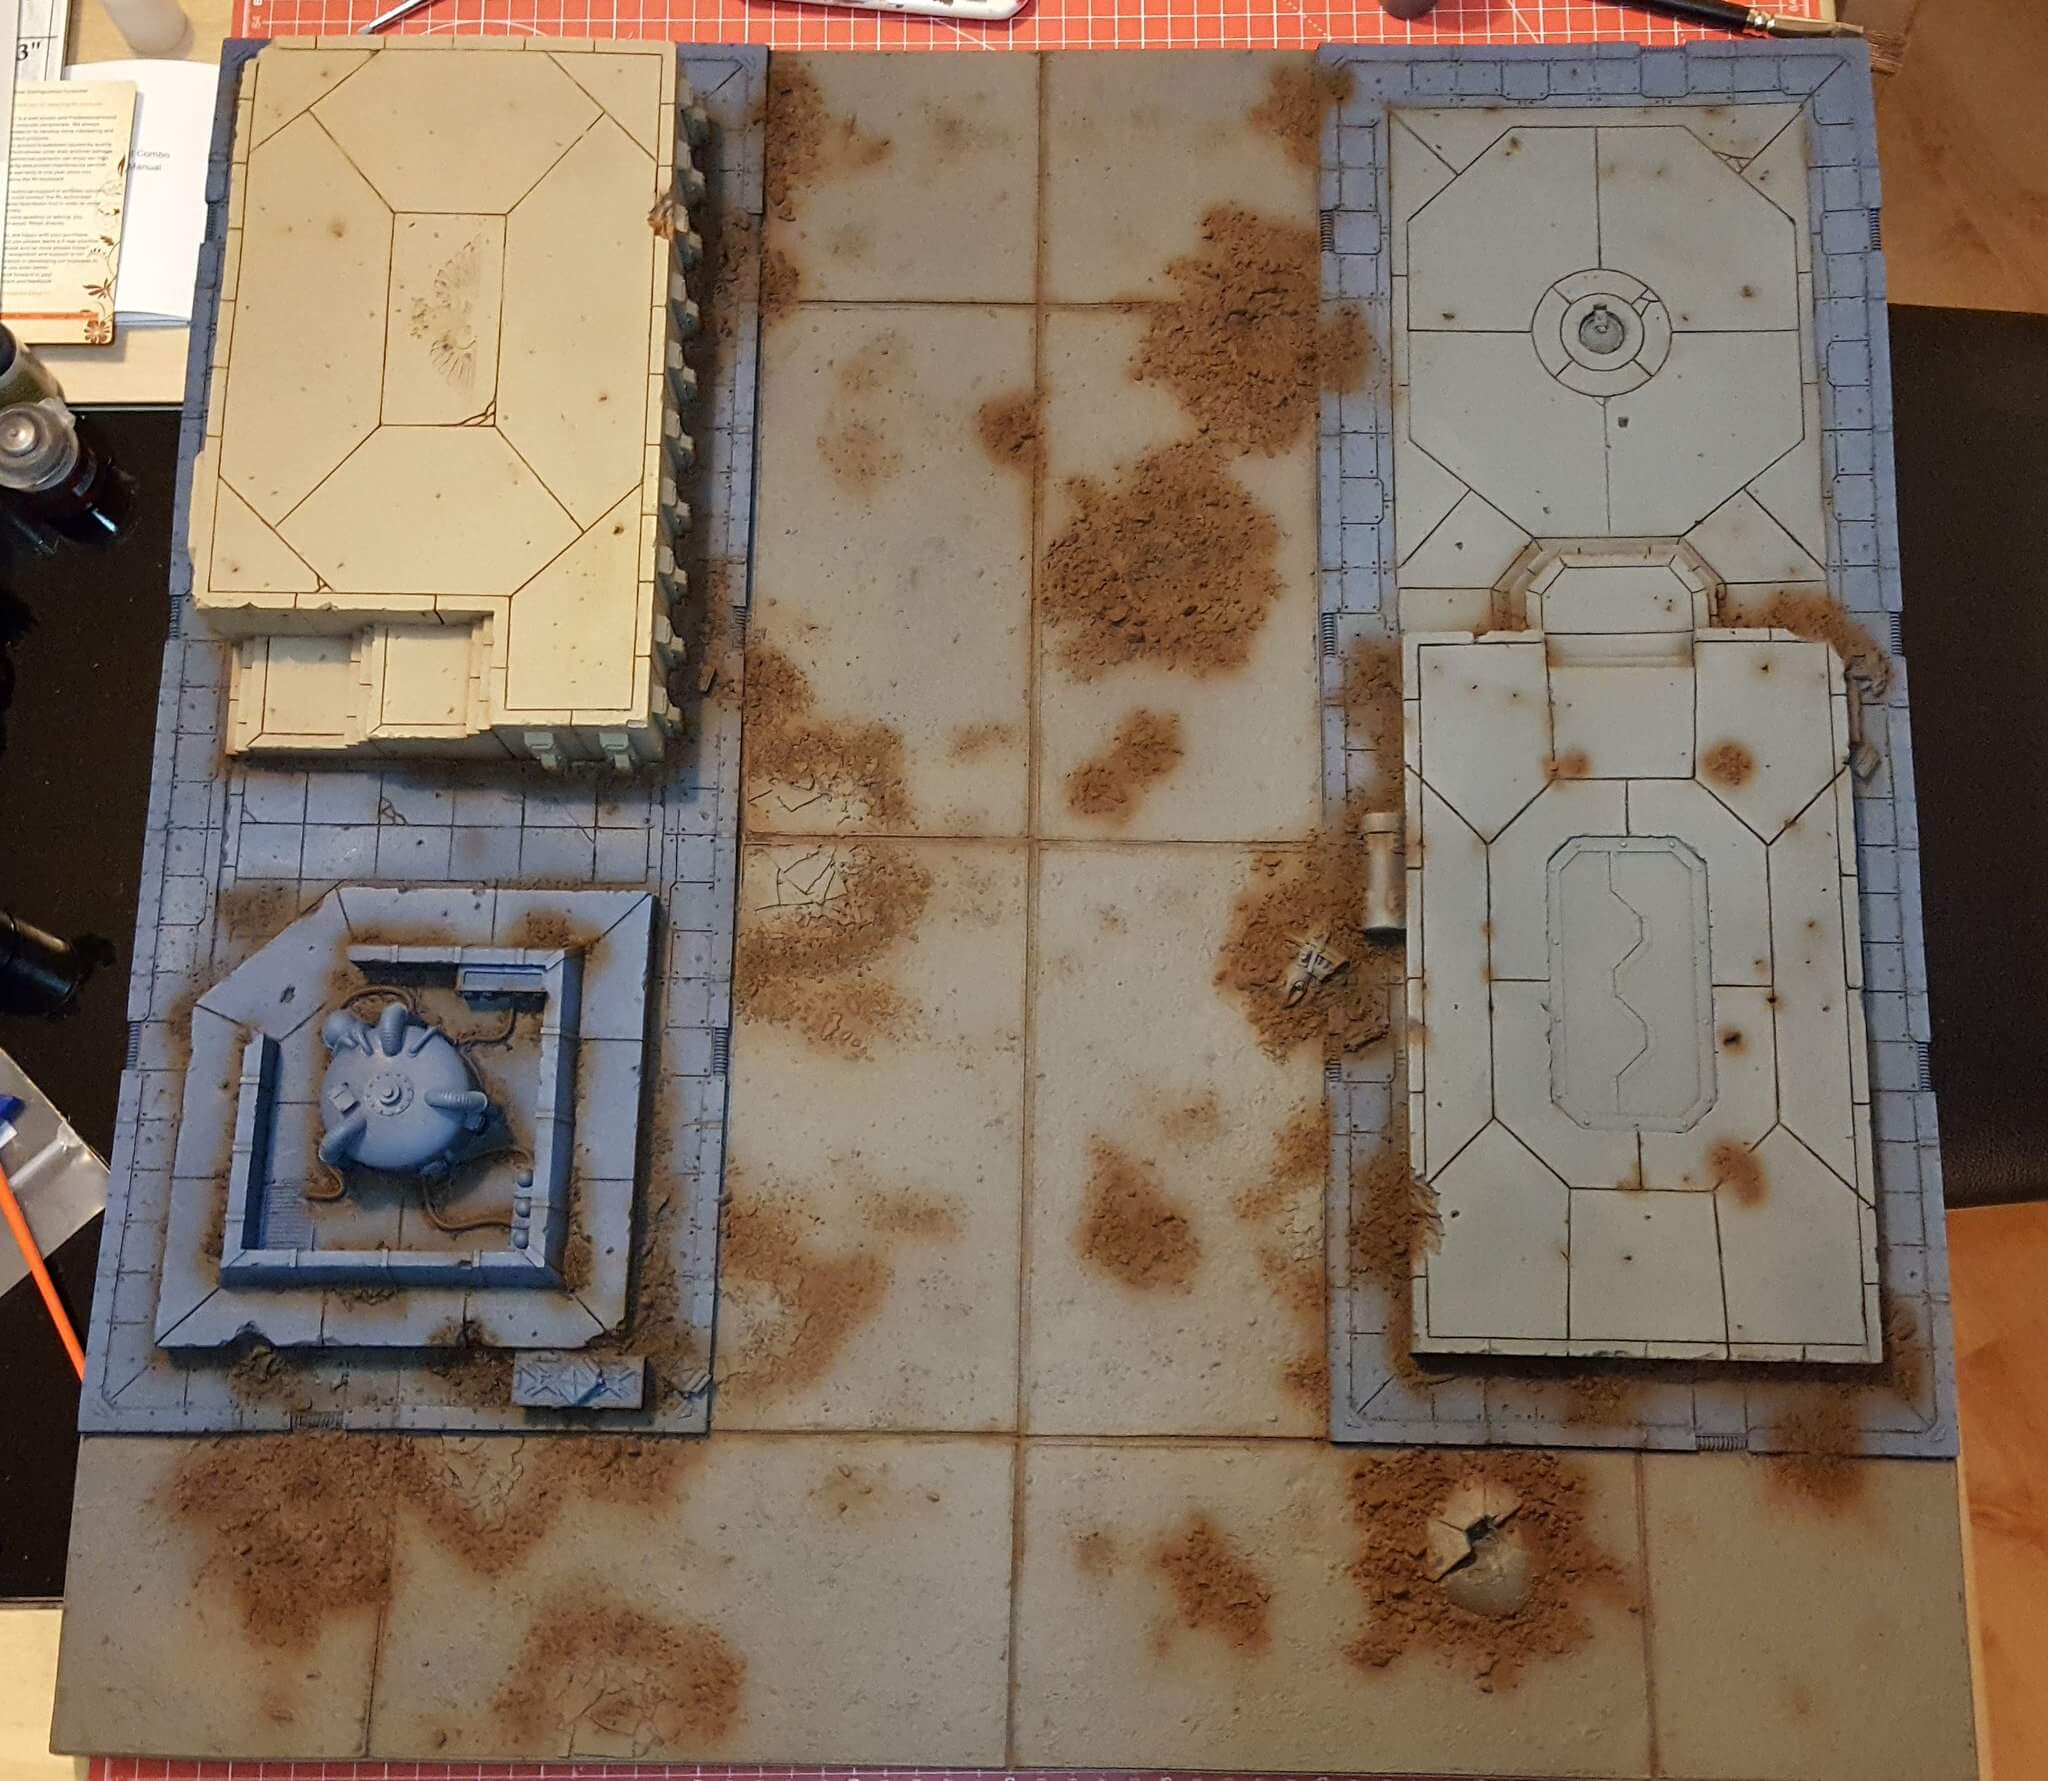
Oils take a few days to properly dry so I made sure that I got it done before I was out a couple of evenints. Once cured I was onto what I always feel is one of the more exciting parts – airbrushing Vallejo Burnt Umber wherever there would be dirt, so round the edge of buildings, round all of the dirt piles and similar. This massively changes the dynamic of the board.
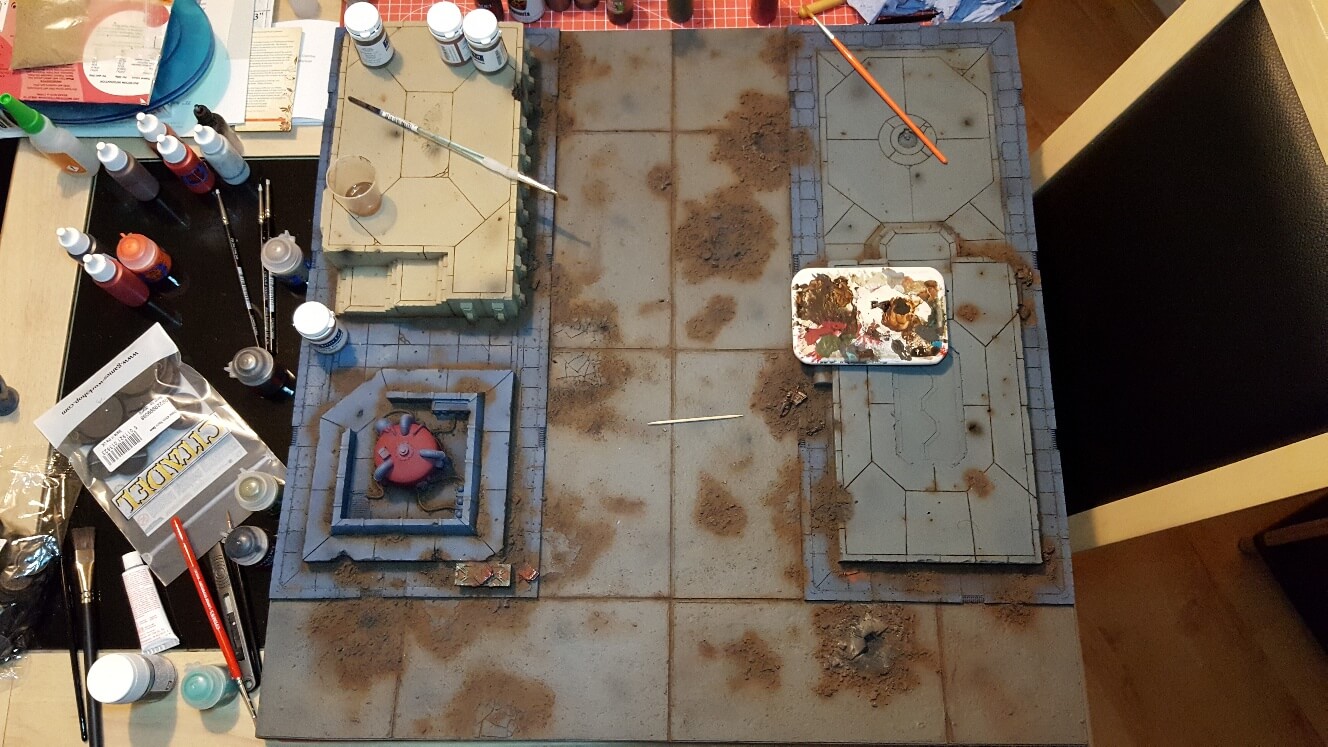
Using a 2″ wall brush and a tube of light grey artist acrylic, I gave the whole board a light drybrush to pick out the edges. I tried to focus on the little flecks of debris and just lightly on the bigger items.
Going back to the airbrush, I sprayed Skavenblight Dinge onto some of the cracked road sections to blend them into the brown a bit more and dusted all of the piles. I then swapped to black and added a few bits of light scorching to some areas of dirt, round the obvious shell damage and a few patches here and there. The raised platform really benefits from a few black smears.
To a certain extent it could have been left at this point, I certainly would for a regular board, but as this is an entry for Armies on Parade, I cracked into it with some weathering pigments, primarily two Forge World dirt colours and an AK Interactive black. I used Forge World Solution as my fixing agent which seems to have worked pretty well. A few splashes here and there and then wiped off with some towel gave that rained on effect.
I also picked the details out (such as the missile launcher and bolters) and applied some more pigments to blend them in – I probably should have done this before I started the pigment stage 😀
And that’s pretty much where I’m at with it. The generator needs to be finished off and then everything given a coat of sealer to make sure that nothing is going to rub off during transport. I’m likely going to be very lazy and not paint the doors on it – one set I plan to cover up with a model…
I will say that despite being a pain to flatten out, the board is lovely with just enough detail to be interesting but without being too detailed (which I often feel some Games Workshop scenery is). I’m sure there will be some entries with massively elaborate boards, but it’s not something I’m particularly interested in doing (what do you do with it afterwards?)
I’m going to call it a day with this Armies on Parade update post. The board isn’t going to change much more beyond the little generator being painted and the whole thing varnished! I’ll post up a couple of other updates later on this week.