My 100th blog entry! *queue a fanfair and confetti*
Well as expected the new arms for my Contemptor arrived last week. For reference, the Contemptor Claw arm actually comes with a normal set of “fingers”, but a different ranged weapon – a Graviton Gun and Plasma Blaster (which the rules are only in Imperial Armour 2 and not the PDF on the Forgeworld Website). Because I had already cleaned the bits for the normal power fist, I was able to get away with just substituting the weapon and fingers. The Kheres Assault Cannon however was a little more troublesome…

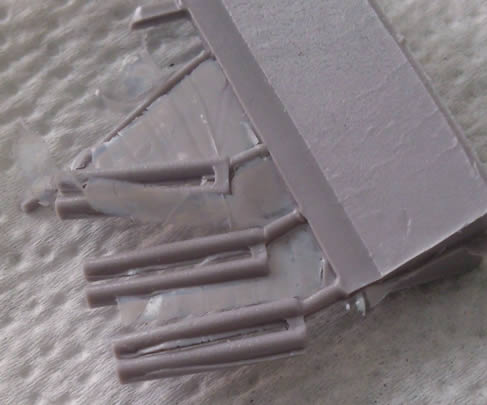
As you can see from the above image, the barrels provided with the assault cannon have quite bad moulding – they’re not straight and the mould appears to have slipped slightly making the barrel an oval shape. I’ve had this problem before with fine, round elements cast in resin before. It’s a pain and I think just down to quality assurance. It was however the only real “unacceptable” bit I’ve had in the model.
The solution was however quite simple – the barrels are 2mm diameter, so all I needed to do was to cut off some pieces of 2mm rod and use those instead. It’s simple when you say that however as you would expect, the practicalities of doing this are anything but simple. The rods just don’t want to stay where they’re put and will happily twist round. This happened multiple times and resulted in much swearing, grumbling and subsequent throwing of the gun into the corner of my paint station.
However I did manage to crack this by stopping, calming down and ruminating over lots of different ideas. The biggest issue is that you only have tiny little locator holes on both the gun housing and round end. This combined with the fact that it’s impossible to get the ends of the rod completely flat (and the bottom of the hole is not 100% flat either) means that it happily “splays out”. The solution turned out to be simpler than I originally thought and more accurate too (considering one of the ideas was drilling a 0.5mm hole into the ends of the rod to pin it).
On the main gun body, mark the centre of the locator hole with a pointed scribe (or similar). Using a 2mm drill bit, drill out a 2mm ~ 3mm hole. Make sure it’s straight! Drill out all 6 holes in this fashion.
Now insert a long length of plastic rod into one of the holes (make sure the hole is deep enough to not let the rod wobble and fall out) and using one of the original resin pieces, snip the rod off flat at the correct length. Give the end a quick file with a flat needle file. Leaving the cut one in place, insert the long length of rod into an adjacent hole and using the first as a guide, snip off the length of rod at the right point. Rinse and repeat until you have 6 identical length pieces held in place with nothing other than good will 🙂
Test fit the round end of the gun, to make sure that it fits together OK. Now mix up some 5 minute epoxy glue and one by one remove a rod from the gun body, dip the end into the glue and rotate round so you have glue on the end of the rod and about 0.5mm up the rod, you shouldn’t need more unless you drilled your holes too large. Carefully put the glued end back into body where it came from.
Once all 6 barrels are in place, take the round end and dry fit it into place. You can now (gently) manipulate so that the end is flat and the barrels are lined up dead centre. Put a blob of blu-tack onto a cutting mat (or similar) and shove the end of the body into it, so that the barrels point upwards to the ceiling (as per the second pic below). Now with a final check that it’s all lined up – leave the damned thing alone for an hour. Yes I know it’s 5 minute epoxy, but it’s better safe than sorry!
The end result should be similar to this:
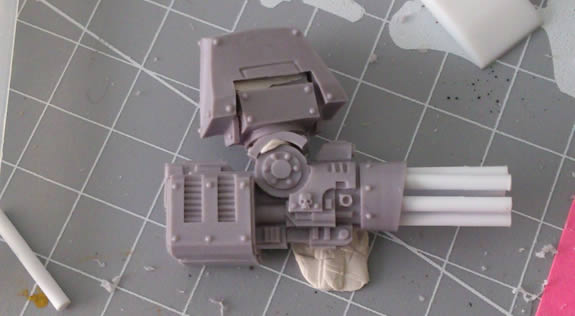
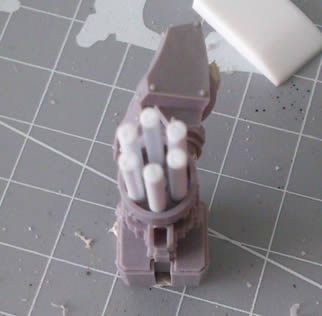
There will always be a tiny bit of play on the epoxy glue, so the slight “twist” in the first picture of the replaced barrels will be sorted out when the end of the gun gets glued in place. Also I have noticed that the gun body is slightly smaller than the round end!
The only other job is to fix the end of the gun and the “strap” that has the barrel and metal bar that goes under the length of the gun. These both need some filling which is why I’ve not glued them in place.
As a tempter, here is the blu-tacked claw:
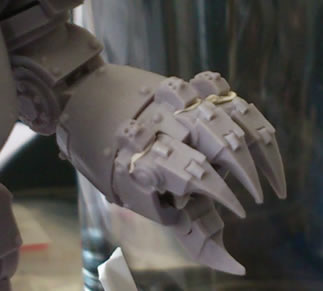
The “thumb” needs a little bit of filling and it’s going to be holding something too 😉
The base is currently looking like this:
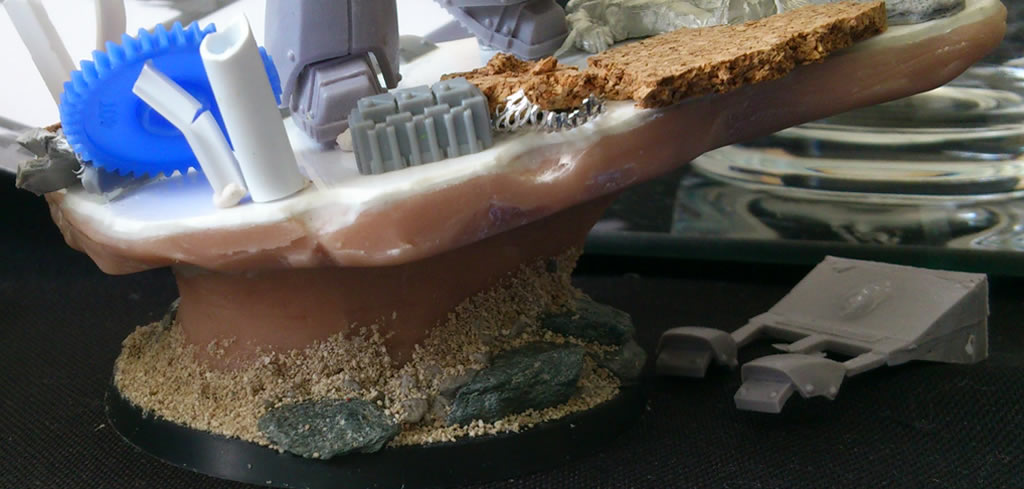
The top part only has a tube fixed in place (you can just see it behind the blue cog), so I imagine it will be rearranged quite a bit, the lower element though I think is pretty much complete