Deprecated: Using null as an array offset is deprecated, use an empty string instead in /home/pa-syco/public_html/runebrush/wp-includes/class-wp-block-type-registry.php on line 168
Deprecated: Using null as an array offset is deprecated, use an empty string instead in /home/pa-syco/public_html/runebrush/wp-includes/class-wp-block-type-registry.php on line 168
Deprecated: Using null as an array offset is deprecated, use an empty string instead in /home/pa-syco/public_html/runebrush/wp-includes/class-wp-block-type-registry.php on line 168
Deprecated: Using null as an array offset is deprecated, use an empty string instead in /home/pa-syco/public_html/runebrush/wp-includes/class-wp-block-type-registry.php on line 168
Deprecated: Using null as an array offset is deprecated, use an empty string instead in /home/pa-syco/public_html/runebrush/wp-includes/class-wp-block.php on line 257
Deprecated: Using null as an array offset is deprecated, use an empty string instead in /home/pa-syco/public_html/runebrush/wp-includes/class-wp-block-type-registry.php on line 168
Deprecated: Using null as an array offset is deprecated, use an empty string instead in /home/pa-syco/public_html/runebrush/wp-includes/class-wp-block-type-registry.php on line 168
Deprecated: Using null as an array offset is deprecated, use an empty string instead in /home/pa-syco/public_html/runebrush/wp-includes/class-wp-block-type-registry.php on line 168
Deprecated: Using null as an array offset is deprecated, use an empty string instead in /home/pa-syco/public_html/runebrush/wp-includes/class-wp-block-type-registry.php on line 168
Deprecated: Using null as an array offset is deprecated, use an empty string instead in /home/pa-syco/public_html/runebrush/wp-includes/class-wp-block-type-registry.php on line 168
The second (and hopefully last) upgrade to my 3d printer is a flexible magnetic plate produced by Wham Bam. In this review I explain what this is and how easy it was to install.
First a couple of disclaimers. I’ve bought this product myself and am in no way affiliated with Wham Bam. Even more so than with my vat band review, this product is genuinely optional and provides a quality of life improvement rather than something you absolutely need to have.
In simple terms a flexible magnetic plate consists of a large magnetic panel you stick to your build plate and then a flexible steel plate that attaches to that. After a print, rather than removing the build plate you simply pull the steel plate off, flex it and your 3d prints come off without needing a scraper. There’s a couple of more obvious benefits such as being quicker removing prints, less likely to firing a print across the room like a missile, less chance of knocking the build plate out of level, and no scraper means no damage to the built plate or print. Less obvious benefits are things like having multiple flex plates allowing you to get back printing a lot more quickly and potentially improving adhesion of the print base layers.
Considering this is basically a quality of life or workflow improvement for your printer, you’re still talking between £50 and £70 for one made by a company like Wham Bam. There are other manufacturers, but often the steel plate will be thinner and in my case with a fairly new printer model, nobody else made the correct size in the UK. As with the ThermalVATBAND I bought, this is an American made product that suffers from a large mark up when buying from a UK supplier – for the price of mine, I could have got one in the US that had two steel plates rather than one.
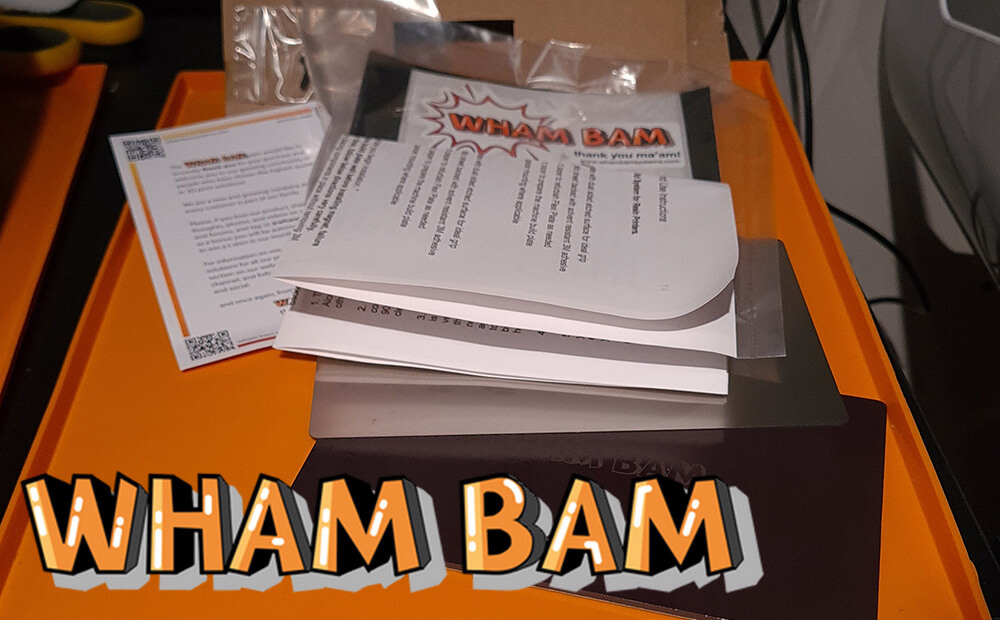
 The product arrived in a slimline box and contained all the parts, instructions and a couple of Wham Bam stickers. It felt like a premium product with everything nicely packaged with protective bags and envelopes. In theory installation was simply a matter of cleaning the build plate, giving it a rub with some wet n’ dry paper, fixing the self-adhesive magnet and then relevelling. However it wasn’t quite as simple as that…
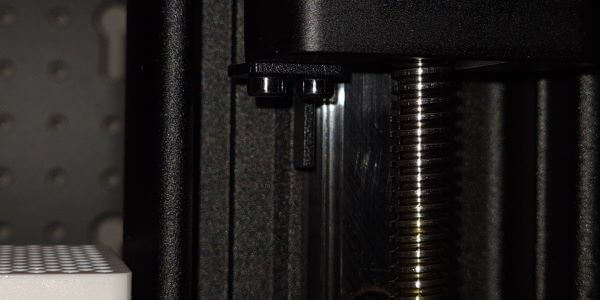
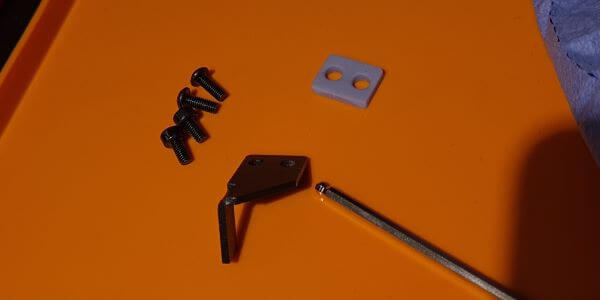
The first thing that has to be done is to modify the z-axis sensor, this sensor controls how the printer detects that the build plate is at the bottom and subsequently stops the motor rather than piledriving the build plate into the LCD. The magnetic and steel plates add around 2.6mm thickness to the build plate so we need to make the sensor kick in 2.6mm sooner. Different printers have different sensors, on my Mars 4, there’s a black piece of metal screwed to the build head that breaks a light beam within the base of the printer. This piece of metal needs to be packed out using a shim – Wham Bam have even supplied some longer screws to make this easier, however they don’t provide the shim and you need to print that out before installing the flexible plate. Considering you’re buying this for a specific printer, it would be really useful if the shim was provided. Finding the STL file was a complete nightmare and I ended up tracking one down on Cults3d – it is the one for the Mars 3, but they both use the same sensor set up. This doesn’t come supported, so my suggestion is to print it with the long edge running parallel to the build plate and use a raft and supports. This should ensure you don’t get any size anomalies in the thickness of the shim.
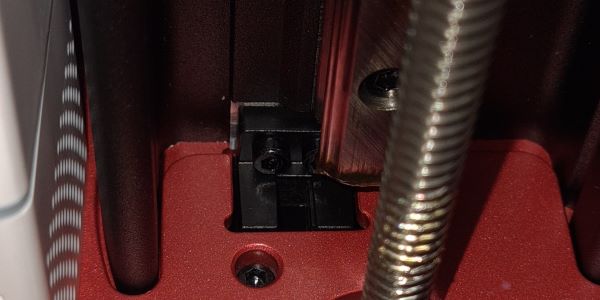
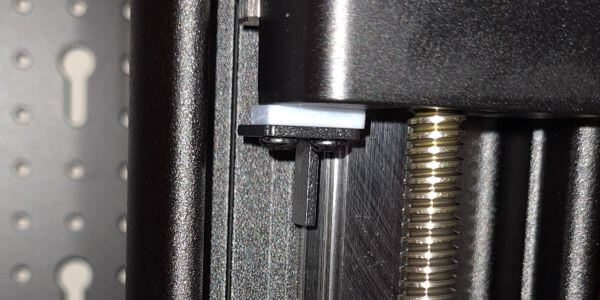
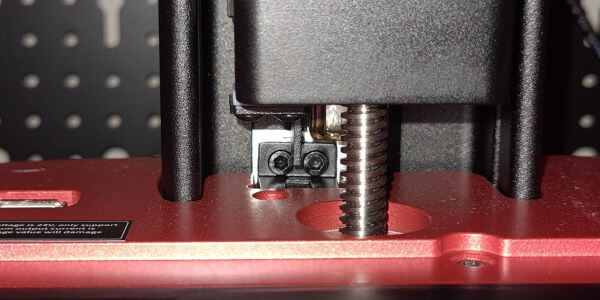
Installation of the shim is pretty easy, I removed the build plate first, then raised the build head and then using one of the Allen keys that came with the printer, unscrewed the black metal piece, added the shim and used the longer screws to put it back in place. Exceptionally straight forward if it weren’t for the hassle of having to print it in the first place. One tip I will give is to sit down on a chair or stool so you’re lower than the printer as it’ll make that initial location of the screw a little easier.
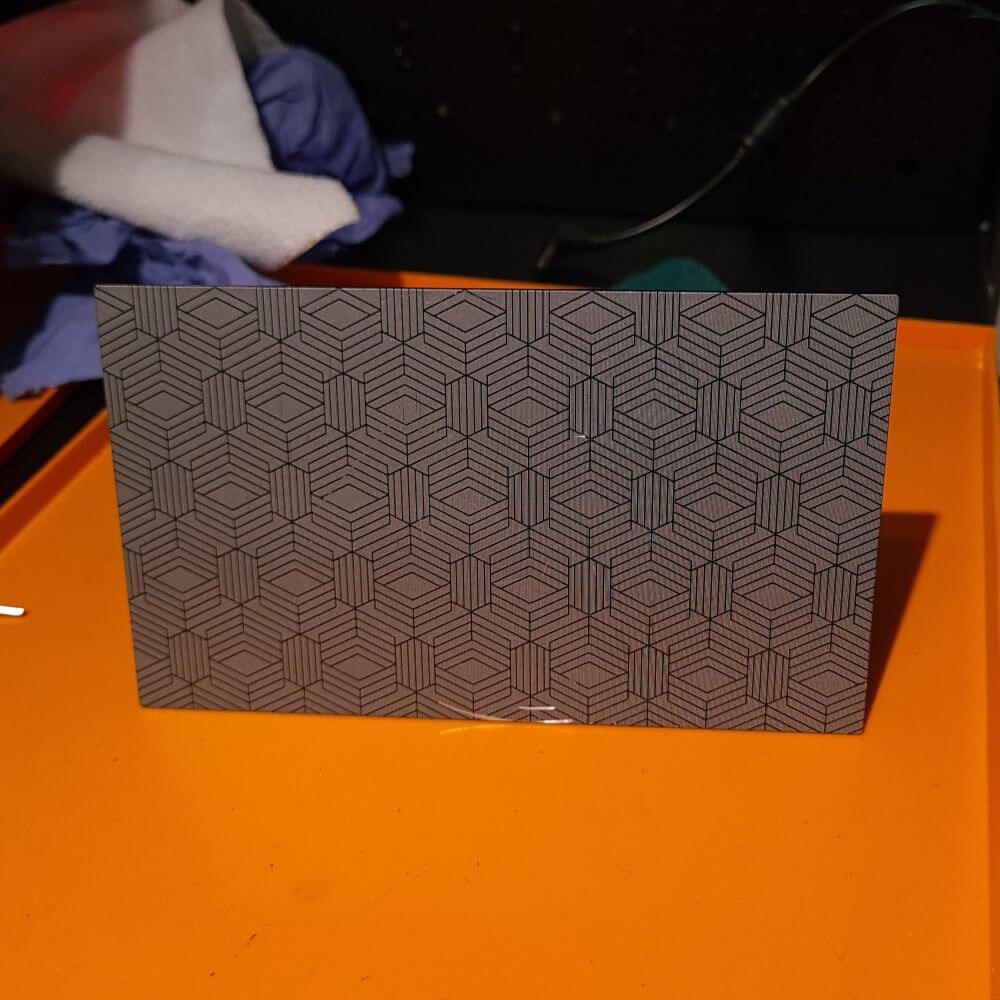
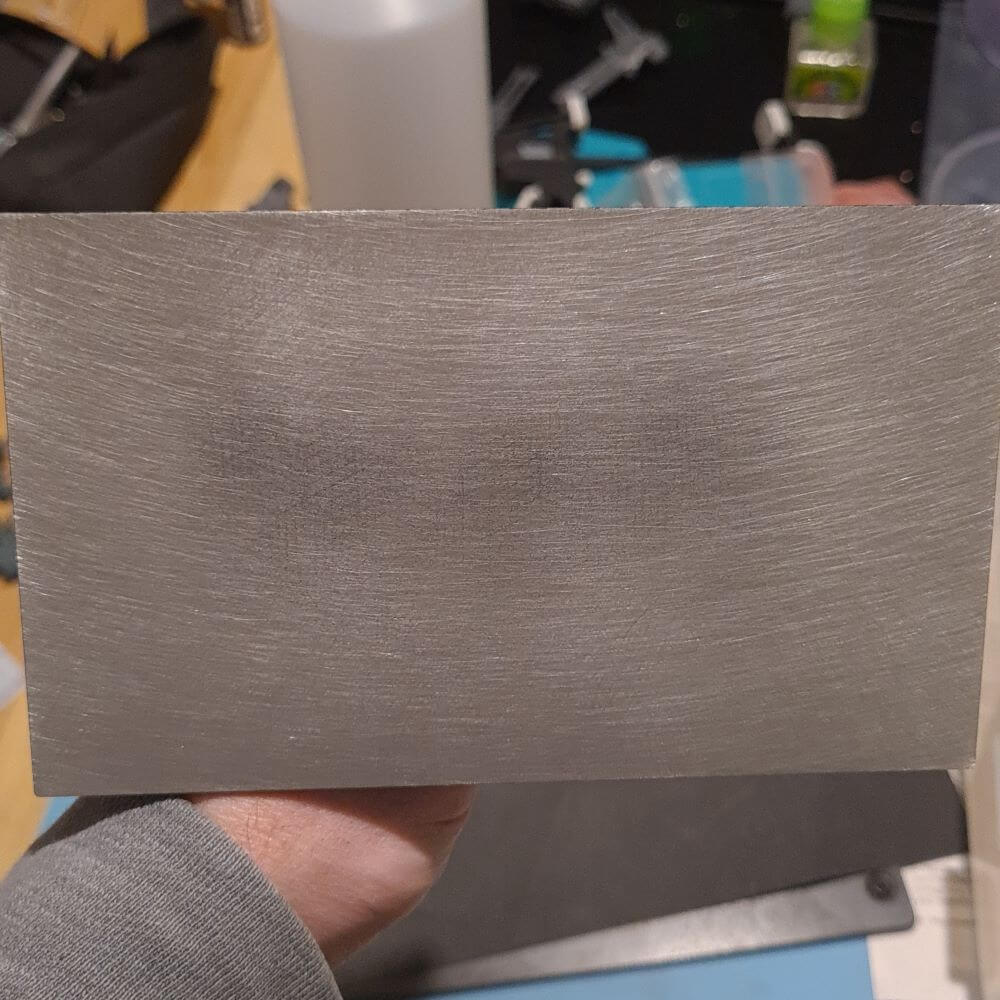
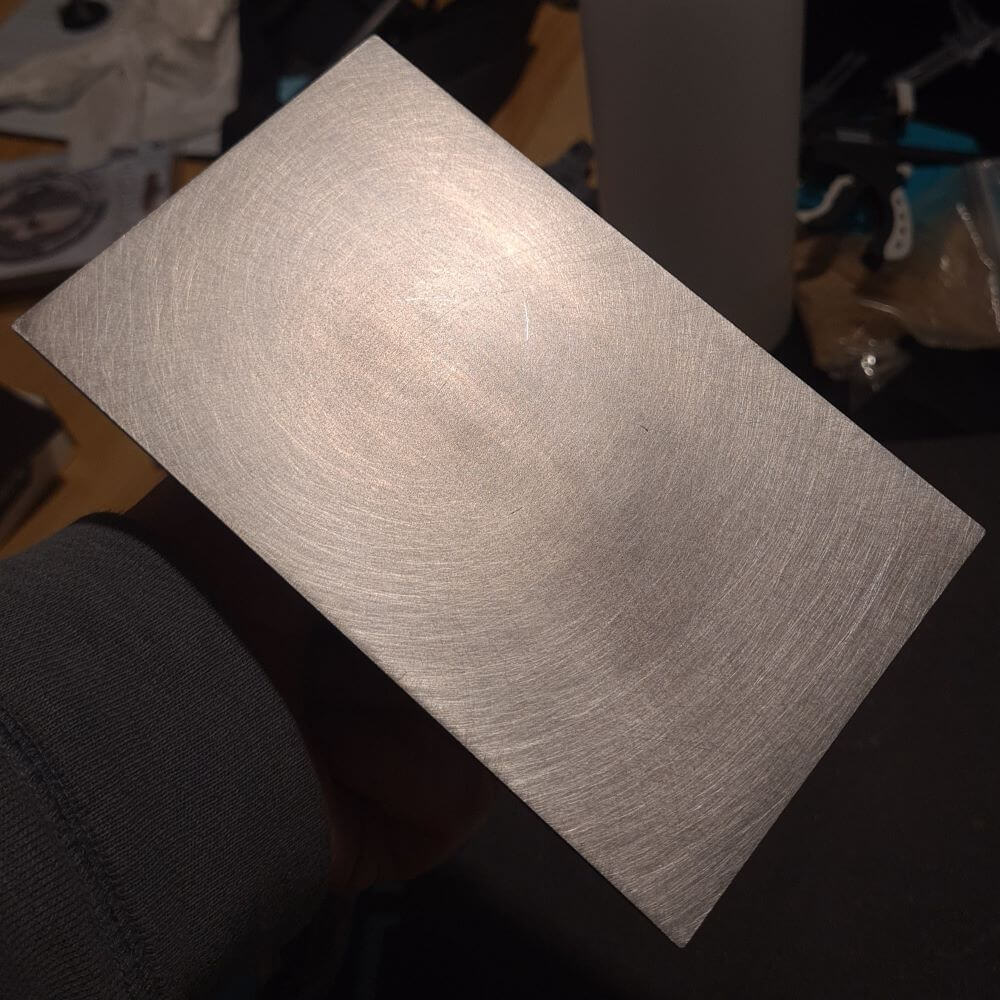
The next step is to take the build plate and give it a thorough clean using IPA. You want to remove all trace of resin so soak it for half an hour and then use a scourer to give it a scrub. Next up you need to sand the plate flat to remove all trace of grease and provide a good surface for the magnetic panel to stick to. You’re given some fine grade silicon carbide paper (aka Wet n’ Dry) to do this, but in my view it’s not really big enough. I grabbed a larger piece of 240 grit out of a supply I’ve got, placed that flat on a glass table mat and then gently rubbed the plate in circular motions, giving it a wipe using an alcohol wipe at regular intervals and then drying the plate off with a microfibre cloth – you want to keep the silicon carbide paper dry else it’ll clump up. If you’ve a plain aluminium build plate it’ll take you probably a few minutes – if like me you’ve one with a special coating and texture, well good luck… It took me over an hour of very careful sanding to get that flat and metal showing through the texture. Don’t press too hard when sanding, let the build plate do the work.
Once the wipes came away clean I gave the build plate a final soak with IPA and wipe down and it was ready for the magnet to be stuck on. Now one word of warning – do not touch the plate with your hands because the grease from your fingers will cause the self-adhesive to not stick properly and the last thing you want is this peeling off during a print! If you do then give it another sand and clean. From here on, everything else was exceptionally straight forward.
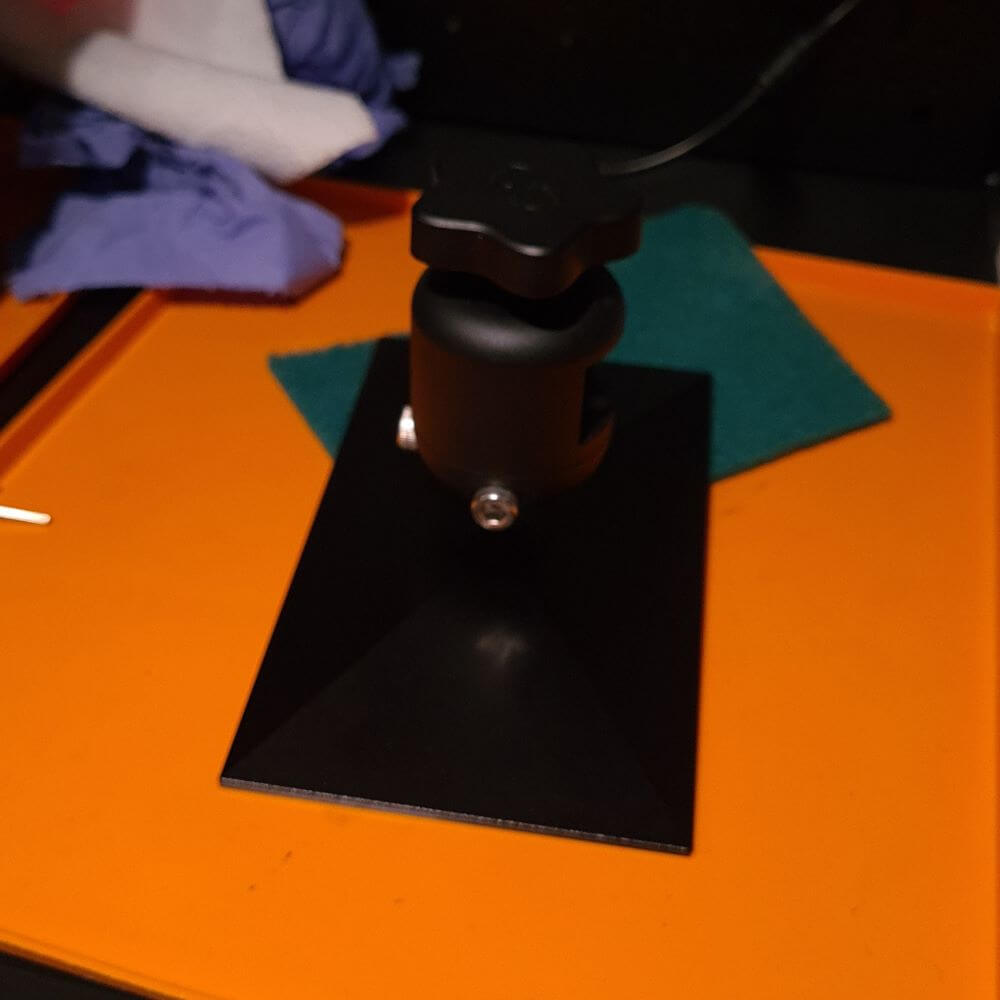
To stick the magnet in place, I propped my build plate up on my glass table mat so that it was at a 90 degree angle so that I had a flat edge to line things up. Using the tip in the video I folded back just over an inch of the backing paper and working from the centre stuck it in place. Once squared up, it went on exceptionally easily.
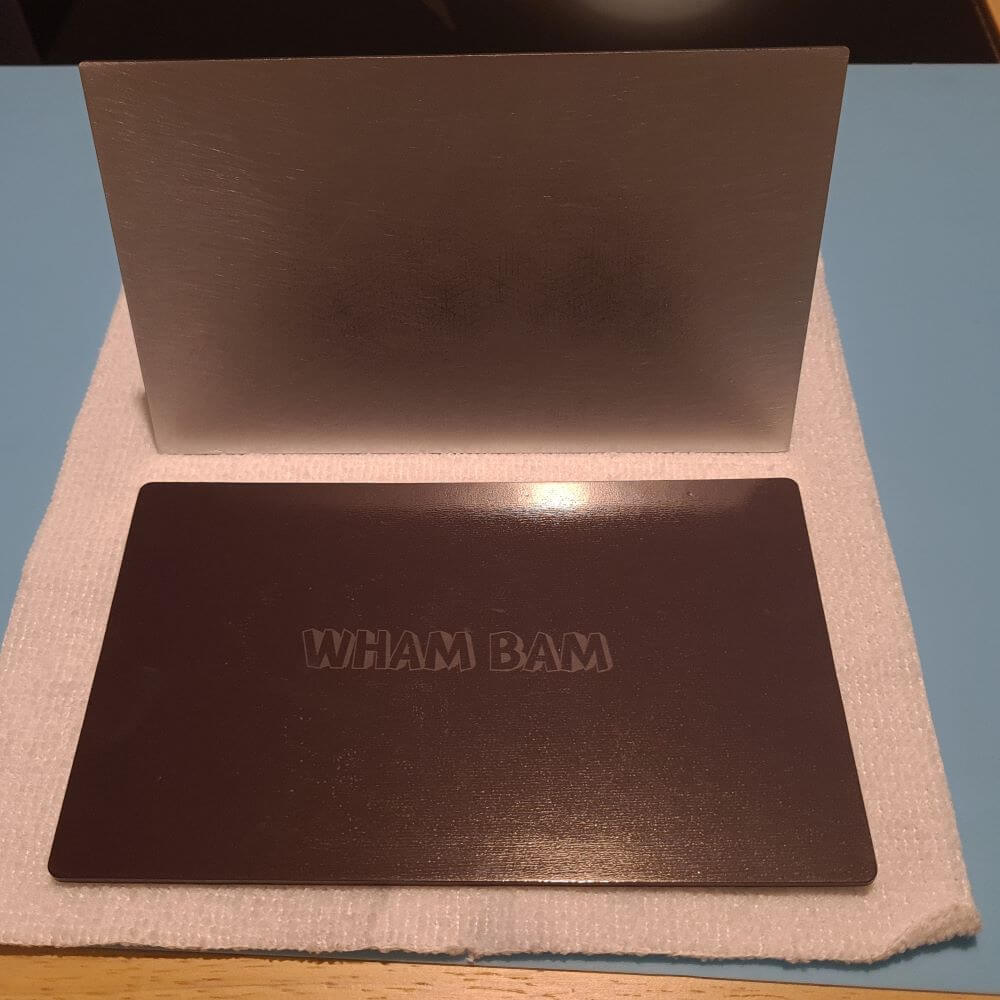
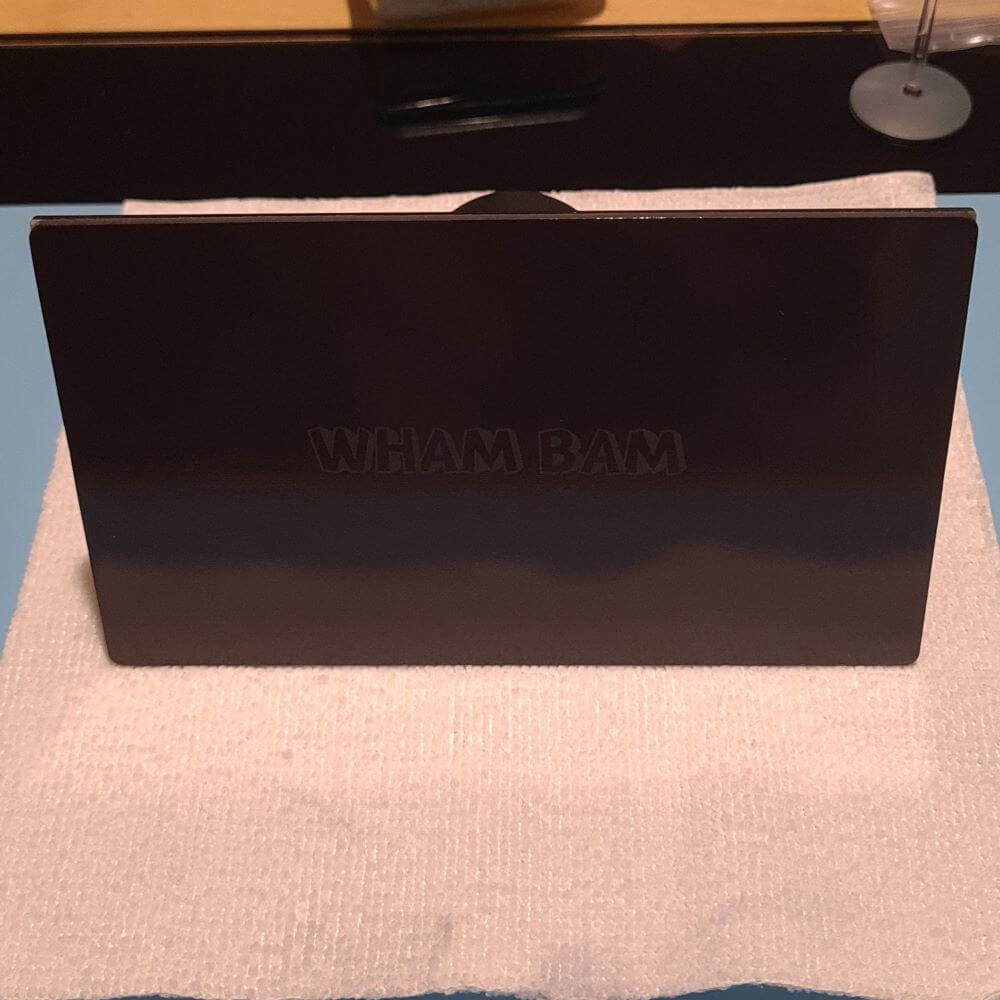
Once the magnet is in place you then need to leave the build plate magnet side down on a flat surface for three days (72 hours). That ensures the glue fully bonds. I kept my build plate indoors during this time as I reasoned the warmth from my house might help things stick together more successfully. After that wait put the steel plate in place and you’re ready to rumble!
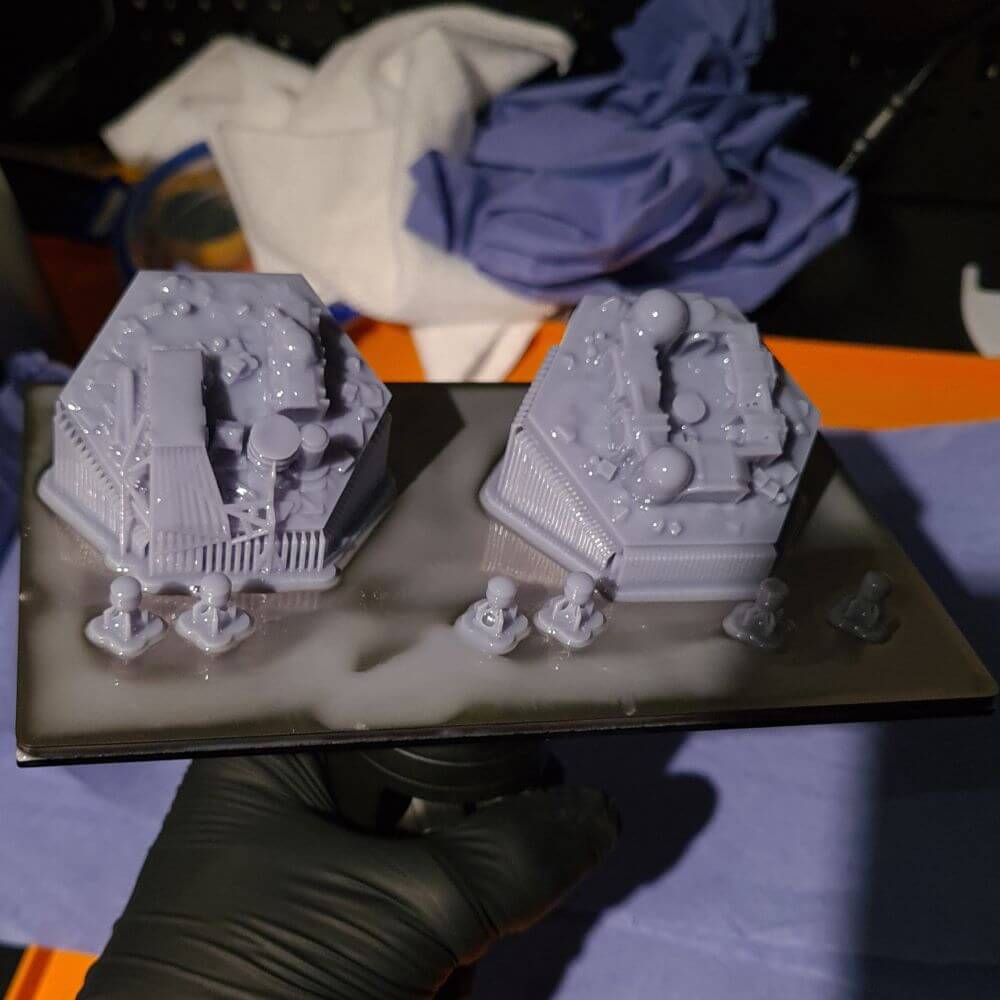
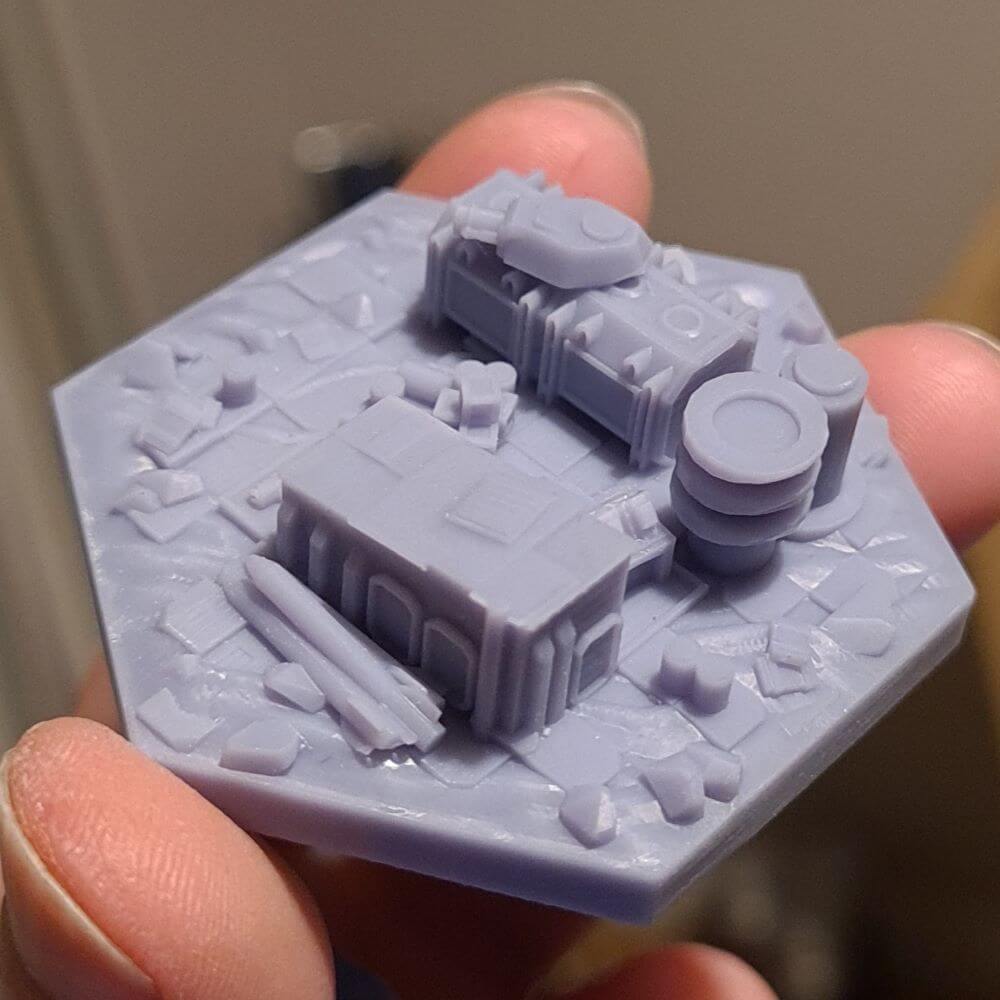
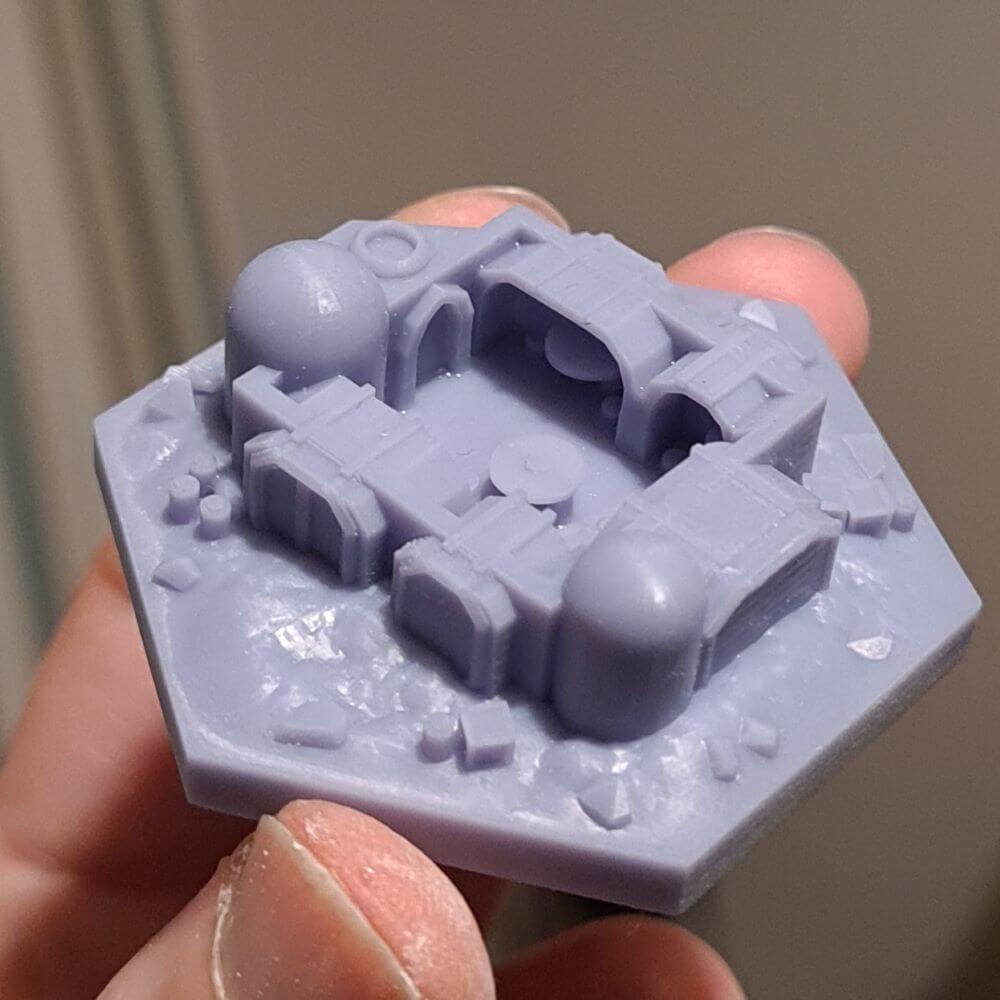
After those three (long) days, it was time to start printing. First port of call was actually a couple of calibration prints. Yes it’s boring, but allowed me to check the burn in layer times, plus dial in a new ABS-like resin I had rather than the rigid one I had been using. Once they came out OK, I picked a couple of hexagonal tiles for use in a Necromunda campaign. I used rafts and supports on these to just make sure, but also popped on a couple of bits to print flat on the build plate too. I used 50um layer heights and really the only alteration I made was to boost the base layer exposure time to 30 seconds, I’m not sure it was strictly necessary but felt like a sensible precaution as the Wham Bam plate doesn’t have the texturing of the original build plate.
Summary
As I said right at the start, flexible build plates are primarily a quality of life change. Being able to remove the plate and simply pop the models off was a delight and will just make the entire work flow of printing that much more straightforward. Yes you do lose ~2.6mm of the potential height along with a few ml of vat resin capacity, and it wasn’t a particularly quick installation, but I’d argue they’re fairly small in comparison to the convenience a flexible plate gives you.
The actual Wham Bam product was also really good quality, everything had a premium feel about it, although the elephant in the room certainly was needing to print out my own shim. I can kind of understand it had it been easy to locate an STL for the shim, but it wasn’t easy. I still stand by my statement earlier that when buying a plate for a specific named printer it would be good if the shim came in the same bag as the screws.
I do have to also mention Wham Bam’s fantastic customer service. All the installation examples online show non-textured build plates, so I emailed to ask how far I should sand my plate back. Not only did I get a reply, but they also provided various pieces of advice and links to videos – top work and I feel justifies the higher cost of this.
General Tips
As ever I like to try and pass over the various things that I’ve picked up from the process.
Firstly, you’re still going to want to remove the entire build plate – removing just the flexible plate will result in you flicking excess resin everywhere. Take the plate over to your working area, pull the flex plate off and then wipe the magnet and edge of the build plate down with an alcohol wipe and then dry with a microfibre cloth. Put the build plate to one side, flex the steel plate to remove your models and then also wipe and dry the steel plate of resin. Put the steel plate back on the magnet and then fix your build plate in place.
One problem I discovered is that the vat on my printer doesn’t have a massive amount of gap round the edge when the build plate is in place. This means that if the steel plate isn’t square then the tap may scrape the vat and potentially tear the FEP. The solution is easy, just rest the build plate on the long edge on a flat surface and then use that surface to line up the steel plate.
Flex your steel plate pointing towards some paper towels to catch your prints.