

News
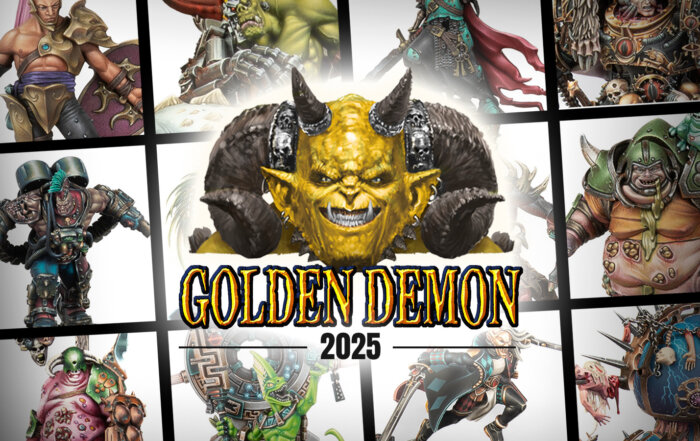
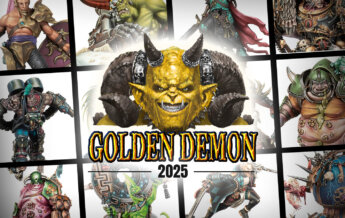
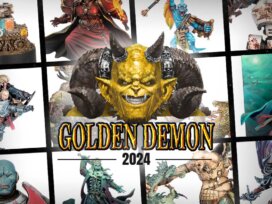
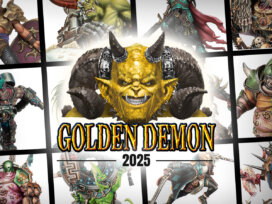
Adepticon Golden Demon 2025
Well this is an exciting piece of news as a New Year treat! We not only have the official announcement of Golden Demon at Adepticon this year, but also some changes to the categories and award format.
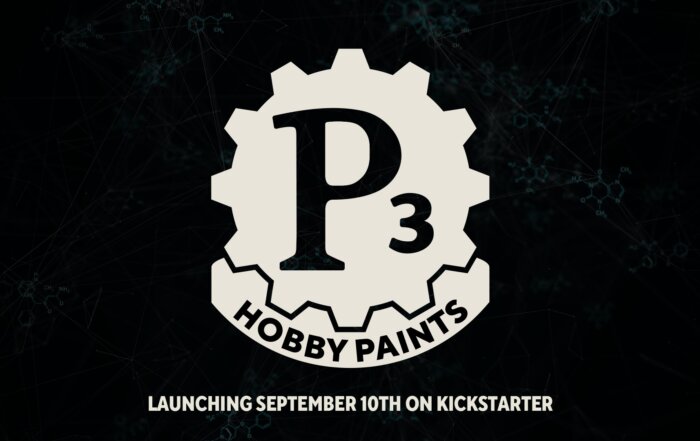
Return of the King? Formula P3 Paint Revival
In such a crowded hobby space, it’s not common to see a release come along that makes people sit up and pay attention. Steamforged Games may have done just this with their announcement that they’re bringing back the Formula P3 range of paints via Kickstarter. In this post I go through a bit of history […]


-
Paman Empire commented on Kheres Assault Cannon, fixing & 100th post! : Paman Empire bookmark your blog and take the feeds
-
Aldrix Levy commented on Review: Mk III Marines (Legiones Astartes Battle Group) : I bought the box because mk3 marines go hard. It's
-
James commented on Product Review – Legions Imperialis The Great Slaughter : Thanks for doing this review; it was helpful, and
-
Jeff Hodges commented on Musing on 3d printing : Every time I see a 3D print come to life, I'm remi
-
RuneBrush commented on The New Games Workshop / Warhammer Website – My View : Thanks! I know exactly what you mean too. It's rea